Low & Slow Cooking (Bbq): Unlock Tender Flavorful BBQ Mastery
Low & Slow Cooking (bbq)
There’s something magical about the aroma of barbecue smoke drifting through the air. It calls people outside, makes friends gather, and brings back memories of long summer afternoons. But great barbecue is not just about fire and meat—it’s about patience, technique, and tradition. This is where low & slow cooking shines. It transforms tough cuts into tender, smoky masterpieces. Whether you’re new to barbecue or looking to level up, understanding the art of low & slow cooking will change the way you think about grilling forever.

What Is Low & Slow Cooking?
Low & slow cooking is a classic barbecue technique. It means cooking food at a low temperature (usually between 225°F and 275°F) for a long period of time. Instead of quick searing or grilling over high heat, you use gentle heat and smoke to break down tough fibers and add deep flavor.
The “low” part refers to the temperature. The “slow” part means cooking times can range from a few hours to overnight. This method is most popular for large, tough cuts of meat like brisket, pork shoulder, and ribs—cuts that would be chewy and dry if cooked too fast.
This method is deeply rooted in barbecue traditions around the world. In the American South, it’s common to see families and communities gather around a smoker for 12 hours or more, waiting for the perfect bite. In the Caribbean, “jerk” meats are often cooked low and slow over wood coals for intense flavor.
The reason this style is so loved is that it transforms cheap, tough cuts into something special—something you simply can’t get from fast grilling.
The Science Behind Low & Slow Barbecue
Barbecue is a blend of art and science. At low temperatures, the collagen in tough cuts slowly melts, turning into gelatin. This process makes the meat moist and silky. At the same time, smoke particles from wood infuse the surface, creating the famous smoke ring and building layers of flavor.
The key chemical reactions happen slowly. If you rush, the collagen stays tough, making meat chewy and dry. Low heat also helps fat slowly render out, basting the meat and keeping it juicy. This is why, after hours, brisket or pork shoulder can be pulled apart with a fork.
For example, brisket has two main muscles—flat and point—held together by thick connective tissue. Only with long, slow heat does that tissue dissolve, letting the meat become buttery and sliceable. If you’ve ever wondered why a quick steak stays chewy while smoked brisket melts in your mouth, this is why.
If you cook too fast or at high heat, the outside burns before the inside becomes tender. This is why patience is so important. Let’s look at how temperature and time change the final result:
| Cooking Temperature (°F) | Collagen Breakdown | Texture Result |
|---|---|---|
| 200-225 | Slow, steady melting | Moist, tender, juicy |
| 275-300 | Faster but less even | Some dryness, less smoke flavor |
| 350+ | Little breakdown | Tough, chewy, dry |
Essential Tools For Low & Slow Bbq
To get the best results, you need the right tools. Here’s what every pitmaster should have:
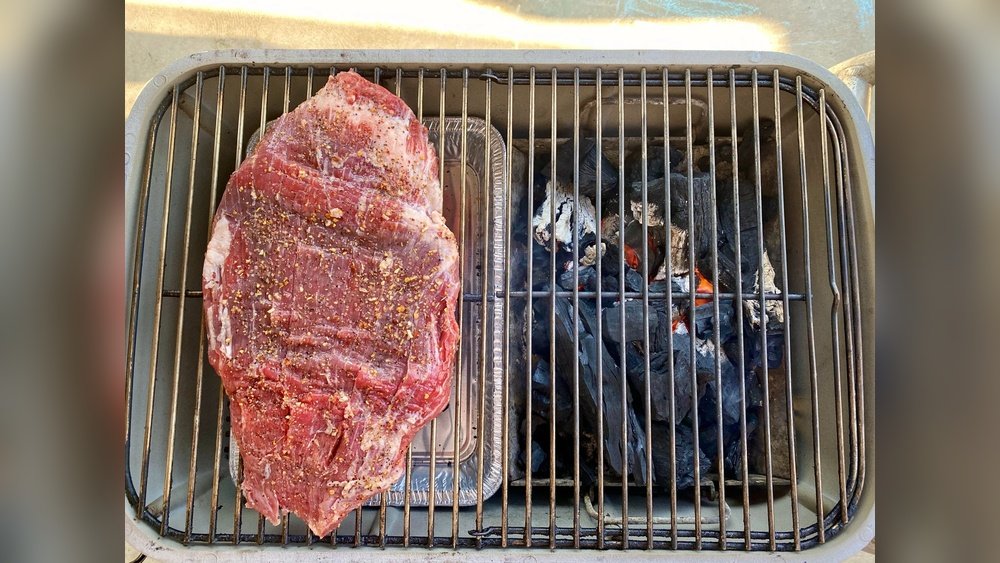
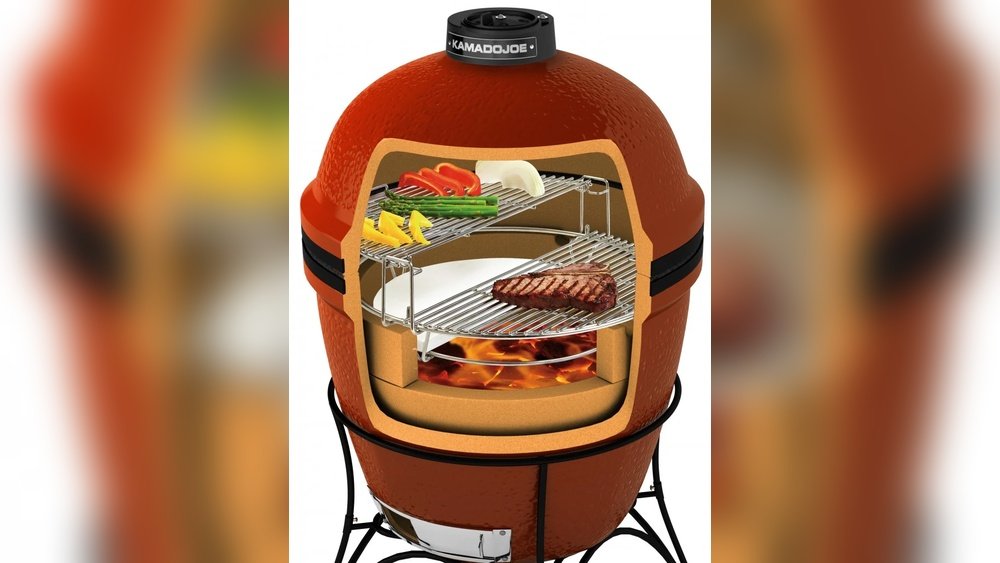
- Smoker or Grill: Offset smokers, ceramic kamados, bullet smokers, and even kettles can work. Look for a setup that can hold a steady low temperature for hours. Offset smokers give strong smoke flavor but require more attention. Kamados and water smokers are more forgiving for beginners.
- Charcoal or Wood: Lump charcoal is popular for its clean burn. Add hardwood chunks (like hickory, oak, apple, or cherry) for smoke flavor. Avoid softwoods like pine or spruce—they give off bitter, dangerous smoke.
- Thermometers: A good meat thermometer is vital. Digital probes let you monitor both meat and pit temperature without opening the lid. Instant-read thermometers are useful for quick checks near the end of cooking.
- Water Pan: Placing a pan of water inside the cooker keeps humidity up, which helps with smoke absorption and keeps meat moist. You can also add herbs, fruit juice, or beer for subtle flavor.
- Tongs and Gloves: Heat-resistant gloves and long tongs keep your hands safe. Long tools also help keep you away from direct heat and smoke.
- Drip Tray: Catches fat and prevents flare-ups. A drip tray also makes cleanup easier and can be placed under the meat to catch flavorful drippings for sauces.
Extra Gear That Makes A Difference
- Chimney Starter: Quickly lights charcoal without chemicals. It’s safer and gives you more control than lighter fluid.
- Spray Bottle: Use for misting meat with apple juice, vinegar, or water to keep the surface moist. This also cools the meat’s surface, helping build better bark.
- Butcher Paper or Foil: Wrapping meat partway through cooking (“the Texas Crutch”) can speed up cooking and lock in moisture. Butcher paper lets smoke in but keeps meat moist; foil works faster but can soften bark.
Owning a pair of silicone gloves and a quality basting brush also makes the process smoother. Over time, you’ll add gadgets, but these basics are enough to start.
Choosing Meats For Low & Slow Bbq
Not all meats are equal when it comes to barbecue. The best cuts are tough, fatty, and full of connective tissue. These become tender and flavorful after hours of gentle heat.
Best Cuts For Low & Slow Cooking
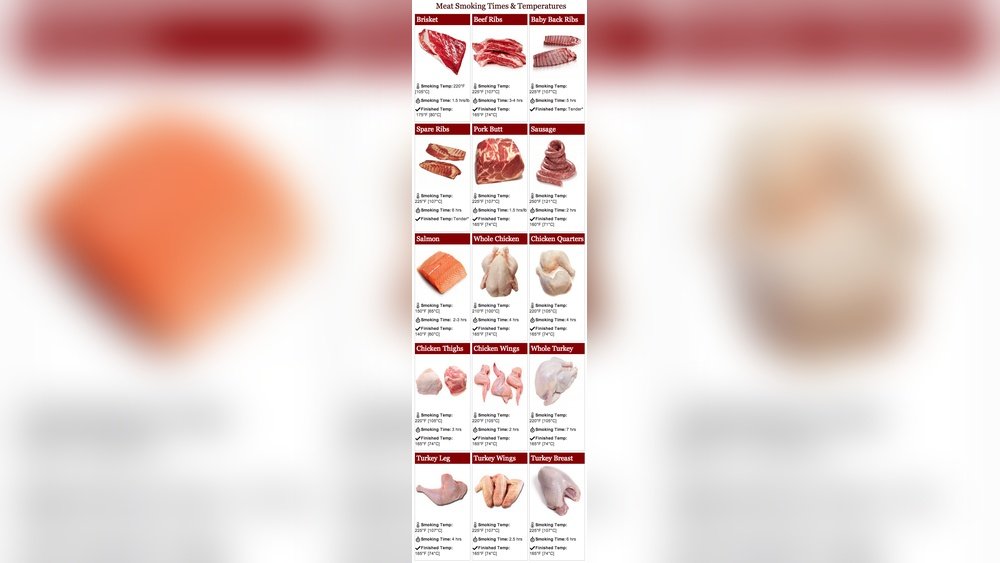
- Brisket: The king of barbecue—big, tough, and full of flavor. Needs 10–16 hours at 225°F. Look for brisket with good marbling (“choice” or “prime” grade).
- Pork Shoulder (Boston Butt): Perfect for pulled pork. Rich in fat and collagen. Boston butt and picnic shoulder are both excellent choices.
- Ribs: Pork spare ribs, baby backs, and beef ribs all do well. Cook for 4–6 hours. Spare ribs are meatier, while baby backs are leaner and quicker to cook.
- Chuck Roast: Beefy and economical. Similar in texture to brisket but usually smaller, making it great for smaller groups or first-timers.
- Short Ribs: Meaty, rich, and become butter-soft. These need patience but reward you with deep flavor.
- Lamb Shoulder: Lesser-known but excellent for smoking. The strong flavor of lamb pairs well with fruit woods.
Some cooks also smoke whole chickens or turkeys at low temps, but poultry cooks faster and can dry out. If you try poultry, use a water pan and don’t overcook. For poultry, consider brining first to add moisture and flavor—an easy step that gives better results.
Beyond these, adventurous pitmasters sometimes smoke sausages, duck, or even goat. The key is choosing cuts with enough fat and connective tissue to withstand hours of smoke and heat without drying out. Lean meats like chicken breast or pork loin are less forgiving.
Classic Low & Slow Bbq Recipes
Let’s dive into two classic recipes: Texas-style brisket and pulled pork. These show the basics of low & slow cooking.
Texas-style Smoked Brisket
Ingredients:
- 1 whole beef brisket (10–14 lbs)
- ¼ cup coarse kosher salt
- ¼ cup coarse black pepper
- Wood chunks (oak or hickory)
Instructions:
- Trim excess fat, leaving a ¼-inch layer. Removing too much fat can dry out the brisket, but leaving too much prevents seasoning from penetrating.
- Mix salt and pepper; rub all over the brisket. For extra flavor, add a touch of garlic or onion powder, but keep it simple—Texas-style brisket is about the beef and smoke.
- Preheat smoker to 225°F. Add wood chunks.
- Place brisket fat-side up. Insert a thermometer into the thickest part.
- Smoke for 6–8 hours, misting with water as needed. This helps the bark form and prevents drying.
- When internal temp hits 165°F, wrap in butcher paper or foil.
- Continue cooking until 200–205°F internal temperature (another 4–8 hours).
- Rest for at least 1 hour before slicing.
Tips:
- Use a sharp knife for even slices.
- Save the juices from the wrap for drizzling.
- Resting is key—don’t skip it.
Remember: Every brisket is a bit different. Some finish early, others take longer. Patience is your best tool.
Classic Pulled Pork
Ingredients:
- 1 pork shoulder (bone-in, 7–9 lbs)
- 3 tbsp coarse salt
- 2 tbsp black pepper
- 2 tbsp smoked paprika
- 1 tbsp garlic powder
- 1 tbsp brown sugar
- Wood chunks (apple or hickory)
Instructions:
- Mix salt, pepper, paprika, garlic powder, and brown sugar. Rub into pork. You can apply the rub a day in advance for deeper flavor.
- Preheat smoker to 225°F. Add wood chunks.
- Place pork on grate, fat-side up. Insert thermometer.
- Smoke for 5–6 hours, spritzing with apple juice every hour.
- When internal temp reaches 160°F, wrap in foil.
- Continue until 203°F internal temperature (another 3–5 hours).
- Rest for 1 hour, then shred with forks.
Tips:
- Add a vinegar-based sauce for extra tang.
- Pulled pork freezes well for later meals.
For extra flavor, serve with pickles or coleslaw. Use leftover pulled pork in tacos, nachos, or even omelets.
Smoke, Wood, And Flavor
Smoke is the soul of barbecue. The type of wood you use affects flavor, aroma, and even the color of the bark (the crust on smoked meats).
Popular Woods For Smoking
- Hickory: Strong, bacon-like flavor. Great for pork and beef.
- Oak: All-purpose wood with medium flavor.
- Apple: Sweet, mild, good for pork and poultry.
- Cherry: Sweet, adds rich color.
- Pecan: Nutty, mild, pairs with most meats.
- Mesquite: Very strong—use sparingly, best for beef.
Mix woods to create your signature profile. For example, combine oak for heat and a chunk of cherry for sweetness. Many pitmasters develop their own blends over time, experimenting with what grows locally.
How Much Smoke?
Too much smoke makes food bitter. You want thin, blue smoke—not thick, white clouds. Add wood gradually and adjust vents for good airflow. Resist the urge to overdo it; subtle smoke is better than overpowering.
If you’re new, start with mild woods and small amounts. You can always add more next time. Remember, it’s easier to add smoke than to fix over-smoked meat.
Managing Temperature: The Real Challenge
Holding a steady low temperature is the hardest part for beginners. Here’s how to master it:
- Use a quality thermometer. Built-in dials are often wrong. Invest in a probe thermometer with alarms.
- Control airflow. Open vents for more heat, close slightly to reduce. Small changes go a long way.
- Add fuel slowly. Too much charcoal or wood spikes the temp.
- Check every 30–60 minutes. Make small adjustments—big changes lead to wild swings.
Some smokers (like ceramic kamados) keep temps stable for hours. Others (like cheap barrel smokers) need more attention. Practice makes perfect.
If you’re struggling to keep a consistent temperature, try insulating your smoker with a welding blanket or using it in a sheltered area. Wind and cold weather can steal heat fast.
| Smoker Type | Temperature Stability | Fuel Efficiency | Ease of Use |
|---|---|---|---|
| Ceramic Kamado | Excellent | Very Good | Easy (once learned) |
| Offset Smoker | Good (with attention) | Moderate | Medium |
| Bullet/Water Smoker | Very Good | Good | Easy |
| Barrel/Drum Smoker | Fair | Moderate | Medium |
The Importance Of Resting Meat
When meat comes off the smoker, it’s hot and juicy. But cutting right away lets all the juices run out. Resting lets the juices redistribute, making the meat tender and moist.
- Brisket: Rest 1–2 hours wrapped in a towel in a cooler.
- Pork Shoulder: Rest 1 hour before shredding.
- Ribs: Rest 20–30 minutes.
Don’t skip this step. Some pitmasters say resting is as important as the cooking itself.
A simple tip: If you finish early, keep the wrapped meat in a cooler. It will stay hot for hours and may even taste better as the flavors settle.

Credit: www.youtube.com
Bark, Smoke Ring, And Other Bbq Mysteries
Many people judge barbecue by the bark (crusty exterior) and the smoke ring (pink layer under the surface).
Bark
Bark forms when spices, smoke, and meat juices mix and dry out on the surface. To get a good bark:
- Use a dry rub with salt, pepper, and sugar.
- Avoid opening the lid often.
- Don’t over-mop or wrap too early.
Patience and low humidity help. If your bark is too soft after wrapping, unwrap for the last 30 minutes.
Smoke Ring
The smoke ring is pink because smoke reacts with myoglobin in the meat. It looks impressive but doesn’t add flavor. Even electric smokers can make a ring if you add curing salts or wood chips.
Remember, the smoke ring is just a sign of good technique—it’s not the only measure of great barbecue.
Common Mistakes In Low & Slow Cooking
Even experienced cooks make mistakes. Here are a few to avoid:
- Rushing the process: Impatience leads to tough meat.
- Too much smoke: Over-smoking makes food bitter.
- Not monitoring temperature: Guesswork ruins results.
- Skipping the rest: Juices run out, meat dries out.
- Opening the lid too often: Each peek drops the temperature.
A less obvious mistake is not letting your smoker preheat fully. A steady environment helps smoke stick and meat cook evenly.
Regional Bbq Styles: How Low & Slow Differs
Barbecue in the US is deeply regional. Here are some of the most famous styles:
Texas
- Focus: Beef (especially brisket)
- Wood: Oak or mesquite
- Flavor: Simple rubs, heavy smoke
Carolina
- Focus: Pork (whole hog, shoulder, ribs)
- Wood: Hickory, oak, sometimes fruit woods
- Flavor: Vinegar-based sauces
Kansas City
- Focus: Ribs, brisket, pork, sausage
- Wood: Hickory
- Flavor: Sweet, tomato-based sauces
Memphis
- Focus: Pork ribs and shoulder
- Wood: Hickory
- Flavor: Dry rubs, sometimes finished with sauce
Alabama
- Focus: Chicken, pork
- Wood: Hickory, pecan
- Flavor: White mayonnaise-based sauce on chicken
Understanding these styles helps you experiment and develop your own favorites. Try swapping woods or sauces to see how flavors change.
Creating Your Own Rubs And Sauces
Basic Rub Formula
A rub is a blend of spices and herbs that builds bark and flavor. Here’s a simple formula:
- 4 parts salt
- 2 parts black pepper
- 2 parts paprika
- 1 part garlic powder
- 1 part sugar (optional)
Mix, taste, and adjust to your liking. Add cayenne for heat or dried herbs for complexity.
Don’t be afraid to experiment. Add ground mustard, cumin, or coriander for different profiles. Write down your changes so you can repeat the best ones.
Simple Bbq Sauce
- 1 cup ketchup
- ¼ cup brown sugar
- ¼ cup apple cider vinegar
- 1 tbsp Worcestershire sauce
- 1 tsp black pepper
- 1 tsp smoked paprika
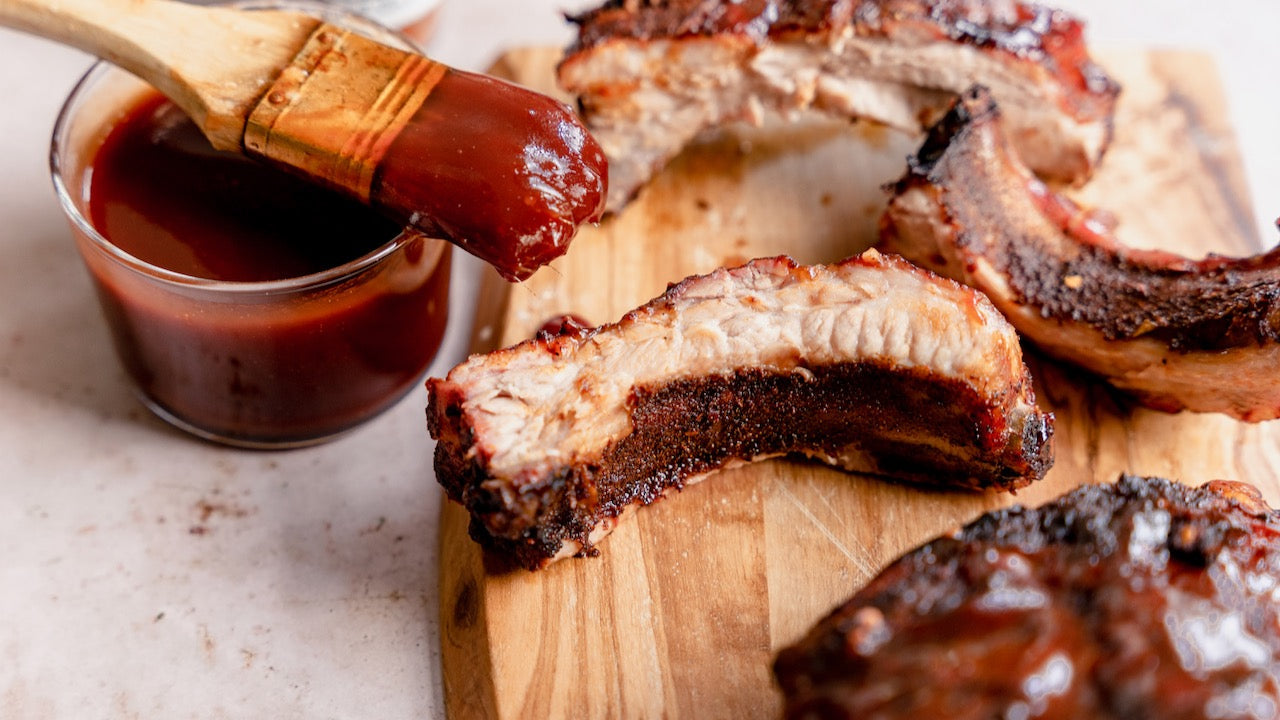
Mix and simmer for 10 minutes. Brush on meat during the last 30 minutes of cooking.
For Carolina style, swap ketchup for mustard. For a spicy kick, stir in hot sauce or chipotle powder.
Credit: oaktownspiceshop.com
Low & Slow For Vegetables And More
While most people think of low & slow for meat, vegetables shine too. Try smoking:
- Portobello mushrooms: Meaty texture, soak up smoke.
- Corn on the cob: Sweet and smoky.
- Eggplant or zucchini: Sliced thick, brushed with oil and rub.
You can even smoke cheese (keep it below 90°F) or nuts for snacks.
Another great idea is smoked garlic or onions. Just wrap in foil and place in the smoker for a few hours—perfect for spreading on bread or mixing into sauces.
Safety And Food Handling
Food safety is critical with low & slow barbecue, since you’re dealing with long cook times.
- Keep meat cold until cooking.
- Don’t reuse marinades that touched raw meat.
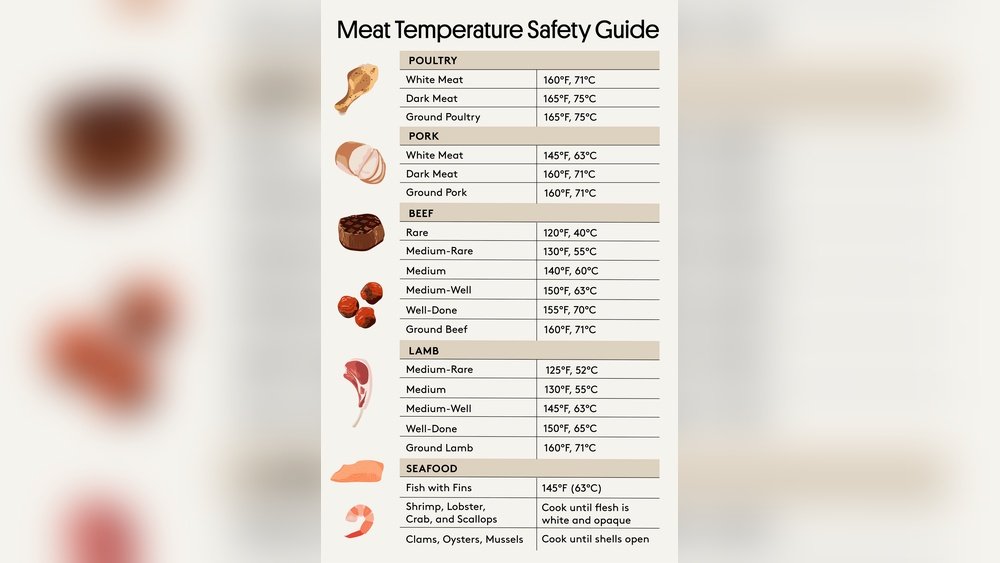
- Cook to proper internal temps (pork and beef to at least 195°F for pulling).
- Wash hands and tools after handling raw foods.
A Simple Rule: “when In Doubt, Throw It Out.”
Be careful with leftovers. Cool meat quickly and refrigerate within 2 hours to prevent bacteria growth.
Planning Your Bbq Day: Timing And Tips
Barbecue takes time. Here’s how to plan for success:
- Start early. Give yourself extra time in case the meat takes longer.
- Prep the night before. Apply rubs, trim fat, and organize gear.
- Light the fire 1 hour early. Let the smoker stabilize.
- Rest time counts. Always include it in your schedule.
- Keep snacks handy. Hungry guests don’t like waiting.
Sample Schedule For Brisket (12-hour Cook)
- 7: 00 am: Light smoker
- 7: 30 am: Put brisket on
- 1: 30 pm: Wrap brisket
- 4: 30 pm: Check for doneness (200–205°F)
- 5: 00 pm: Rest brisket in a cooler
- 6: 00 pm: Slice and serve
Low & slow cooking often takes longer than you expect. It’s better to finish early and keep meat warm in a cooler.
If you’re cooking multiple meats, start the largest cuts first and add smaller ones later. Use a whiteboard or notepad to track times.
Barbecue For Beginners: Key Insights
Here are two tips many newcomers miss:
- Your first brisket will rarely be perfect. Brisket is tough to master. Don’t get discouraged—every cook teaches you something new.
- Weather matters. Wind, rain, or cold temperatures affect your smoker. Set up in a sheltered place and keep extra fuel ready.
Another beginner mistake: ignoring the importance of letting the fire settle before adding meat. A steady smoke and temperature at the start gives better results.
Cleaning And Caring For Your Smoker
A clean smoker works better and tastes better. Here’s how to keep it in top shape:
- Empty ashes after each cook. Ash can hold moisture and cause rust.
- Scrape grates while still warm.
- Check for grease buildup in drip pans and vents.
- Wipe down the outside to keep it looking new.
Occasionally, do a “burn-off” by running the smoker hot for an hour to remove built-up gunk.
Don’t forget to check gaskets and seals for wear. A leaky smoker wastes fuel and is harder to control.
Comparing Low & Slow Vs. Hot & Fast Bbq
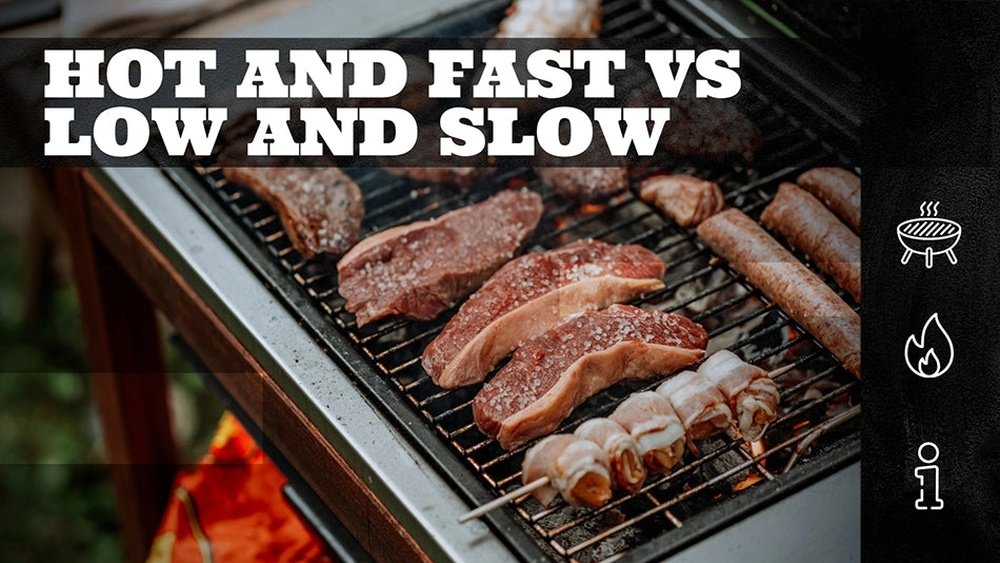
Some pitmasters use hot & fast methods (cooking at 300–350°F for less time). Here’s a comparison:
| Method | Temperature (°F) | Cooking Time | Flavor | Texture |
|---|---|---|---|---|
| Low & Slow | 225–275 | 6–16 hours | Deep smoke, complex | Very tender, juicy |
| Hot & Fast | 300–350 | 2–6 hours | Lighter smoke, more roast | Good, but less silky |
Low & slow produces the most authentic barbecue, but hot & fast can work for smaller cuts or when you’re short on time.
Hot & fast is a good backup plan if rain or schedule changes force you to hurry. Just remember, the texture and smoke flavor will be different.
The Role Of Humidity In Smoking
Moisture in the cooking chamber helps smoke stick to the meat and prevents drying out. That’s why many pitmasters use a water pan. It also helps regulate temperature swings.
- Tip: Use hot water in the pan to avoid dropping the smoker’s temp.
You can add aromatics (like herbs or fruit slices) to the water for a subtle scent, but don’t expect strong flavor changes. The main purpose is humidity.
Sourcing Quality Meat
Great barbecue starts with great meat. Here’s what to look for:
- Marbling: Look for fat streaks through the meat.
- Freshness: Bright red for beef, pink for pork.
- Heritage breeds: Sometimes offer better flavor.
Local butchers often have higher-quality cuts than supermarkets. Ask for recommendations.
Don’t be shy about asking your butcher for special cuts, trimming, or advice—they often know what works best in your area.
Hosting A Bbq: Serving And Sides
Barbecue is about sharing. Here’s how to make your gathering a hit:
- Slice or pull just before serving so meat stays moist.
- Offer sauces on the side—some guests prefer dry, others saucy.
- Classic sides: Coleslaw, baked beans, cornbread, pickles, and potato salad.
- Drinks: Iced tea, lemonade, and cold beer pair well with smoky flavors.
For a fun touch, offer a tasting tray of different regional sauces—vinegar, mustard, sweet, and spicy—so guests can try each style.
Learning From The Pros
Many of the world’s best barbecue cooks share their knowledge online. Watch championship events, read cookbooks, and follow respected pitmasters. For detailed barbecue science and recipes, check out AmazingRibs.com.
Attend local barbecue festivals or competitions. Even talking with other cooks can teach you new tricks and shortcuts.

Credit: themeatstick.com
Frequently Asked Questions
How Do I Keep My Smoker At The Right Temperature?
Use a reliable digital thermometer, not just the built-in lid gauge. Adjust the air vents slowly—open for more heat, close to lower it. Add fuel in small amounts and avoid opening the lid often.
What’s The Best Wood For Beginners?
Oak is versatile and forgiving. It’s not too strong, works with all meats, and helps you learn how smoke affects flavor. Apple and cherry are also good for milder taste.
How Do I Know When My Meat Is Done?
Don’t rely only on time. Use a thermometer to check the internal temperature. For brisket and pork shoulder, look for 200–205°F for tenderness. The probe should slide in with little resistance.
Can I Do Low & Slow Bbq On A Gas Grill?
Yes, with some changes. Use one burner on low, keep meat on the cool side, and add a smoker box with wood chips. It’s not perfect, but you can still get good results.
What’s The “stall” In Barbecue?
The stall is when meat’s internal temperature stops rising (often around 150–170°F) for hours. It happens as moisture evaporates. Just be patient, or wrap the meat to speed through it.
Low & slow barbecue is about more than just food—it’s about community, tradition, and learning by doing. With a little patience and the right technique, you can turn even the toughest cut into a tender, smoky feast. So fire up your smoker, invite friends, and enjoy the process.
The journey is as rewarding as the meal itself.