Mastering the Art of BBQ Char Grilling
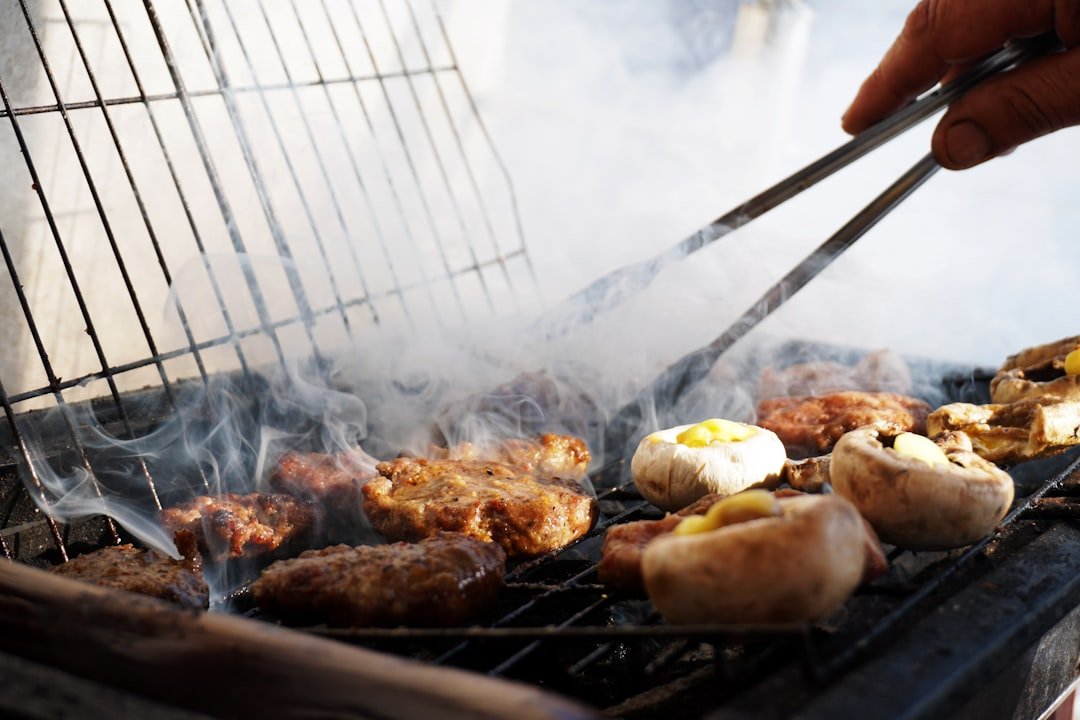
Char grilling isn’t just about throwing some meat on a hot grate; it’s about creating that distinctive, smoky flavor and those beautiful grill marks. The good news is, anyone can master it with a little know-how and practice. It’s all about controlling your heat, understanding your food, and a few simple techniques.
Before you even think about lighting a match, it’s worth taking a moment to understand the tool you’re working with. A char grill, whether it’s charcoal or gas, creates intense direct heat, which is key to its magic.
Charcoal Grills: The Flavor King
Charcoal grills are often the go-to for that classic char-grilled flavor. The smoke from the burning charcoal infuses directly into your food, and you can introduce wood chips for even more complex flavors.
Lump Charcoal vs. Briquettes
This is a common debate. Lump charcoal is essentially pure wood that’s been burned down to carbon. It burns hotter, faster, and produces less ash. Briquettes are made from compressed charcoal dust, binders, and sometimes other additives. They burn more consistently and for longer, but might not impart the same pure smoky flavor as lump charcoal. For char grilling, lump charcoal often gives you that quick, intense heat for searing.
Arranging Your Coals
How you arrange your coals significantly impacts your cooking.
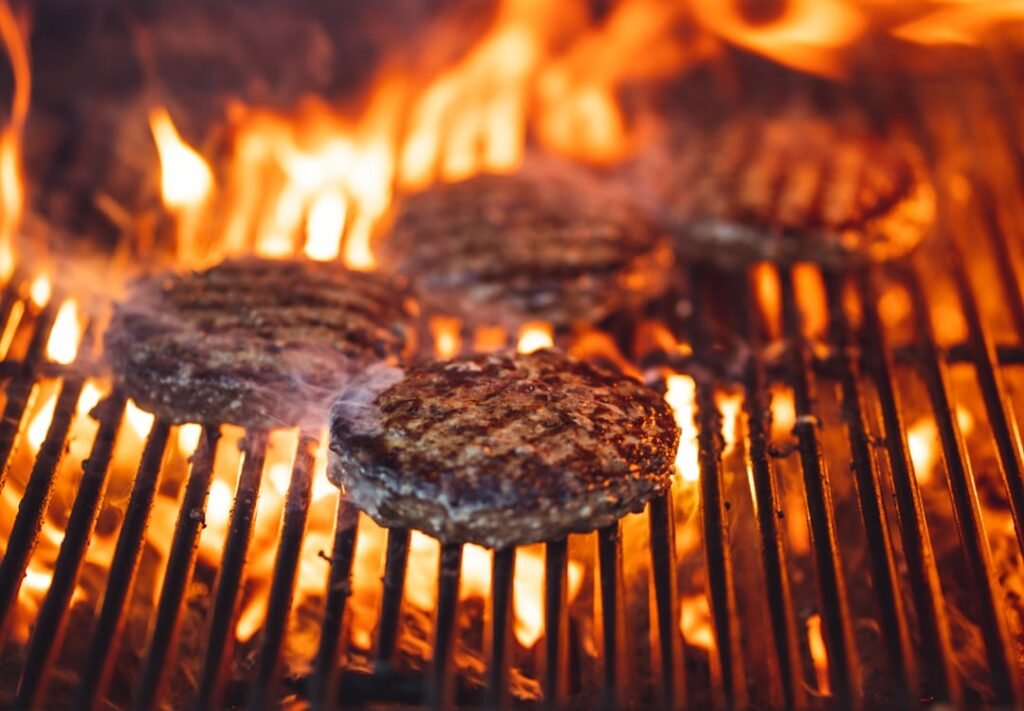
- Direct Heat: This is where coals are spread evenly under the entire cooking grate. Perfect for quick-cooking items like steaks, burgers, and thin vegetables.
- Two-Zone Fire: This is your secret weapon for versatility. Pile coals on one side of the grill for direct high heat, and leave the other side empty for indirect lower heat. This allows you to sear a steak then move it to the cooler side to finish cooking without burning. It’s also great for thicker items that need more time.
- Three-Zone Fire (Advanced): For larger grills, you can have a high-heat zone, a medium-heat zone, and a cool zone. This provides even more control for different foods or for finishing items.
Gas Grills: Convenience with Control
Gas grills offer incredible convenience and precise temperature control. While they don’t inherently produce smoke like charcoal, you can still achieve fantastic char-grilled results and even add smoke flavor with smoker boxes.
Burner Management
Just like with charcoal, understanding your gas grill’s burners is crucial for creating different heat zones.
- All Burners High: For quick searing, similar to direct high heat on a charcoal grill.
- One Burner Off (Two-Zone): Turn off one or more burners to create a cooler zone for indirect cooking. This is essential for thicker cuts or for keeping food warm without overcooking.
- Individual Burner Control: The beauty of gas grills is the ability to dial in specific temperatures on each burner, allowing for very fine-tuned heat management across the cooking surface.
Using a Smoker Box
To get that smoky flavor on a gas grill, you can use a smoker box filled with wood chips. Place it over a lit burner, and as the chips heat up, they’ll produce smoke that will infuse into your food. Experiment with different wood types for various flavor profiles.
If you’re looking to elevate your outdoor cooking experience, you might find our related article on the Pit Boss Pellet Smoker particularly insightful. This comprehensive review covers everything you need to know about the features and benefits of the smoker, making it a perfect companion to your BBQ char grill. To read more, visit this link.
Mastering Heat Management: The Foundation of Char Grilling
This is arguably the most important aspect of char grilling. Without proper heat control, you’ll end up with burnt exteriors and raw interiors, or dry, unappealing food.
The Science of Searing
Searing is about creating that delicious, flavorful crust through the Maillard reaction. This happens at high temperatures when sugars and amino acids in the food react, creating hundreds of new flavor compounds and a browned surface.
Achieving High Heat
- Charcoal: Load up on lump charcoal and let it burn until it’s glowing orange with a thin layer of ash. This indicates peak heat. Keep the vents open for maximum airflow.
- Gas: Preheat your grill with all burners on high for at least 10-15 minutes, or until it reaches a temperature of 500-600°F (260-315°C).
The Sizzle Test
A good way to gauge if your grill is hot enough is the “sizzle test.” Drip a few drops of water onto the grates. If it immediately sizzles and evaporates, you’re good to go. If it just sits there, give it more time to heat up.
Understanding Indirect Heat
Once you’ve achieved a good sear, or if you’re cooking something that needs more time, indirect heat is your friend. This allows food to cook through gently without burning the exterior.
How to Create Indirect Heat
- Charcoal: Move coals to one side, leaving an empty zone. Place food over the empty zone.
- Gas: Turn off burners directly underneath the food, leaving adjacent burners on to maintain a lower ambient temperature.
When to Use Indirect Heat
- Thick Cuts of Meat: Roasts, whole chickens, thick steaks, or ribs benefit from searing on direct heat and then finishing on indirect heat.
- Delicate Foods: Fish fillets, vegetables that burn easily, or anything that needs to cook through without charring.
- Keeping Food Warm: If some items are ready before others, move them to the indirect zone to stay warm.
Temperature Zones and Their Uses
Think of your grill as having different neighborhoods.
- Hot Zone (Searing Zone): 500-600°F (260-315°C) – For quick searing, getting those grill marks, and fast-cooking items.
- Medium Zone (Cooking Zone): 350-450°F (175-230°C) – For general cooking, things that need a bit more time after searing, or items that cook well over medium heat like chicken breasts or thicker fish.
- Cool Zone (Holding/Finishing Zone): 250-350°F (120-175°C) – For finishing thick cuts, keeping food warm, or very slow cooking.
The Art of the Sear and Grill Marks
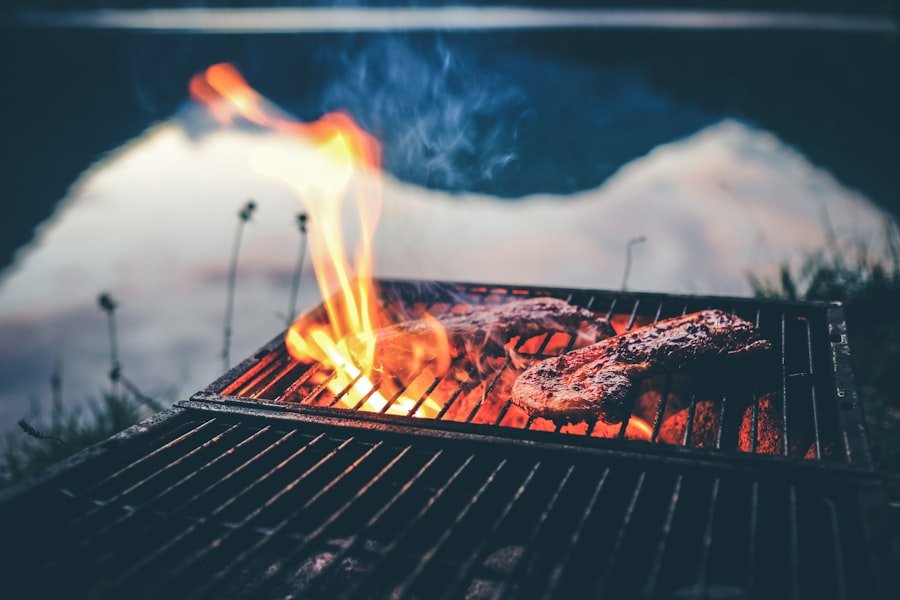
Those beautiful cross-hatch grill marks aren’t just for show; they indicate a good sear and concentrated flavor.
Preparing Your Grates
Clean grates are crucial. Food sticks to dirty grates.
- Brush Them Hot: After preheating, use a good grill brush to scrub off any cooked-on bits.
- Oil Them Lightly: Once clean and hot, lightly oil the grates with a high-smoke-point oil (like canola or grapeseed) using a folded paper towel held with tongs. This creates a non-stick surface.
The Perfect Placement
Don’t just randomly plop your food down.
- Initial Placement: Place your food directly over the hottest part of the grill.
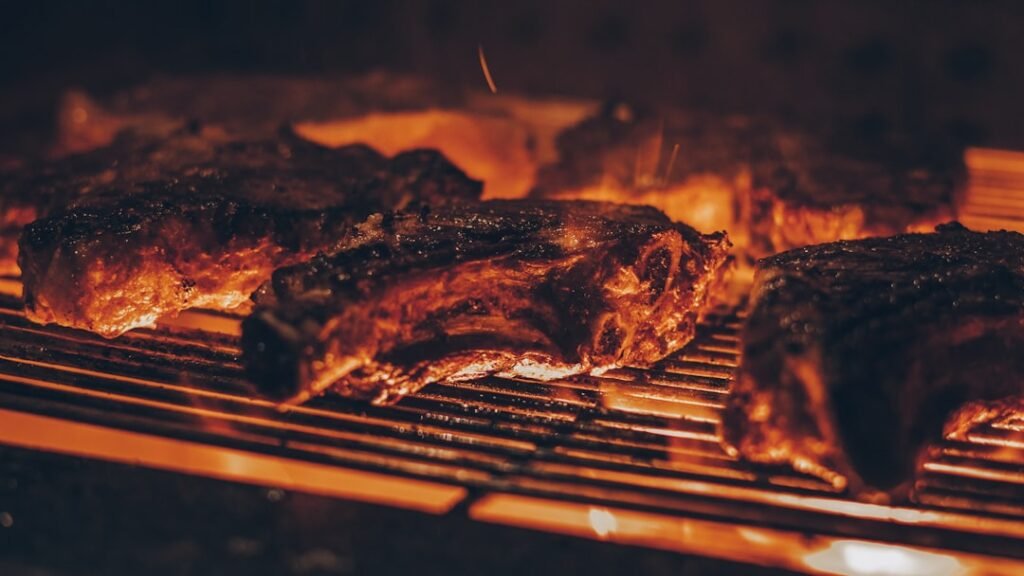
- The 90-Degree Turn: For classic cross-hatch marks, place your food on the grate, let it sear for a minute or two (depending on heat and food thickness), then rotate it 90 degrees. This creates the first set of lines. After another minute or two, flip the food to the other side and repeat the process.
Don’t Crowd the Grill
Give your food space. If you crowd the grill, the temperature will drop significantly, leading to steaming rather than searing. Cook in batches if necessary.
When to Flip
Resist the urge to constantly flip. Let the food develop a crust.
- The “Release” Test: Food will naturally release from the grates when it’s properly seared. If it’s sticking, it probably needs more time.
- Visual Cues: Look for that deep brown, caramelized crust.
Enhancing Flavor: Beyond Salt and Pepper
While good quality ingredients and proper cooking are paramount, there are many ways to build additional layers of flavor.
Marinades: Adding Moisture and Tenderness
Marinades serve several purposes: tenderizing, adding flavor, and sometimes creating a barrier against drying.
- Acidic Bases: Vinegar, citrus juice, yogurt, or buttermilk help break down connective tissues, tenderizing meat.
- Oil Bases: Olive oil, vegetable oil, or sesame oil carry fat-soluble flavors and help prevent sticking.
- Flavorings: Herbs, spices, garlic, onion, ginger, soy sauce, Worcestershire sauce, honey, and mustard are all common additions.
- Marinating Time: Delicate items like fish or vegetables only need 30 minutes to an hour. Chicken or pork can go for a few hours. Tougher cuts of beef might benefit from overnight marinating. Be careful not to over-marinate with acidic ingredients, as it can turn meat mushy.
Rubs: Building a Flavorful Crust
Rubs are dry mixtures of herbs and spices applied directly to the surface of the food. They create a delicious, flavorful crust when cooked.
- Basic Components: Salt, pepper, garlic powder, onion powder, paprika, and brown sugar are common starting points.
- Application: Apply the rub generously, pressing it into the surface of the meat. You can apply it just before grilling or several hours (even overnight) in advance to allow the flavors to penetrate.
- Moisture is Key: A little moisture on the meat’s surface (pat it dry first, then a light coat of oil, then the rub) helps the rub adhere and form a crust.
Smoking Chips and Chunks: The Smoky Dimension
For that classic BBQ smoke flavor, wood is essential.
- Wood Chips: Smaller pieces, burn faster, good for shorter cooks or a quick burst of smoke. Soak them in water for 30 minutes to an hour before use to help them smolder rather than burn quickly.
- Wood Chunks: Larger pieces, burn slower and longer, ideal for longer cooks. No need to soak.
- Flavor Profiles:
- Hickory: Strong, bacon-like flavor. Great for pork, beef, and poultry.
- Mesquite: Very strong, earthy, somewhat pungent. Best used sparingly, good for beef.
- Apple: Mild, sweet, fruity. Excellent for pork, poultry, and fish.
- Cherry: Mild, fruity, and gives a beautiful reddish hue to meat. Good for almost anything.
- Oak: Medium, classic BBQ smoke. Versatile for beef, pork, and lamb.
- Pecan: Mild, nutty, similar to hickory but less intense. Good for pork, poultry, and fish.
How to Add Wood
- Charcoal Grill: Place soaked chips or chunks directly on top of the hot coals.
- Gas Grill: Use a smoker box (as mentioned earlier) or wrap soaked chips in heavy-duty aluminum foil, poke a few holes, and place it directly over a lit burner.
Sauces and Glazes: Finishing Touches
Sauces and glazes add moisture, flavor, and a beautiful shine to your grilled food.
- When to Apply: Most sauces and glazes contain sugar, which burns easily over high heat. Apply them towards the end of the cooking process, typically in the last 10-15 minutes, allowing them to caramelize without charring.
- Basting: Baste the food regularly with the sauce during the final stages of cooking to build layers of flavor.
If you’re looking to elevate your outdoor cooking experience, you might find it helpful to explore the features of a char grill, which can provide that perfect smoky flavor to your meals. For a comprehensive review of a versatile grilling option, check out this article on the George Foreman Family Size Grill, where you can discover how it compares to traditional BBQ methods and what makes it a great addition to your grilling arsenal.
Essential Tools and Safety Tips
| Feature | Specification |
|---|---|
| Material | Cast iron or stainless steel |
| Cooking Area | 500-800 square inches |
| Heat Source | Charcoal or wood |
| Grate Type | Porcelain-coated or stainless steel |
| Dimensions | 30-50 inches in width, 20-30 inches in depth |
Having the right tools makes the job easier and safer.
Must-Have Tools
- Long-Handled Tongs: For flipping food without burning your hands. Get sturdy ones with good grip.
- Grill Brush: Keeps your grates clean and prevents sticking.
- Meat Thermometer: The most important tool for consistent results and food safety. Don’t guess if your food is cooked; use a thermometer. Instant-read thermometers are best.
- Spatula: Especially useful for burgers or delicate fish.
- Grill Gloves: Heat-resistant gloves protect your hands when moving hot grates or coals.
- Drip Pan: Useful for indirect cooking to catch drippings and prevent flare-ups.
Safety First
Grilling involves high heat and sometimes open flames, so safety is paramount.
- Clear Area: Ensure your grill is on a stable, level surface, away from anything flammable like dry leaves, fences, or overhanging branches.
- Fire Extinguisher/Water: Always have a fire extinguisher, a bucket of sand, or a garden hose readily available.
- Never Leave Unattended: Especially when cooking with charcoal, never walk away from a lit grill.
- Lighter Fluid (Charcoal): Use sparingly and never add to hot coals.
- Propane Tank (Gas): Check hoses for leaks, and always store tanks upright and away from heat.
- Food Safety: Keep raw and cooked foods separate. Wash your hands thoroughly. Cook to safe internal temperatures.
Troubleshooting Common Char Grilling Problems
Even experienced grillers run into issues. Knowing how to fix them can save your meal.
Flare-Ups
These sudden bursts of flame are usually caused by fat dripping onto hot coals or burners.
- How to Handle:
- Move food away from the flames to the indirect heat zone.
- Close the lid briefly (this restricts oxygen, but don’t leave it too long as it can extinguish coals).
- Remove the food completely if the flare-up is severe.
- Avoid spraying water directly on flames on a charcoal grill as it can create ash and steam.
- Prevention: Trim excess fat from meat. Use a drip pan under fatty cuts when cooking indirectly. Don’t pierce sausages or other fatty meats during cooking, as this releases fat.
Food Sticking to the Grates
This is annoying and ruins the presentation.
- Cause: Dirty grates, grates not hot enough, or not enough oil.
- Solution: Clean your grates thoroughly with a wire brush before and after each use. Preheat the grill properly. Lightly oil the grates before placing food. Don’t try to flip food too early; let it sear and release naturally.
Burnt Exterior, Raw Interior
A classic sign of too much direct heat for too long.
- Cause: Grill too hot, food too thick for direct grilling, or not utilizing indirect heat.
- Solution: For thicker cuts, sear on direct heat to get those marks, then move to indirect heat to finish cooking. Reduce overall grill temperature if everything is burning too quickly. Cut thicker items into thinner portions if you only want to cook directly.
Dry or Tough Meat
Usually caused by overcooking.
- Cause: Cooking for too long, cooking at too high a temperature without proper rest.
- Solution: Use a meat thermometer! Cook to the correct internal temperature for the desired doneness, then remove the food from the grill before it reaches that temperature (carryover cooking will increase it slightly). Always rest meat after grilling for at least 5-10 minutes (longer for larger cuts) to allow juices to redistribute.
The Grand Finale: Resting Your Meat
This step is often overlooked but is absolutely crucial for juicy, tender results.
Why Resting is Essential
When meat cooks, the muscle fibers contract, pushing the juices towards the center. If you cut into it immediately, those juices will gush out onto your cutting board, leaving you with dry meat. Resting allows the muscle fibers to relax, and the juices to redistribute throughout the meat.
How to Rest
- Remove from Heat: Once your meat reaches its target internal temperature (or just below, accounting for carryover cooking), remove it from the grill.
- Tent with Foil: Loosely tent the meat with aluminum foil. This keeps it warm and prevents it from drying out, without steaming it.
- Resting Time:
- Small cuts (steaks, chops, chicken breasts): 5-10 minutes.
- Larger cuts (roasts, whole chickens, briskets): 15-30 minutes, or even longer for very large items.
During this resting period, the internal temperature of the meat will continue to rise by a few degrees (carryover cooking), so factor that in when you decide to pull it off the grill.
By understanding these principles and practicing these techniques, you’ll be well on your way to mastering the art of char grilling and consistently producing delicious, perfectly cooked food every time. Happy grilling!