Mastering Outdoor Grilling: The Ultimate Guide

Want to grill like a pro and impress your friends and family with perfectly cooked food every time? It’s not as complicated as it might seem. Mastering outdoor grilling is all about understanding your tools, your fuel, and a few fundamental techniques. We’ll cover everything you need to know, from choosing the right grill to advanced cooking methods, to help you become a true grilling master.
Before you even think about firing up the coals, you need to decide what kind of grill suits you best. Each type has its own quirks and benefits.
Gas Grills: Convenience and Control
Gas grills are the workhorses of the grilling world. They’re quick to heat up, easy to clean, and offer precise temperature control, making them a great choice for beginners and busy cooks alike.
- Propane vs. Natural Gas: Most home gas grills run on propane tanks. If you have a natural gas line hooked up to your house, you can usually convert a propane grill or buy one specifically for natural gas – a fantastic option if you grill often, as you’ll never run out of fuel.
- Burner Count and BTUs: More burners mean more cooking zones and better temperature control. BTU (British Thermal Units) ratings tell you how much heat a burner can generate. While higher BTUs generally mean hotter cooking, even heat distribution is just as important. Look for even flame patterns across the entire burner.
- Construction Materials: Stainless steel is durable and looks great, but not all stainless steel is created equal. Look for heavier gauge steel for better heat retention and longevity. Cast iron grates are excellent for searing, while porcelain-coated cast iron is easier to clean.
Charcoal Grills: The Flavor King
For many, charcoal is synonymous with grilling. It delivers that distinctive smoky flavor that gas just can’t quite replicate. While it takes a bit more effort, the results are often worth it.
- Kettle Grills: The classic Weber kettle is a timeless design for a reason. It’s versatile, relatively inexpensive, and excellent for both direct and indirect cooking.
- Kamado Grills: These ceramic wonders, like Big Green Egg or Kamado Joe, are incredibly efficient. Their thick walls retain heat exceptionally well, making them fantastic for low-and-slow smoking and high-heat searing. They come with a steeper price tag, though.
- Barrel Grills: Often larger, barrel grills are good for cooking for a crowd. They might not have the precise temperature control of a kamado, but they offer ample cooking space.
Pellet Grills: The Set-It-And-Forget-It Smoker
Pellet grills, like Traegers or Pit Bosses, are a hybrid beast. They burn compressed wood pellets, offering wood-fired flavor with the convenience of a gas grill’s temperature control.
- Ease of Use: You set a desired temperature, and the grill’s auger feeds pellets into a fire pot to maintain it. This makes them ideal for long smoking sessions where you don’t want to constantly monitor the fire.
- Flavor Profile: The type of wood pellet you use (hickory, apple, cherry, etc.) directly impacts the flavor of your food, allowing for experimentation.
- Maintenance: Pellet grills require occasional cleaning of the ash pot and grease tray, but generally, they’re low maintenance for the results they provide.
If you’re looking to enhance your outdoor cooking experience, you might find it helpful to read about the versatile George Foreman grill, which is perfect for both indoor and outdoor use. This grill not only offers a compact design but also features a non-stick surface that makes cooking and cleaning a breeze. For a detailed review of its features and performance, check out this article: George Foreman Grill Review.
Essential Tools and Accessories: Your Grilling Arsenal
You don’t need a gadget for everything, but a few key tools will make your grilling life much easier and safer.
Must-Have Basics
These are non-negotiables for any serious griller.
- Long-Handled Tongs: Essential for flipping, moving, and generally manipulating food on the hot grates. Choose sturdy ones with good grip.
- Spatula: For more delicate items like fish or burgers, a good grilling spatula is a must.
- Grill Brush: Keeping your grates clean is crucial for preventing sticking and ensuring even cooking. Stiff wire brushes are common, but look for ones with a scraper too. Alternatively, consider bristle-free options for safety.
- Instant-Read Thermometer: This is, arguably, the most important tool. Don’t guess if your food is done; know for sure. An instant-read thermometer takes all the guesswork out of internal temperatures.
- Grill Gloves: Heat-resistant gloves protect your hands when dealing with hot grates, coals, or moving food.
Nice-to-Have Extras
These items aren’t strictly necessary but can elevate your grilling experience.
- Chimney Starter (for charcoal): Speeds up charcoal lighting significantly and avoids the use of lighter fluid.
- Meat Claws: Perfect for shredding pulled pork or chicken.
- Grill Basket: Great for smaller vegetables or delicate items that might fall through the grates.
- Drip Pans: For indirect cooking or catching drippings, especially helpful for roasts.
- Basting Brush: For applying sauces or marinades during cooking.
Fueling the Fire: Mastering Heat Management

Understanding how to control heat is the cornerstone of great grilling, regardless of your grill type.
Charcoal Grill Heat Control
This is where technique really comes into play.
- Lump Charcoal vs. Briquettes: Lump charcoal is pure wood, burns hotter, and produces less ash. Briquettes are compressed charcoal dust and additives, burn more consistently, and are generally cheaper. Both have their place.
- Lighting the Charcoal: A chimney starter is your best friend here. Fill it with charcoal, put some paper or fire starters under it, and light. In about 15-20 minutes, the top coals will be ash-gray, and you’re ready to pour them out.
- Direct vs. Indirect Heat:
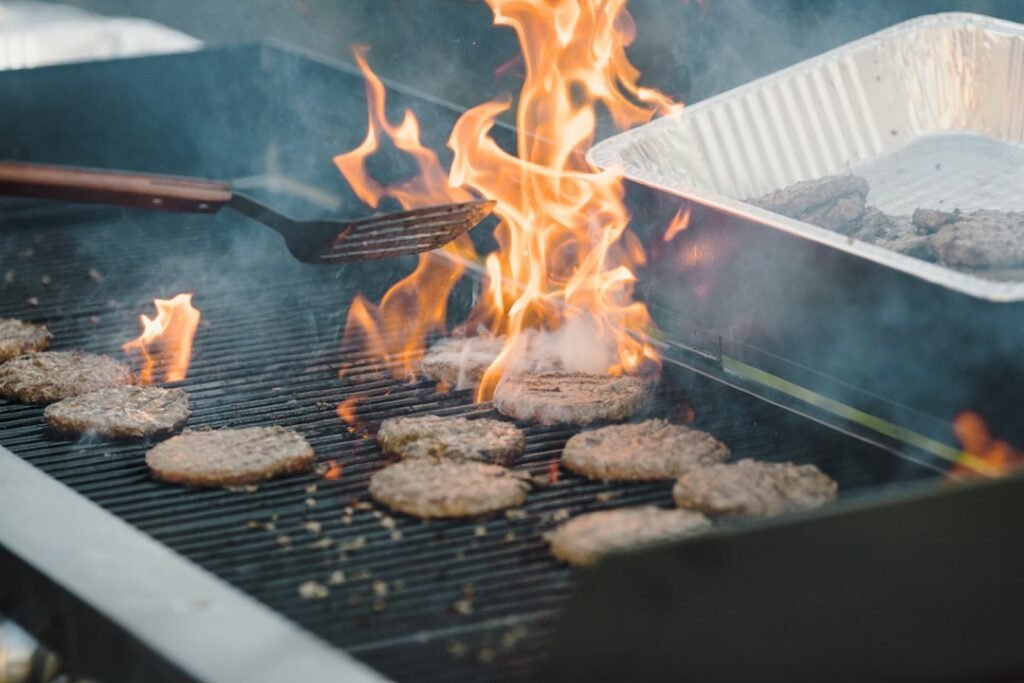
- Direct Heat: Coals directly under the food. Ideal for searing, quick-cooking items like thin steaks, burgers, or hot dogs.
- Indirect Heat: Coals on one side, food on the other. Perfect for larger cuts of meat (roasts, whole chickens), items that need longer cooking times, or anything you want to cook without burning the outside. You can also create two zones for searing and then moving to finish.
- Vent Control: The vents on your charcoal grill are crucial.
- Bottom Vent: Controls oxygen flow to the fire. More open = hotter fire.
- Top Vent: Controls airflow out of the grill and draws smoke over the food. Keep it at least partially open to prevent the fire from suffocating.
Gas Grill Heat Control
Easier to manage, but still requires attention.
- Preheating: Always preheat your gas grill. Turn all burners to high for 10-15 minutes with the lid closed. This gets the grates hot for searing and burns off any leftover gunk.
- Zone Cooking: Similar to charcoal, you can create direct and indirect zones. For indirect heat, turn off the burner(s) directly under the food and use the adjacent burners for heat. This is great for larger cuts.
- Temperature Adjustment: Use the burner knobs to adjust the flame size and thus the temperature. Monitor your built-in thermometer, but remember it measures dome temperature, not necessarily grate temperature.
Grilling Techniques: From Searing to Smoking

Now for the fun part – actually cooking! Different foods require different approaches.
Direct Heat Grilling: The Sear and Char
This is your go-to for thinner, faster-cooking items.
- High Heat, Quick Cook: Think steaks, chops, burgers, hot dogs, thin-cut vegetables.
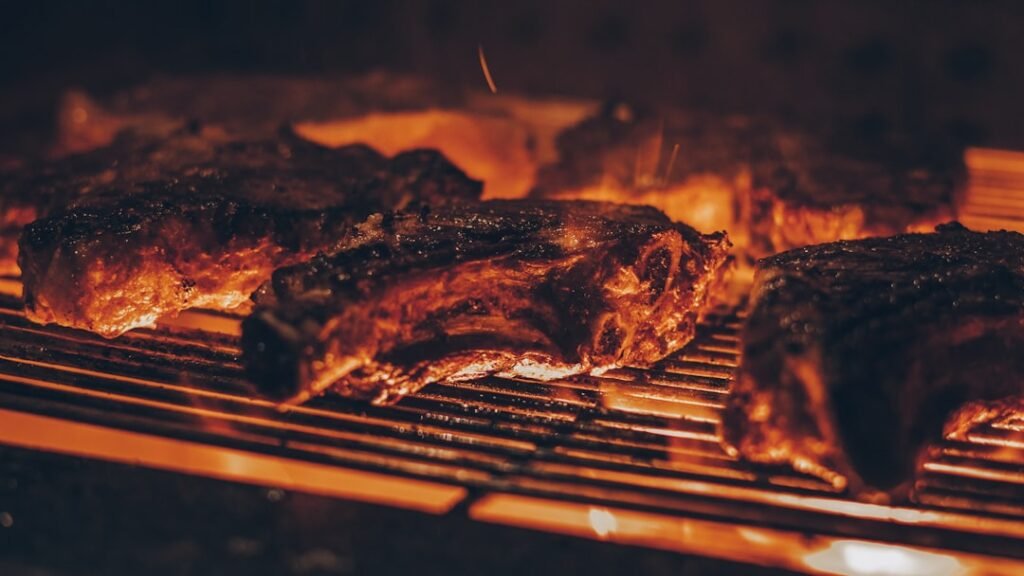
- The Maillard Reaction: The high heat creates a beautiful crust and complex flavors through the Maillard reaction. Don’t be afraid of a good char!
- Flip Once: For most direct-heat items, resist the urge to constantly flip. Let one side get a good sear before turning it over.
Indirect Heat Grilling: Low and Slow, Even Cooking
For larger cuts, delicate items, or anything that needs to cook through without burning.
- Set Up Your Zones: As discussed above, create a hot zone and a cooler zone.
- Lid Closed: Keep the lid closed as much as possible to maintain a consistent oven-like temperature. Every time you lift it, you lose heat and extend cooking time.
- Monitoring Internal Temperature: This is where your instant-read thermometer is indispensable. Cook to target internal temperatures, not just by time.
Searing: The Art of the Crust
Searing isn’t just for steaks; it can elevate anything.
- Blazing Hot Grates: Get your grates as hot as possible.
- Oil the Food, Not the Grate: Lightly oil your food (with a high smoke point oil like canola or grapeseed) before placing it on the hot grates. This helps prevent sticking.
- The Crosshatch: For those perfect grill marks, place the food at an angle, let it sear for a couple of minutes, rotate it 90 degrees, and sear again before flipping.
Smoking: Infusing Flavor
While a dedicated smoker is ideal, you can get smoky flavor on a regular grill.
- Wood Chips vs. Chunks:
- Chips: Soak them in water for about 30 minutes, then place them in a foil packet with holes or a smoker box directly on the coals (charcoal) or over a burner (gas). They burn faster, producing a quicker burst of smoke.
- Chunks: Don’t need soaking. Place them directly on the coals. They burn longer and produce a more sustained smoke.
- Maintaining Low Temperatures: Smoking is all about low and slow (typically 225-275°F or 107-135°C). Use indirect heat and manage your vents carefully on charcoal grills.
- The “Dirty Dozen”: Don’t over-smoke. Too much smoke can make food taste bitter. Aim for a “thin blue smoke” rather than thick white smoke.
When it comes to enhancing your outdoor cooking experience, choosing the right kitchen outdoor grill is essential. Many enthusiasts find that understanding the various types of grills available can significantly impact their culinary adventures. For those looking to dive deeper into the world of outdoor cooking, a great resource is an article that discusses the best BBQ grills and tools for your backyard feast. You can read more about it here. This guide provides valuable insights that can help you make informed decisions, ensuring that your grilling sessions are both enjoyable and delicious.
Beyond the Basics: Advanced Tips for Grilling Mastery
| Grill Type | Price Range | BTU | Cooking Area |
|---|---|---|---|
| Gas Grill | 200 – 2000 | 10,000 – 100,000 | 200 – 800 sq. in. |
| Charcoal Grill | 50 – 500 | N/A | 150 – 500 sq. in. |
| Electric Grill | 100 – 500 | 1,500 – 2,500 | 150 – 400 sq. in. |
Once you’ve got the fundamentals down, these tips will help you stand out.
Marinades and Rubs: Flavor Boosters
These aren’t just for tenderizing; they add layers of flavor.
- Marinades: Often acid-based (citrus, vinegar, yogurt) with oil, herbs, and spices. They penetrate the meat’s surface, adding moisture and flavor. Don’t over-marinate, especially with acidic ones, as it can make meat mushy.
- Rubs: Dry mixtures of spices and sometimes salt and sugar. They form a flavorful crust on the outside of the food. Apply them liberally and let them sit for a while before grilling.
- Brining: For poultry and pork, brining in a salt solution significantly improves moisture retention and seasoning throughout the meat.
Resting Meat: The Crucial Final Step
This is perhaps the most overlooked yet vital step.
- Why It Matters: When meat cooks, its muscle fibers contract, pushing juices to the center. If you cut into it immediately, those juices will gush out, leaving you with dry meat. Resting allows the fibers to relax and the juices to redistribute throughout the cut.
- How Long to Rest:
- Steaks/Chops: 5-10 minutes.
- Roasts/Whole Birds: 15-30 minutes, depending on size.
- Tent with Foil: Loosely tenting the meat with foil helps keep it warm without steaming the crust you worked so hard for.
Cleaning and Maintenance: Prolonging Your Grill’s Life
A clean grill is a happy grill, and it performs better.
- After Every Cook: Scrape the grates with your grill brush while they’re still warm (but not blazing hot). This makes removal of food residue much easier.
- Regular Deep Cleaning:
- Gas Grills: Periodically remove grates, flavorizer bars, and burner covers. Scrape out any accumulated grease and debris from the firebox. Check burner ports for clogs.
- Charcoal Grills: Empty ash regularly. Once in a while, give the inside of the kettle a good scrub.
- Protective Cover: A good quality grill cover will protect your investment from the elements, especially if your grill lives outdoors year-round.
Grilling is a journey, not a destination. There’s always something new to learn, a new technique to try, or a new recipe to master. By understanding your equipment, controlling your heat, and applying these practical tips, you’ll be well on your way to becoming a true master of the flame. Happy grilling!