Mastering the Gas Flat Top Grill
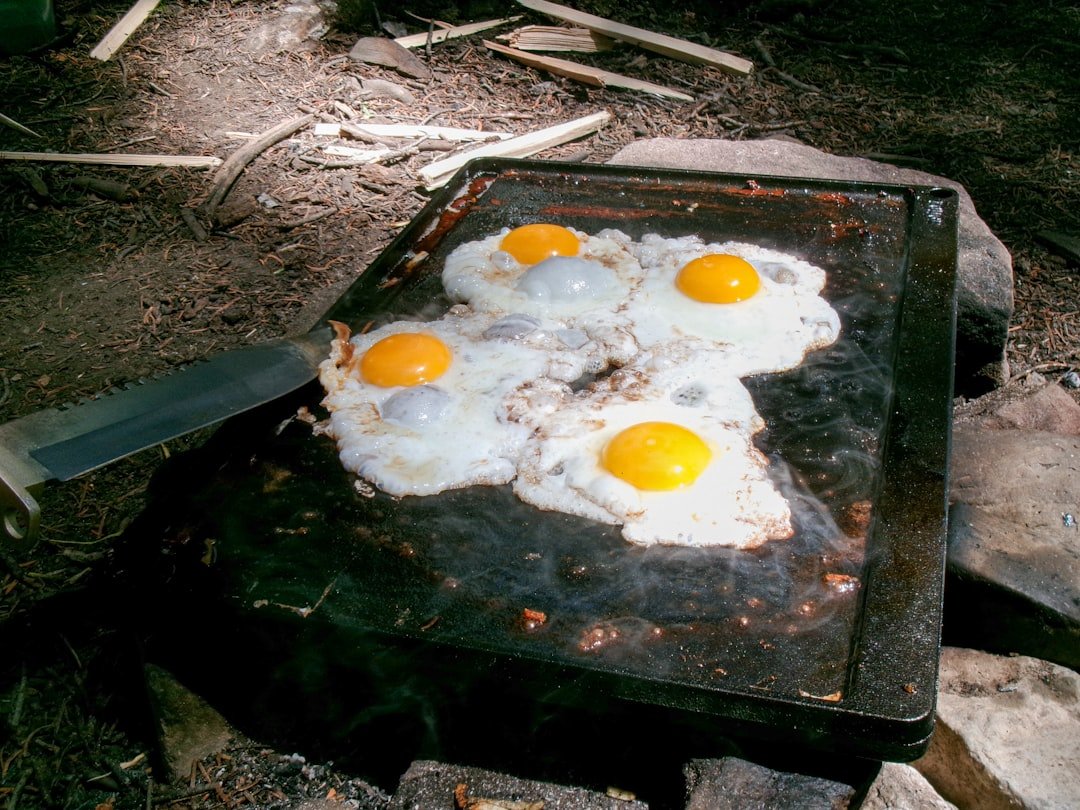
A gas flat top grill is a fantastic piece of cooking equipment that offers incredible versatility. Think of it as an oversized, super-powered frying pan, but with consistent, zoned heat you can control with precision. It’s great for everything from breakfast staples like pancakes and bacon to smash burgers, stir-fries, and even searing steaks. The key to mastering it lies in understanding heat management, proper cleaning, and a few essential techniques. Let’s dive in.
Before you even think about cooking, a little prep goes a long way. This isn’t just about turning the knob; it’s about making sure your grill is ready to perform.
Choosing Your Grill
There’s a wide range of gas flat tops out there, from smaller portable units to built-in commercial beasts. Consider your space, your typical cooking volume, and your budget. Think about the number of burners – more burners generally mean more heat zones and better temperature control. Some even come with side tables or storage, which can be super handy.
Initial Seasoning
This is crucial for a new grill. Just like a cast iron pan, a flat top needs to be seasoned to create a natural non-stick surface and protect it from rust.
- Initial Wash: Give your new griddle surface a good wash with hot, soapy water to remove any manufacturing oils or residues. Rinse thoroughly and dry completely – never let water sit on the surface.
- First Heat Cycle: Turn on all burners to high heat and let it run for 15-20 minutes until the surface darkens and any remaining manufacturing oils burn off. You might see some smoke – that’s normal.
- Applying Oil: Turn off the burners, let the surface cool slightly (it should still be warm to the touch). Apply a thin, even layer of high smoke point oil (like flaxseed, avocado, or grapeseed oil) across the entire surface using paper towels. Wipe off any excess.
- Baking On: Turn the burners back to high until the oil starts to smoke heavily. Let it smoke for 10-15 minutes, then turn off the burners and let it cool completely. Repeat this oiling and heating process at least 3-5 times. The surface should gradually darken to a rich, dark brown or black. This creates that protective, non-stick layer.
Essential Tools
You don’t need a massive collection, but these items will make your flat top cooking experience much smoother.
- Spatulas: You’ll want at least two, preferably sturdy metal ones. One broader, flatter spatula for flipping and scraping, and another with an angled edge is great for chopping and maneuvering.
- Scraper: A heavy-duty flat top scraper is indispensable for cleaning stubborn bits and regular maintenance.
- Squeeze Bottles: Fill one with cooking oil and another with water. The oil is for cooking and seasoning maintenance, water for steam cleaning and loosening stuck-on food.
- Lid/Dome: A metal dome can create a steaming environment, perfect for melting cheese or cooking vegetables faster.
- Paper Towels: You’ll use a lot of these for oiling and cleaning.
- Tongs: Always handy for rearranging food.
If you’re considering enhancing your outdoor cooking experience, you might find it useful to read about the benefits of using a campfire grill grate. This article discusses the advantages of stainless steel grill grates and how they can complement your gas flat top grill by providing versatility and improved heat distribution. For more insights, check out the article here: Campfire Grill Grate Review.
Mastering Heat Zones
This is probably the most significant advantage of a flat top grill over many other cooking surfaces. Understanding and utilizing distinct heat zones is key to cooking multiple items simultaneously and perfectly.
Identifying Hot Spots
On most multi-burner gas flat tops, the area directly above each burner will be the hottest. The edges and corners tend to be cooler. Spend some time just observing your grill as it heats up – you can even sprinkle a little water on it to see where it sizzles most aggressively.
Creating Zones for Different Foods
- High Heat Zone: This is your searing zone. Perfect for smash burgers, quick-searing steaks, or getting a great crust on anything.
- Medium Heat Zone: Ideal for cooking through thicker items after an initial sear, or for foods that need consistent, moderate heat like pancakes or eggs.
- Low Heat/Warming Zone: Great for toasting buns, keeping cooked food warm, or slowly caramelizing onions.
For instance, you might have one burner on high for burgers, the middle burner on medium-low for frying eggs, and the third burner turned off or on its lowest setting for keeping bacon warm or toasting bread. This simultaneous cooking is where the flat top truly shines.
Everyday Cooking Techniques
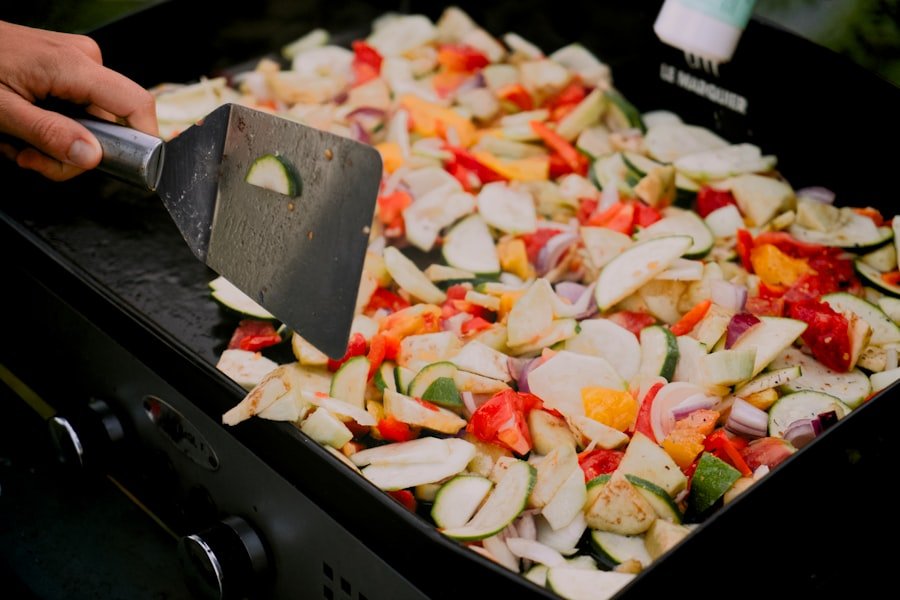
Now for the fun part! These techniques will help you get the most out of your flat top grill.
Preheating Properly
Don’t rush this step. Turn all your burners to medium-high and let the grill preheat for at least 10-15 minutes. This ensures a consistent temperature across the cooking surface and prevents food from sticking. A properly preheated surface is crucial for a good sear.
The Art of the Smash Burger
This is a flat top classic for a reason.
- High Heat: Get your grill blazing hot in one zone.
- Oil and Patty: Add a little high smoke point oil, then place a loosely formed ball of ground beef (about 3-4 oz) directly onto the hot surface.
- Smash! Immediately use a sturdy spatula (and a second spatula on top for leverage, if needed) to firmly press down on the patty, flattening it into a thin disc. The goal is maximum surface contact for a fantastic crust.
- Scrape and Flip: Let it cook undisturbed for 2-3 minutes until a beautiful, dark crust forms and the edges are crispy. Use your flat top scraper or a sharp-edged spatula to get under that crust and flip it.
- Finish: Cook for another minute, add cheese if desired, cover with a dome to melt, and then transfer to a toasted bun.
Perfect Pancakes and Eggs
These breakfast staples benefit greatly from consistent, even heat.
- Medium-Low Heat: You want a more moderate temperature for these. Too hot, and they’ll burn before cooking through.
- Thin Oil Layer: A very light coating of oil or butter is all you need.
- Pancakes: Pour your batter and let it cook until bubbles form on the surface and the edges look set. Flip gently with a wide spatula.
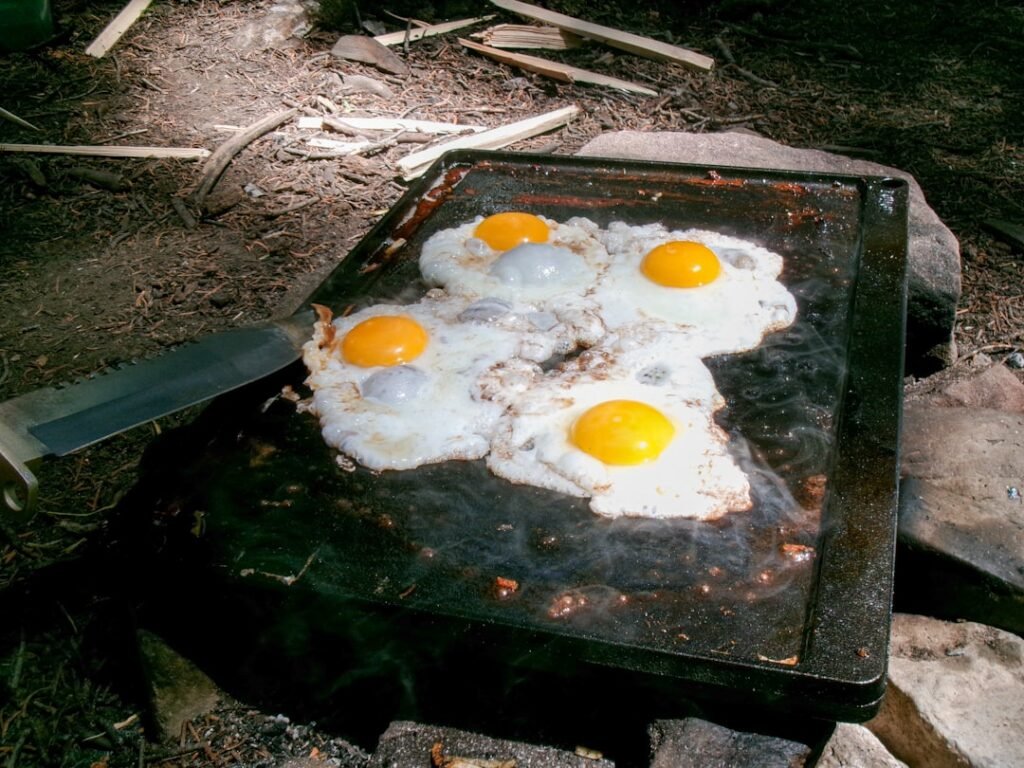
- Eggs: For fried eggs, crack them directly onto the oiled surface. For scrambled eggs, you can use your spatula to continuously stir and fold the eggs as they cook. The large surface area allows for quick cooking.
Stir-Frying and Sautéing
The flat top can act as a giant wok, without the high sides.
- High Heat, Hot Spot: Push smaller ingredients towards the hottest part of the grill.
- Chopping as you Cook: With two spatulas, you can effectively chop vegetables or meat as they cook, ensuring even browning and quick cooking.
- Sauce at the End: Add your stir-fry sauce towards the end of cooking to avoid burning and ensure it coats everything well.
Post-Cook Cleaning and Maintenance
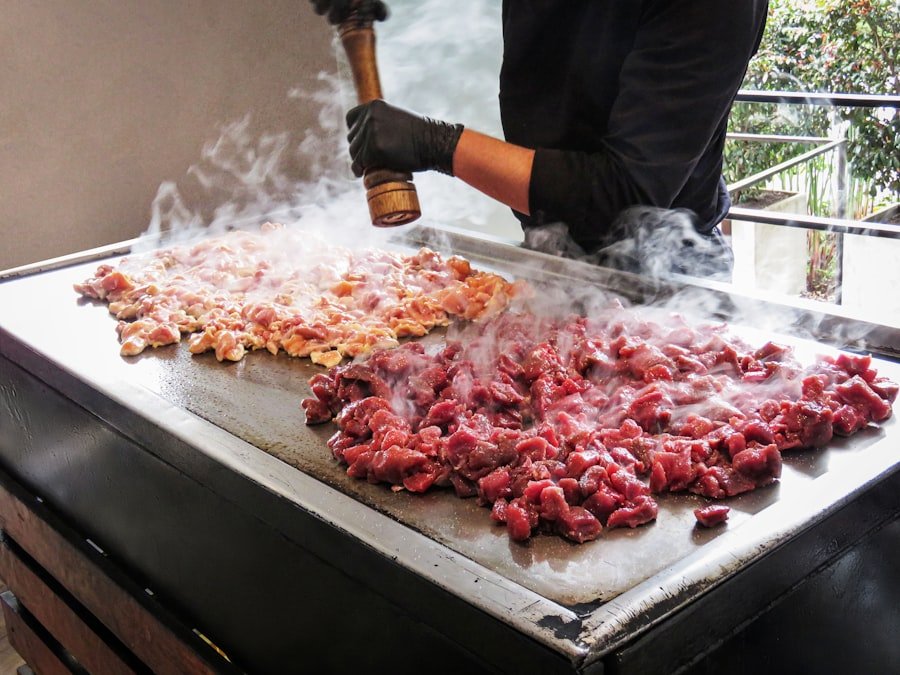
Proper cleaning isn’t just about hygiene; it’s about preserving your grill’s seasoning and preventing rust. A well-maintained flat top will last for years.
The Immediate Scrape
Clean your grill while it’s still hot after cooking. This is the easiest way.
- Scrape Excess: Use your heavy-duty scraper to push any food debris and excess oil into the grease trap. Work methodically across the entire surface.
- Water and Steam (Optional): For particularly stuck-on bits, squirt a little water onto the hot surface. It will sizzle and steam, helping to loosen the gunk. Immediately scrape again, pushing everything towards the grease trap. Be careful about splashing hot water.
- Wipe Down: Once most of the debris is gone, wipe the surface clean with a few layers of paper towels until they come away mostly clean.
Re-Oiling for Seasoning
This step is critical for maintaining your non-stick surface and preventing rust.
- Thin Oil Layer: While the griddle is still warm (or you can turn the burners on low for a minute to warm it up), apply a very thin, even layer of high smoke point oil.
- Wipe Excess: The key is thin. Wipe off any apparent excess. You want just enough to coat the surface and protect it. Too much oil will become sticky or gummy.
- Cool Down: Let it cool completely. This thin layer of oil polymerizes and adds to your seasoning over time.
Dealing with Rust
If you neglect your seasoning, rust can appear. Don’t panic!
- Scrubbing: Use steel wool, fine-grit sandpaper, or a grill stone to vigorously scrub away rusted areas. You’ll likely see a lot of orange residue.
- Deep Clean: Once the rust is gone, wipe the area clean.
- Re-Season: Immediately apply several layers of oil and heat cycles, just like you did for the initial seasoning, to rebuild the protective layer.
Regular Exterior Care
Don’t forget the outside!
- Wipe Down: Wipe down the stainless steel or painted exterior with a damp cloth to remove grease splatters.
- Grease Trap: Regularly empty and clean your grease trap. This prevents odors and pests.
- Burner Maintenance: Periodically check your burner ports for obstructions (like spiders or food debris) and clean them with a wire brush if necessary to ensure even flame distribution.
If you’re considering upgrading your outdoor cooking experience, you might find the features of a gas flat top grill particularly appealing. These grills offer a versatile cooking surface that can handle everything from pancakes to stir-fries. For a deeper understanding of innovative grilling options, check out this insightful article on the Ninja Woodfire Pro, which explores its unique capabilities and how it compares to traditional grills. You can read more about it here.
Troubleshooting Common Issues
| Feature | Gas Flat Top Grill |
|---|---|
| Size | Various sizes available |
| Material | Stainless steel |
| Heat Source | Gas |
| Cooking Surface | Flat top |
| Temperature Control | Adjustable knobs |
| Usage | Commercial and residential |
Even experienced flat top users run into snags. Here’s how to address a few common ones.
Food Sticking
If your food is sticking, there are a few likely culprits.
- Insufficient Seasoning: Your seasoning layer might be too thin or damaged. Build it up with more oiling and heating cycles.
- Not Enough Oil (Cooking): You might need a slightly more generous layer of cooking oil during the cooking process for certain items.
- Not Hot Enough: If the grill isn’t fully preheated to the correct temperature, food tends to stick more because it doesn’t immediately sear and release.
- Too Much Moisture: Excess moisture on food can also cause sticking. Pat protein dry before placing it on the griddle.
Uneven Heating
If you notice some areas are consistently hotter or colder than others despite adjusting burners.
- Preheating Time: Are you giving it enough time to fully preheat and equalize temperature?
- Burner Issues: Check if any burner ports are clogged, leading to a weak or inconsistent flame. Clean them carefully.
- Grill Level: Ensure your grill is level. An uneven surface can sometimes affect heat distribution.
- Manufacturer Design: Some grills simply have natural hot and cold spots due to their design. Learn where these are and use them to your advantage.
Smoking Excessively
While some smoke is normal, constant heavy smoke can be an issue.
- Excess Oil on Plate: Too much oil left on the griddle surface from either cooking or seasoning can smoke. Wipe off excess oil after seasoning.
- Burning Food Debris: Scraps of food left from previous cooks will burn and smoke. Clean thoroughly after each use.
- Wrong Oil: Using an oil with a low smoke point for high-heat cooking will cause it to smoke quickly. Stick to high smoke point oils like avocado, grapeseed, or canola for cooking.
By following these practical tips and techniques, you’ll be well on your way to mastering your gas flat top grill. It’s a rewarding piece of equipment that will open up a world of culinary possibilities in your backyard or kitchen. Happy cooking!