Beginner Smoker Guide: Essential Tips for Smoking Success
Smoking meat is more than just a cooking method—it’s an experience that brings people together. The smell of wood smoke, the anticipation as the meat cooks low and slow, and the first bite of tender brisket or juicy ribs create memories.
For beginners, the world of smoking can feel overwhelming. There are many types of smokers, fuels, techniques, and recipes. But with the right guidance, anyone can start their smoking journey and make delicious barbecue at home.
This guide breaks down everything a beginner needs to know, from choosing the right smoker to selecting wood, controlling temperature, and mastering your first smoke. Along the way, you’ll find tips to avoid common mistakes and insights that often surprise newcomers.
By the end, you’ll have the confidence to fire up your smoker and impress friends and family with true smoked flavor.
Understanding Smoking: The Basics
Smoking is a cooking process where food is cooked at low temperatures in a smoky environment. It’s different from grilling, which uses high, direct heat. Smoking relies on indirect heat and smoke from burning wood or charcoal. This slow process allows meat to become tender and absorb the smoky flavor.
The two main types of smoking are:
- Hot smoking: Cooks food at 200–275°F (93–135°C) for several hours. Most home smokers use this method for ribs, brisket, chicken, and more.
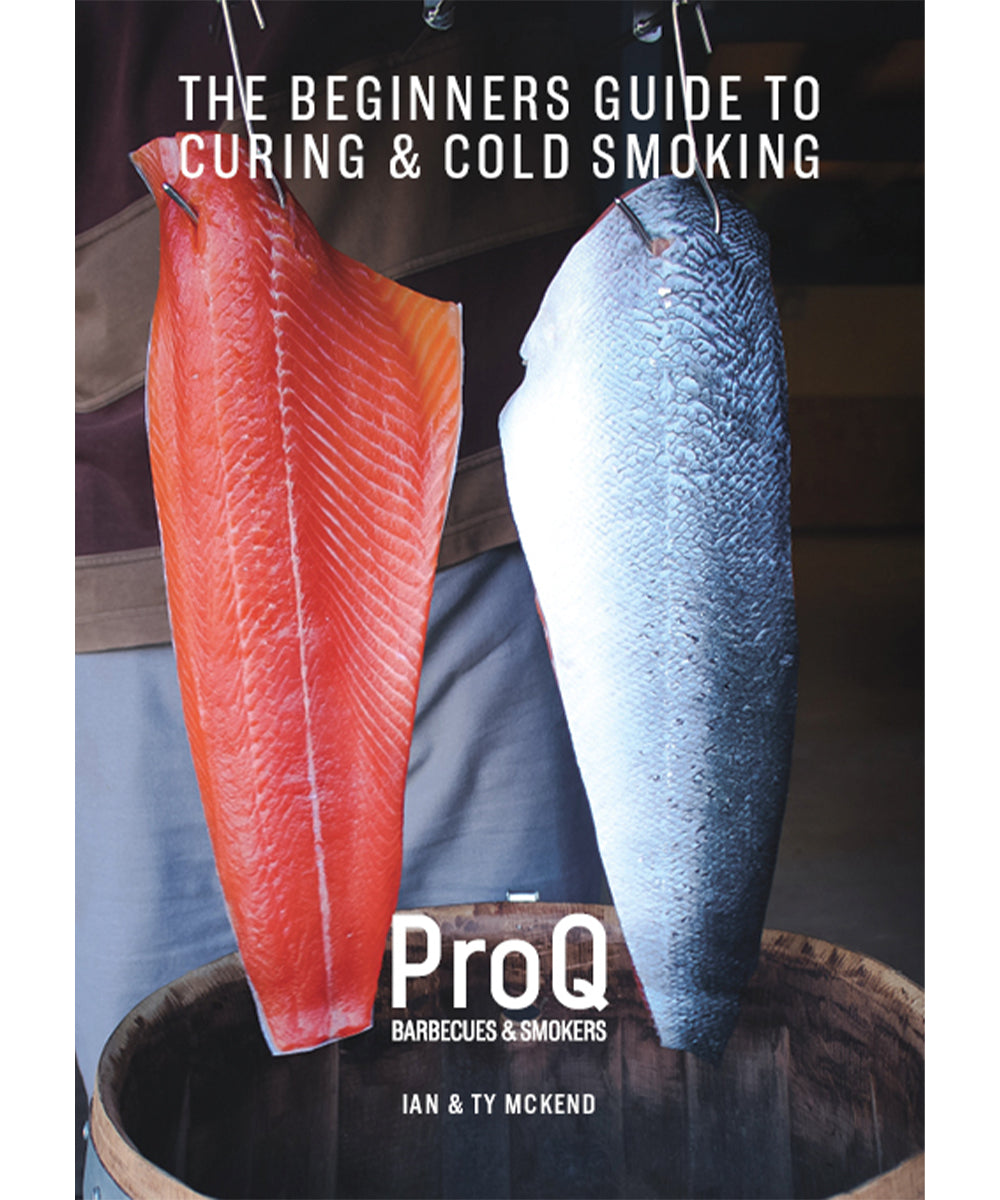
- Cold smoking: Uses much lower temperatures (below 90°F/32°C) to flavor foods like cheese or fish without cooking them. This is advanced and not recommended for beginners because of food safety risks.
Most beginners start with hot smoking. It’s safer, easier to control, and suitable for classic barbecue meats.
Why Smoke Food?
There are several reasons people love smoked foods:
- Flavor: Smoke from different woods adds unique tastes—fruity, earthy, or strong.
- Texture: Slow cooking makes tough cuts tender and juicy.
- Tradition: Smoking is part of many food cultures, from Texas barbecue to Scandinavian smoked fish.
- Preservation: Historically, smoking helped keep food safe to eat longer.
If you’ve ever wondered why smoked brisket tastes so different from grilled steak, it’s because the smoke transforms the meat on a chemical level. The smoke particles settle on the meat’s surface, creating a “bark”—a crust of flavor—and the slow heat breaks down connective tissue into gelatin, making each bite soft.
Another benefit is the sense of community. Smoking takes hours, so people gather around the smoker, share stories, and enjoy the anticipation. For many, the social aspect is as important as the food.
Types Of Smokers: Which One Is Right For You?
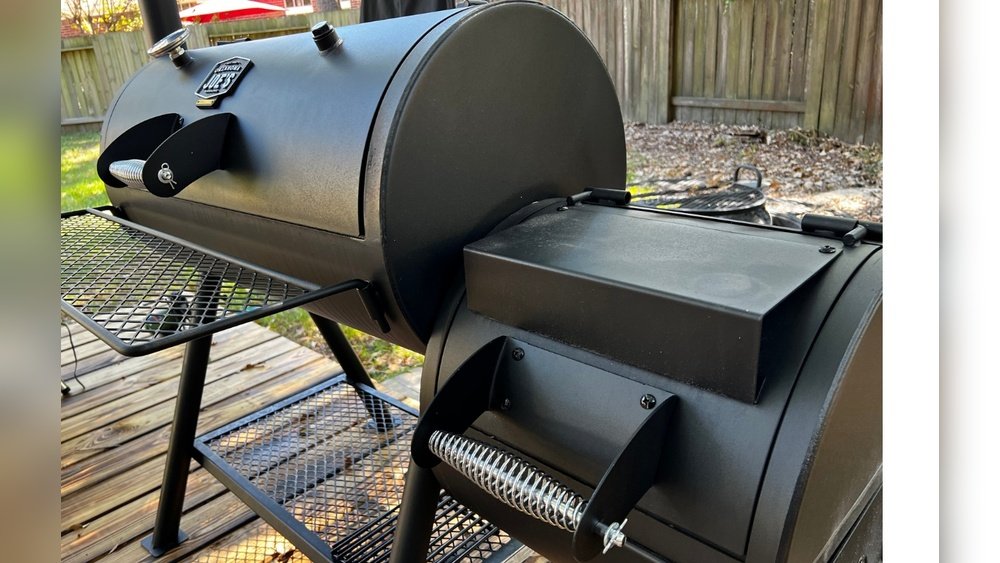
Choosing a smoker is the first big decision. There are several types, each with pros and cons for beginners. Your choice depends on budget, space, how much you want to cook, and how hands-on you want to be.
Common Types Of Smokers
| Smoker Type | Fuel | Pros | Cons |
|---|---|---|---|
| Charcoal Smoker | Charcoal, Wood | Rich flavor, Affordable models | Needs attention, Learning curve |
| Electric Smoker | Electricity, Wood chips | Easy to use, Set-and-forget | Less smoke ring, Needs outlet |
| Propane Smoker | Propane, Wood chips | Quick heating, Portable | Less smoke flavor, Refill propane |
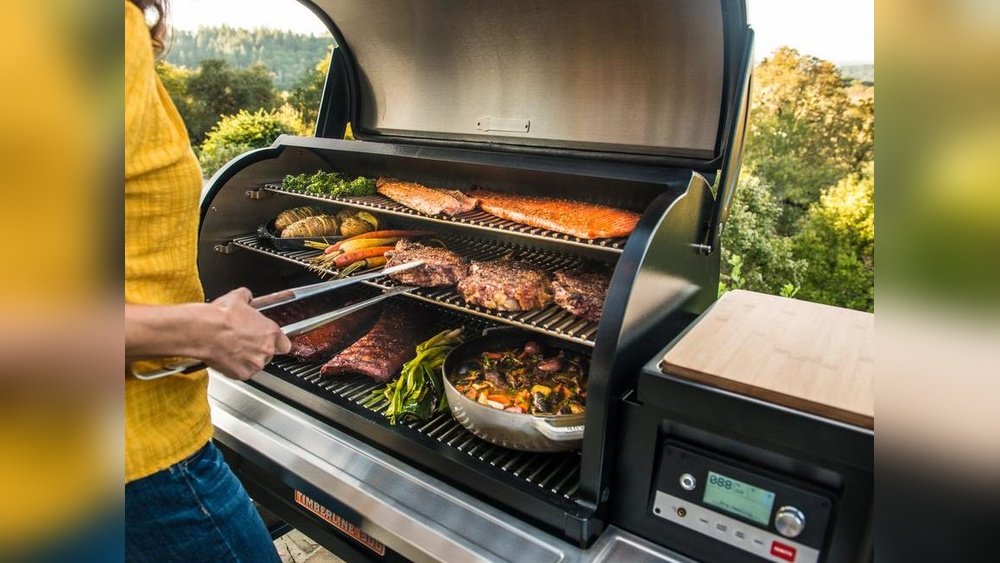
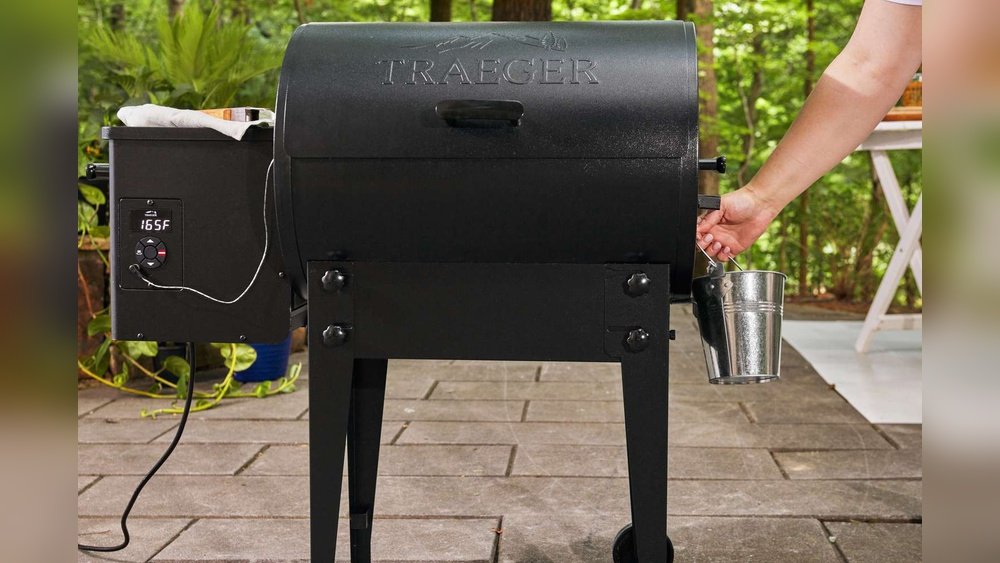
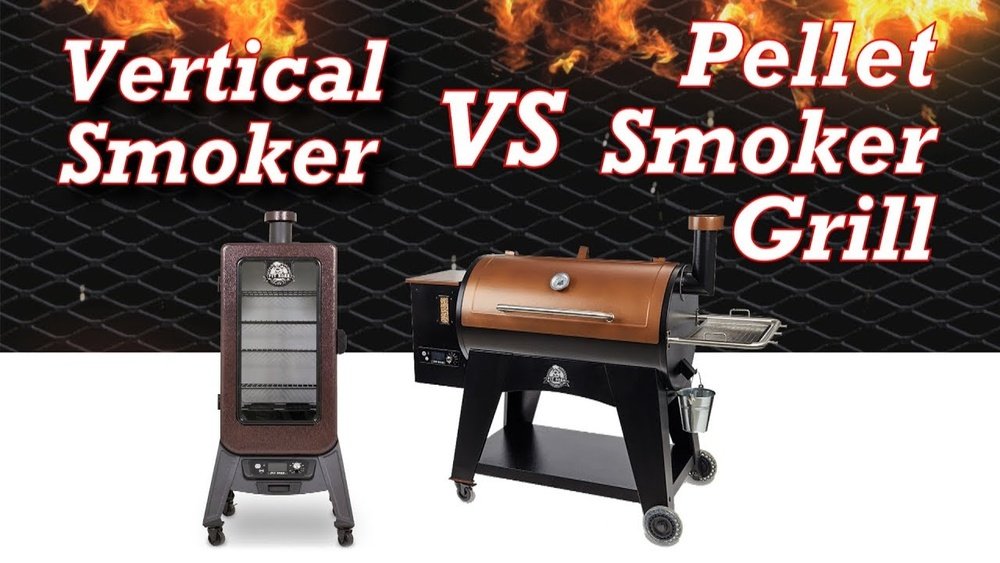
| Pellet Smoker | Wood pellets | Consistent temp, Digital controls | Expensive, Needs electricity |
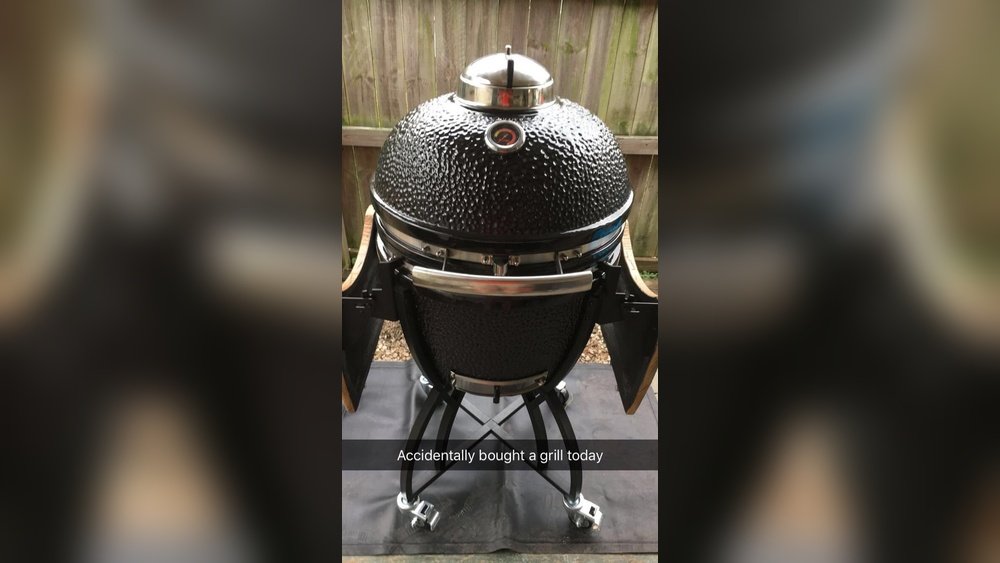
| Kamado Smoker | Charcoal, Wood chunks | Holds heat well, Versatile | Heavy, Pricey |
Key Factors For Beginners
- Ease of Use: Electric and pellet smokers are the easiest for beginners. They regulate temperature automatically.
- Flavor: Charcoal and wood smokers create the strongest smoke flavor and a classic smoke ring.
- Budget: Electric and basic charcoal smokers can start around $100. Pellet and kamado smokers often cost $400+.
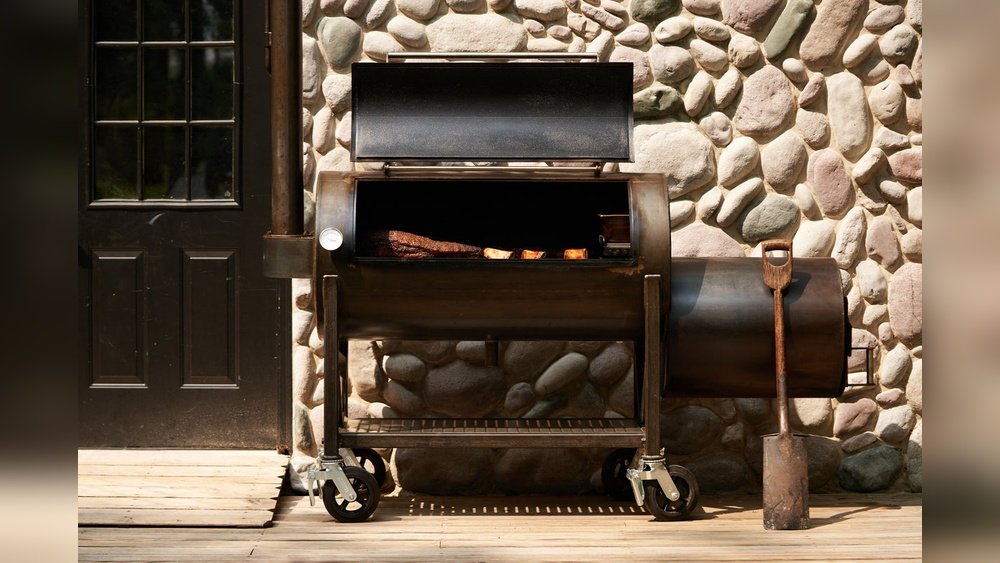
- Space: Upright electric or propane models fit small patios. Large offset smokers need more room.
- How Much Time: Charcoal and offset smokers require attention. Electric and pellet models are more “hands-off.”
If you are unsure, visit a local barbecue supply store. Seeing smokers in person helps you understand their size and build quality. Some stores even offer demos or rentals, which let you try before buying.
Not-so-obvious Insight:
Many beginners believe expensive smokers always make better barbecue. In reality, technique matters more than price. A $150 kettle grill can make amazing smoked chicken with good fire control.
Another overlooked tip: Consider how easy it is to move your smoker. Some smokers are very heavy and not meant to be moved often. If you plan to smoke at different locations, portability is important.
Credit: proqsmokers.co.uk
Key Features To Look For In A Smoker
Before buying, check for these important features:
- Temperature Control: Look for adjustable vents or digital controllers.
- Size: Choose a cooking area that fits your typical group—smaller for 2–4 people, larger for parties.
- Build Quality: Thicker metal holds heat better and lasts longer.
- Ease of Cleaning: Removable ash pans, drip trays, and easy-access doors save time.
- Thermometer: Built-in or add-on digital thermometers help track temperature accurately.
Also, check if your smoker has a water pan. Water pans help keep the temperature stable and add moisture to the cooking chamber, which is important for juicy meat.
Common Mistakes When Buying
- Buying too large: Big smokers use more fuel and are harder to heat for small meals.
- Ignoring local climate: Thin metal smokers lose heat quickly in cold, windy places.
- Overlooking support: Some brands have better customer service and spare parts.
Another mistake is skipping research. Read user reviews and watch video walkthroughs before deciding. Some smokers may look good online but have hidden problems, like difficult assembly or poor insulation.
Fuels And Smoke: Charcoal, Wood, Pellets, And More
Your fuel choice affects flavor, ease of use, and cost. Each type has strengths and weaknesses.
Charcoal
Charcoal is classic for smoking. It burns hot and steady, and you can add wood chunks for extra flavor.
- Briquettes: Uniform shape, burn long, but may have fillers.
- Lump charcoal: Pure wood, cleaner burn, but less consistent pieces.
For beginners, briquettes are easier to arrange and light, while lump charcoal gives a cleaner taste and burns hotter, so adjust the amount as needed.
Wood
Wood provides the signature smoke flavor. Use chunks or chips—chunks for long smoking, chips for quick cooks.
Popular Wood Types:
- Hickory: Strong, bacon-like flavor. Great for pork and ribs.
- Mesquite: Very bold. Use sparingly; best for beef.
- Apple: Mild, sweet. Good for chicken and fish.
- Cherry: Fruity, adds color. Works well with pork.
- Oak: Balanced smoke, goes with almost everything.
- Pecan: Milder than hickory, a bit sweet.
Not all woods are safe. Never use pine, cedar, or treated wood.
If you want to experiment, try mixing woods. For example, apple and hickory together give both sweet and strong flavors.
Wood Pellets
Pellets are compressed wood used in pellet smokers. They burn efficiently and come in many flavors.
Pellet smokers are popular because they combine convenience and flavor. However, make sure you buy food-grade pellets—not heating pellets, which may contain chemicals.
Electric And Gas
Electric and propane smokers use wood chips for flavor. They’re simple but produce less smoke ring and “bark” (crust) compared to charcoal.
Common Beginner Mistake:
Soaking wood chips. Many guides suggest soaking, but wet wood can produce bitter smoke and delay burning. Dry wood gives better results in most smokers.
Another mistake: Using too much wood at once. This can overpower the meat and mask its natural taste.

Credit: www.katsukawa-saiyo.com
Setting Up Your Smoker For The First Time
Before cooking, assemble your smoker and “season” it. Seasoning means running it empty at high heat with a bit of oil to remove manufacturing residues.
- Assemble the smoker following the manual.
- Wipe down inside surfaces with a damp cloth.
- Coat racks and inside walls lightly with cooking oil.
- Run the smoker at 250–300°F for 2–3 hours with a small amount of wood.
- Let it cool, then it’s ready for food.
Seasoning is crucial. It removes unwanted smells and protects metal parts.
Placing Fuel And Wood
- Charcoal smokers: Arrange fuel in a “snake” or “minion” method for long, steady burns.
- Electric/gas: Add dry wood chips to the smoker box.
- Pellet: Fill the hopper with pellets and set your temp.
For charcoal smokers, keep the fuel away from the meat. Place it to one side or in a ring around the edge, not directly under the food. This creates indirect heat and prevents burning.
Controlling Temperature: The Heart Of Smoking
Temperature control is the key skill in smoking. Most meats smoke best between 225°F and 250°F (107–121°C). Too hot, and the meat dries out. Too cold, and it stays tough.
How To Control Heat
- Charcoal smokers: Adjust intake and exhaust vents. More air means hotter fire; less air cools it down.
- Electric/pellet/gas: Set the desired temperature; the smoker does the rest.
Use a reliable thermometer. Built-in dials can be off by 20°F or more. Digital probe thermometers let you monitor both smoker and meat temps without opening the lid.
Another tip: Wind and outside temperature affect your smoker. If it’s windy, your smoker can lose heat fast. Shield it from wind or use a thermal blanket if needed.
Not-so-obvious Insight:
The “stall” is real. Large meats like brisket can stop rising in temperature for hours around 150–170°F (65–77°C) due to moisture evaporation. This is normal—be patient.
Some beginners panic and raise the heat too much during the stall. Instead, wrap the meat in foil or butcher paper, and let it cook through. The stall will end naturally.
Wood Smoke: Getting The Flavor Just Right
Too much smoke can make food bitter. Aim for thin blue smoke rather than thick white clouds. Less is often more—especially for chicken, fish, or mild meats.
- Add wood in small amounts.
- Use dry, seasoned wood.
- Don’t overload with chips or chunks.
Heavy white smoke means the wood is smoldering, not burning cleanly. Adjust vents for more airflow.
If you see thick white or gray smoke, open the vents a bit more. If you’re using a charcoal smoker, move some coals to improve airflow. The goal is clean burning, not smoldering.
For milder meats, start with just one chunk of wood. You can always add more, but you can’t take smoke flavor out.
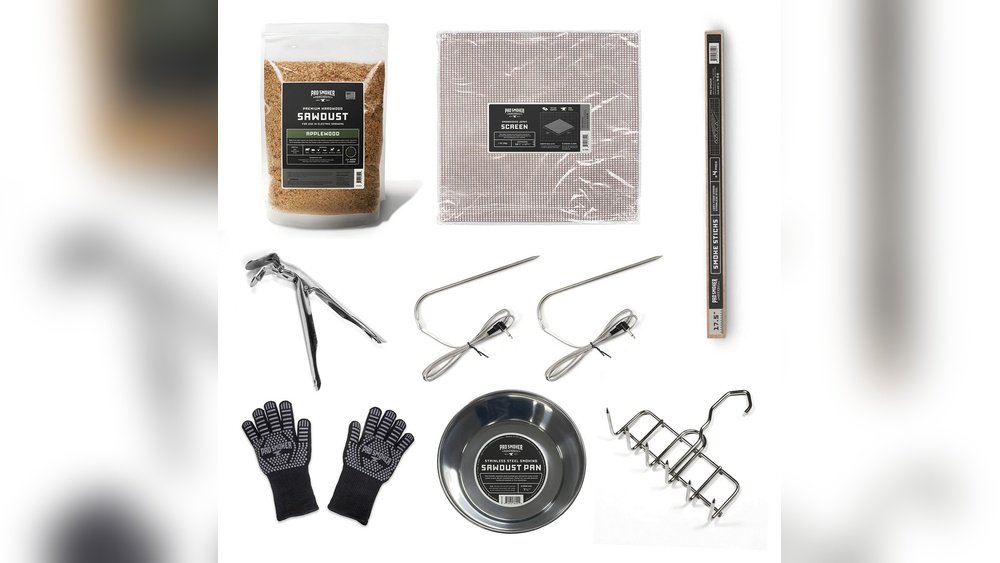
Essential Tools And Accessories
A few tools make smoking easier and safer:
- Digital thermometer: Tracks both smoker and meat temps.
- Heat-resistant gloves: For handling hot racks and coals.
- Chimney starter: Lights charcoal without lighter fluid.
- Tongs and spatula: Long-handled for safety.
- Spray bottle: For adding moisture or flavor.
- Aluminum foil: For wrapping meat, lining trays, or covering racks.
- Water pan: Helps regulate heat and adds moisture (especially in dry climates).
Other helpful tools include a meat injector (for deep flavor), butcher paper (for wrapping brisket), and grill brushes for cleaning grates.
Don’t forget a safe place to store your tools—a toolbox or hooks near your smoker keep everything handy.
Choosing Meats For Smoking
Some meats are better for beginners. Look for cuts with more fat and connective tissue—they become tender after long, slow cooking.
Best Meats For Beginners
| Meat | Why It’s Good | Typical Smoking Time | Target Temp |
|---|---|---|---|
| Pork shoulder (Boston butt) | Forgiving, hard to overcook, lots of flavor | 8–12 hours | 195–205°F |
| Baby back ribs | Popular, quick for smoking, easy to handle | 4–6 hours | 195–203°F |
| Whole chicken | Affordable, takes smoke well, cooks in 2–4 hours | 2–4 hours | 165°F (breast) |
| Beef brisket (flat or whole) | Classic BBQ, develops smoke ring and bark | 10–16 hours | 200–205°F |
| Sausage | Quick, hard to mess up, absorbs flavor | 1–2 hours | 160–165°F |
Tips For Buying Meat
- Look for well-marbled cuts (visible fat within the meat).
- Avoid trimmed or lean cuts—they dry out easily.
- Local butchers can give advice on the best cuts for smoking.
If you’re shopping at a supermarket, ask the staff if they have “packer cuts” (large, untrimmed pieces). These are often cheaper and better for smoking.
Preparing Meat For Smoking
Preparation is as important as cooking. Here’s how to get meat ready:
Seasoning
Most smoked meats use a dry rub—a mix of salt, sugar, and spices. Some use a wet marinade or brine.
Basic Pork Shoulder Rub Example
- 1/4 cup kosher salt
- 1/4 cup brown sugar
- 2 tbsp paprika
- 1 tbsp black pepper
- 1 tbsp garlic powder
- 1 tbsp onion powder
Mix and rub all over the meat. Rest in the fridge 1–24 hours.
For brisket, a simple mix of salt and black pepper works well. Too many spices can hide the smoke flavor.
Trimming
- Remove thick fat caps—leave about 1/4 inch for flavor.
- For ribs, peel off the silver membrane on the bone side for tenderness.
If you leave too much fat, it won’t render and will block smoke from reaching the meat. For chicken, remove extra skin and any organs.
Binding
Some apply a thin layer of mustard or oil to help rub stick. It doesn’t impact flavor much but helps the rub stay in place.
Common Mistake:
Applying rub just before smoking. Rub needs time to absorb and form a crust. Let meat rest in the fridge with rub at least 1 hour, ideally overnight.
Another mistake is over-marinating—especially with acidic liquids. This can make the meat mushy.
The Smoking Process: Step-by-step
1. Preheat Your Smoker
- Light charcoal or turn on your smoker.
- Bring to the target temp (225–250°F).
- Add wood chunks or chips.
If using charcoal, let it ash over before adding meat. This reduces harsh flavors from unburned fuel.
2. Add Water Pan
- Place a pan of hot water inside (unless your smoker manual says not to).
- This adds moisture and helps stabilize heat.
You can add flavorings (herbs, citrus) to the water, but keep it simple.
3. Place Meat In Smoker
- Arrange meat so smoke and heat can flow around each piece.
- Use a thermometer probe in the thickest part.
Don’t overcrowd the smoker—air needs to circulate for even cooking.
4. Maintain Temperature
- Check temp every 30–60 minutes.
- Add fuel or wood as needed.
- Adjust vents to control heat.
If your smoker drops below target, resist opening the lid too often. Each time you open, heat escapes.
5. Spritz Or Mop
- Every hour, lightly spray meat with apple juice or vinegar mix.
- This keeps the surface moist and adds flavor.
For brisket or ribs, use a mop sauce brush to add moisture. For chicken, spritzing helps crisp the skin.
6. Wrap (optional)
- At the stall (150–170°F), wrap large cuts in foil or butcher paper.
- This speeds up cooking and locks in moisture (“Texas crutch”).
Butcher paper lets the meat “breathe” more than foil, so the bark stays firmer.
7. Finish And Rest
- Remove meat when it hits the target temp (not just time).
- Wrap in foil and rest in a cooler or warm oven for 30–60 minutes before slicing.
Resting is crucial—it lets juices redistribute, making meat moist.
Food Safety: Crucial For Beginners
Smoking means long cooking times at lower temps, so food safety is key.
- Keep cold foods below 40°F.
- Don’t leave meat out more than 2 hours before cooking.
- Use a thermometer to check the internal temp reaches safe levels (e.g., 165°F for chicken).
- Wash hands and surfaces after handling raw meat.
Never eat smoked meat that smells off, looks gray, or feels slimy.
For leftovers, refrigerate within 2 hours and use within 3–4 days.
Cleaning And Maintaining Your Smoker
A clean smoker cooks better and lasts longer.
- After each use: Empty ash, wipe grates, and clean drip trays.
- Every few uses: Scrub inside surfaces with hot water and a brush.
- Check for rust: Touch up paint or oil exposed metal.
- Inspect seals and gaskets: Make sure smoke isn’t leaking from doors or lids.
Don’t let thick grease or old ash build up—it can cause fires or bad flavors.
For electric and pellet smokers, check wiring and moving parts. For charcoal smokers, oil the grates after cleaning to prevent rust.
Troubleshooting: Common Beginner Problems
Why Is My Smoker Too Hot Or Cold?
- Too hot: Close intake vents, use less fuel, check for wind.
- Too cold: Add more fuel, open vents, insulate the smoker in cold weather.
If temperature swings are large, use a water pan or thermal blanket to help stabilize.
Why Is My Meat Dry?
- Too long at high temp, not enough fat in the cut, or no water pan.
- Try wrapping earlier, spritzing more, or choosing fattier meats.
Another cause: Cutting meat too soon after cooking. Let it rest for juices to settle.
Why Is There No Smoke Ring?
- Electric or propane smokers make smaller rings.
- Try adding a bit of charcoal or wood chunks, or cook at a slightly lower temp.
A smoke ring is only for looks—it doesn’t change flavor.
Why Is The Bark (crust) Soft?
- Too much moisture, wrapped too soon, or not enough airflow.
- Unwrap near the end and let the bark firm up.
Open the vents more in the last hour, or finish unwrapped.
Smoking For Special Diets
Smoking isn’t just for meat. Try:
- Vegetables: Smoke mushrooms, peppers, or corn for 1–2 hours.
- Cheese: Use a cold smoke tube and keep temp below 90°F.
- Fish: Salmon is popular—brine first for best results.
For vegetarians, smoked tofu or jackfruit takes on smoky flavor well.
Smoked nuts are also tasty—toss them in oil and smoke for 1–2 hours.
Experimenting: Developing Your Own Style
Part of the joy of smoking is experimenting. Try:
- Mixing different woods for unique flavors.
- Creating your own rubs and sauces.
- Smoking desserts (yes, smoked apple pie is delicious).
- Varying temperature and wrapping times for different results.
Keep a notebook to track what works and what doesn’t.
Try regional styles—Texas brisket, Memphis ribs, Carolina pulled pork—and see which you like best.
Safety Tips: Fire And Food
- Never use a smoker indoors or in a garage.
- Keep a fire extinguisher nearby.
- Don’t leave the smoker unattended for long periods.
- Store fuel safely, away from heat.
Keep children and pets away from hot surfaces. Place the smoker on a flat, stable surface.
Hosting A Barbecue: Tips For Success
If you’re cooking for others:
- Start early—smoking takes time.
- Plan for sides and drinks that are easy to prepare ahead.
- Rest the meat so it’s juicy and warm at serving time.
- Slice against the grain for tenderness.
Set up a “serving station” with knives, forks, and napkins. Label different meats if you’re making more than one.

Credit: thegrillingdutchman.com
Resources For Learning More
The world of barbecue is big. For deeper dives, check out trusted resources like the AmazingRibs.com website for science-based tips, reviews, and recipes.
Books, YouTube channels, and local barbecue clubs are also great ways to learn and meet other enthusiasts.
If you want to compete, look for local barbecue contests—they often welcome beginners and are a fun way to learn.
Frequently Asked Questions
How Much Smoke Flavor Is Too Much?
If your food tastes bitter or sooty, you’ve used too much smoke. Start with a small amount of wood and aim for thin blue smoke. As you gain experience, adjust to your taste.
Can I Use Any Wood For Smoking?
No. Only use hardwoods like hickory, oak, apple, or cherry. Never use softwoods (pine, cedar) or treated wood—they’re unsafe and produce bad flavors.
How Do I Know When My Meat Is Done?
Use a meat thermometer, not just time. Each cut has a safe internal temperature—165°F for chicken, 195–205°F for brisket or pork shoulder, 145°F for fish.
Is It Safe To Leave A Smoker Unattended?
Never leave a smoker completely unattended, especially charcoal or wood-burning ones. Electric and pellet smokers are safer but still need checking every hour.
Do I Need To Soak Wood Chips Before Using Them?
No. Most experts now agree that soaking isn’t necessary and can create bitter smoke. Use dry chips or chunks for better results.
The First Step On Your Smoking Journey
Learning to smoke meat is rewarding. At first, you’ll make mistakes—everyone does. But each smoke teaches you something new. Start with forgiving cuts like pork shoulder or ribs, use a reliable thermometer, and focus on steady temperature. Over time, you’ll discover your own signature style and flavors.
The world of barbecue welcomes all skill levels. With patience and practice, you’ll soon serve up smoky meals that friends and family will remember. Fire up your smoker, trust your senses, and enjoy the process—great barbecue is worth every minute.