Master the Art of Grilling with a Gas Griller
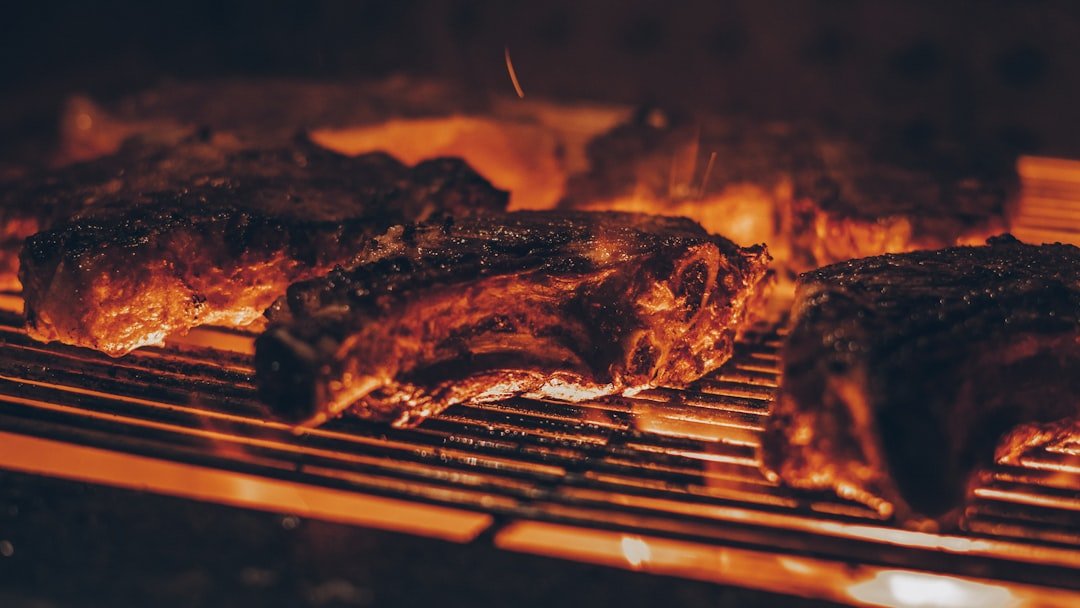
Gas grills, when used correctly, can absolutely make you a master griller. They offer fantastic control, convenience, and consistent results, letting you focus on the food rather than battling a fire. It’s about understanding your equipment and a few core principles.
Before you even light the first burner, getting familiar with your grill is key. It’s more than just a metal box with grates.
Know Your Burners
Most gas grills have multiple burners, and understanding how they interact is crucial.
- Individual Control: Each burner usually has its own knob, allowing you to create different heat zones. This is perhaps the biggest advantage of gas over charcoal for many applications.
- BTUs (British Thermal Units): This number indicates the maximum heat output. While a higher BTU can mean faster preheating and higher searing temperatures, it’s not the only factor. Grill design and materials also play a big role in how efficiently that heat is used. Don’t get hung up on chasing the highest BTU number; focus more on overall build quality and even heat distribution.
- Burner Material: Stainless steel, cast iron, or porcelain-coated burners are common. Stainless steel often lasts longer and distributes heat more evenly.
Heat Distribution
Not all grills heat evenly. Understanding the hot and cold spots on your specific grill is a game-changer.
- Preheat Observation: The simplest way to identify hot spots is to preheat your grill to medium-high with a clean grate. After about 10-15 minutes, carefully hold your hand a few inches above the grates for a few seconds over different areas. Where it gets uncomfortably hot fastest, that’s your hot spot. Do this a few times until you have a good mental map.
- Infrared Thermometers: These non-contact thermometers are fantastic for quickly scanning grate temperatures across the entire cooking surface. They can confirm your hand test and give you precise readings.
- Flame Tamers/Flavorizer Bars: These metal plates sit above the burners and below the grates. They’re designed to evenly distribute heat, vaporize dripping juices (creating flavor-enhancing smoke), and prevent flare-ups. Keep them clean for optimal performance.
Grill Grates
The grates are where the food meets the heat, and their material matters.
- Cast Iron: Excellent for searing and retaining heat, producing beautiful grill marks. Requires seasoning and proper cleaning to prevent rust.
- Stainless Steel: Durable, easy to clean, and good for even heat, though might not achieve as pronounced sear marks as cast iron.
- Porcelain-Coated: Often cast iron or steel with a porcelain enamel. Non-stick (initially) and easy to clean, but the coating can chip if handled roughly, leading to rust.
If you’re considering enhancing your outdoor cooking experience, you might find the article on fire pits particularly interesting. It provides insights into how a fire pit can complement your gas griller, creating a versatile cooking and gathering space. For more details, check out the related article here: 36-Inch Fire Pit Review.
Getting Started: Prep and Preheat
Patience and preparation are the hallmarks of a good griller. Don’t rush this stage.
Cleaning Your Grates
A clean grate prevents sticking and ensures proper searing.
- Before and After: Get in the habit of cleaning your grates before and after each cook.
- High Heat Scrape: The easiest way is to preheat your grill to high, let it sit for 10-15 minutes, then use a stiff bristled wire brush (or a natural bristle brush, or even a crumpled ball of aluminum foil held with tongs) to scrape off any cooked-on bits. The heat helps carbonize residue, making it easier to remove.
Oiling the Grates
This is your non-stick insurance policy.
- High Smoke Point Oil: Use an oil with a high smoke point (like canola, grapeseed, or vegetable oil).
- Paper Towel Method: Lightly dip a folded paper towel in oil, then, using tongs, carefully wipe down the hot grates just before placing food. This creates a barrier and helps prevent sticking. Don’t over-oil; a thin sheen is all you need.
Preheating Properly
This is non-negotiable for success.
- Closed Lid Strategy: Turn all your burners to high, close the lid, and let the grill preheat for at least 10-15 minutes, or until it reaches your desired temperature (usually 400-500°F for searing). This allows the grates, lid, and internal components to absorb and radiate heat, creating a more stable cooking environment.
- Temperature Gauge: While most lids have a built-in thermometer, these are often inaccurate and measure ambient air, not grate temperature. An instant-read probe thermometer or an infrared thermometer is much more reliable for checking interior air temp and grate temp, respectively.
Mastering Temperature Control and Zones
This is where the “art” really comes into play with a gas grill.
Direct vs. Indirect Heat
These are your two fundamental cooking zones.
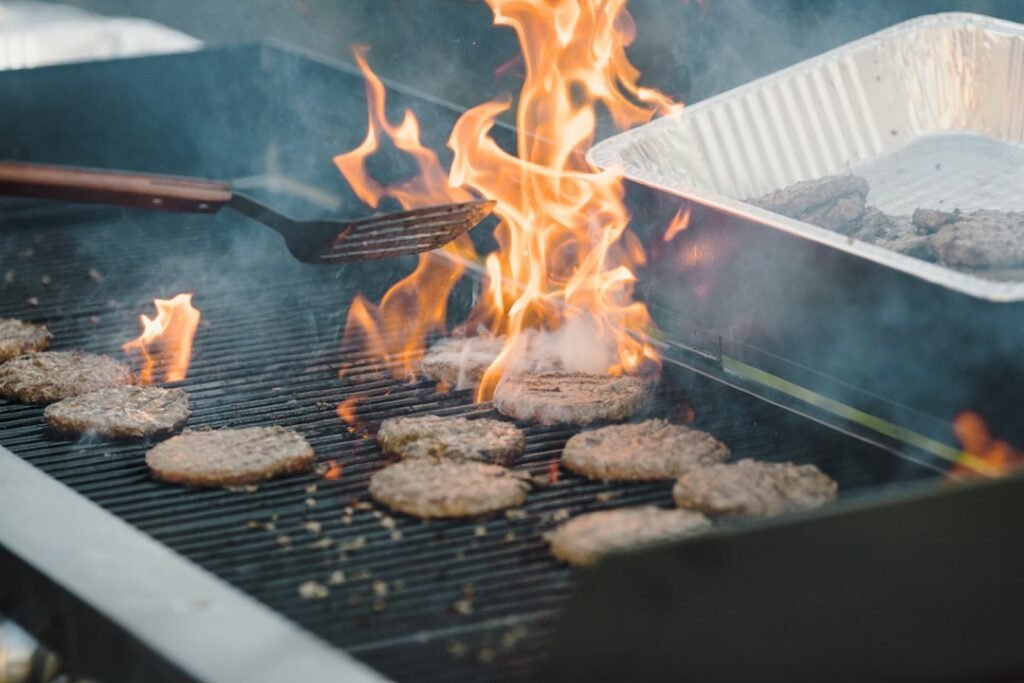
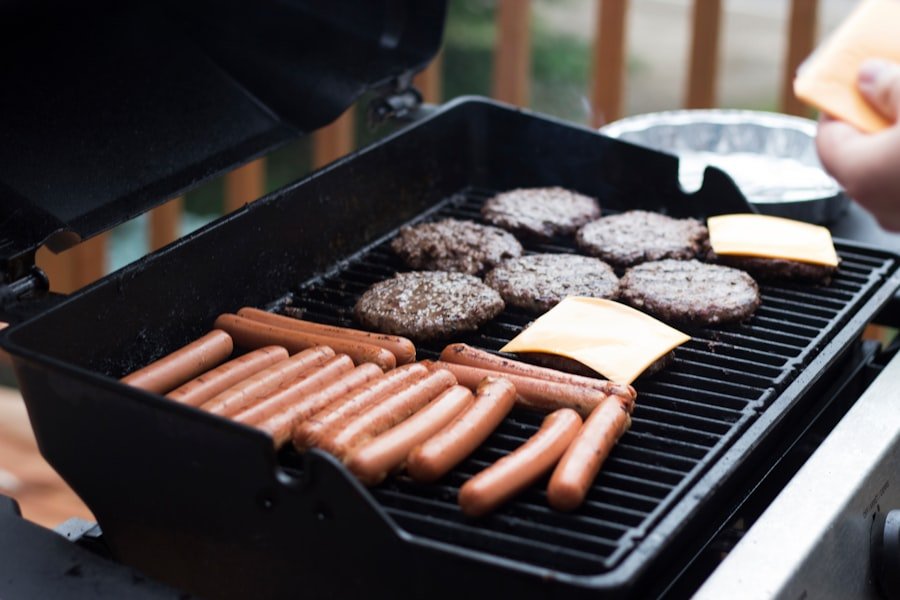
- Direct Heat: Food directly above lit burners. Best for searing, quick-cooking items like thin steaks, burgers, hot dogs, and chops. It’s intense, browning, and creates those coveted grill marks.
- Indirect Heat: Food placed over unlit burners, with lit burners on either side or just one side. Think of it like an outdoor convection oven. Ideal for larger cuts that need slow cooking, like roasts, whole chickens, briskets, or for finishing off food after a sear.
Two-Zone Setup
This is your bread and butter for most grilling tasks.
- Standard Method: On a grill with three or more burners, turn one or two burners on high (e.g., the rightmost burner or the two outer burners). Leave the adjacent burner(s) off. This creates a hot direct zone and a cooler indirect zone.
- Applications: Sear your steak over direct heat, then move it to indirect to finish cooking through without burning the exterior. Same for chicken pieces or thicker fish fillets.
Three-Zone Setup (for larger grills)
For bigger grills or more complex cooks.
- High, Medium, Low/Off: Turn one burner to high, an adjacent one to medium, and the final one to low or off. This gives you distinct searing, cooking, and warming zones. Great for managing different items that cook at different rates.
Venting and Lid Control
The lid isn’t just for keeping heat in; it’s a critical control tool.
- Lid Down for Consistency: Keep the lid down as much as possible to maintain consistent temperatures, especially when cooking with indirect heat. Lifting the lid often causes significant temperature drops.
- Lid Up for Quick Checks: Briefly lift the lid to check doneness or flip food. For very fine control or to cool down the grill slightly, you can leave it ajar, but this is rarely necessary with gas.
Grilling Techniques and Tips
Now that you’re well-prepped and know your zones, let’s talk about the cooking itself.
Searing for Flavor and Texture
That Maillard reaction is your friend.
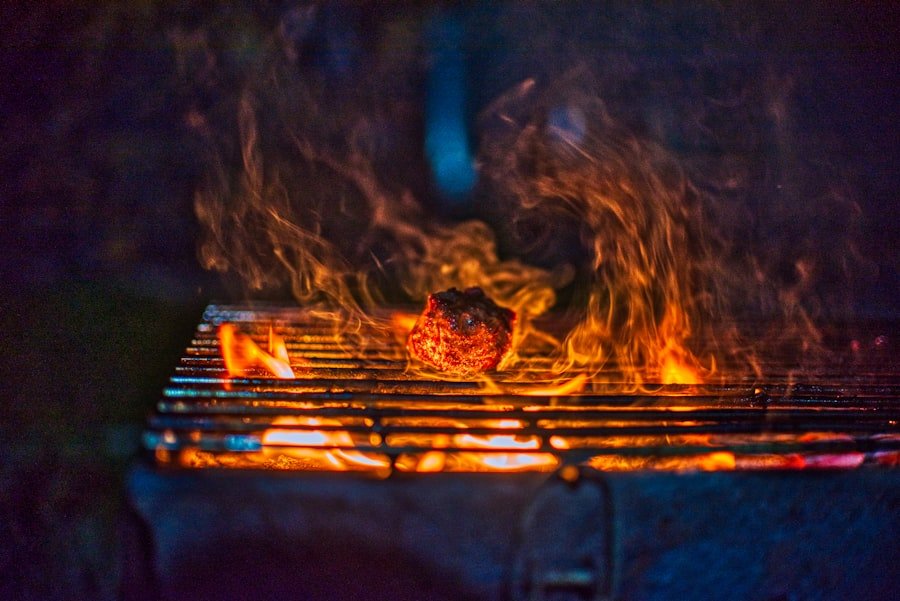
- High Heat, Not Too Long: Aim for a very hot direct heat zone. Place food down and resist the urge to move it for a few minutes. Let it develop that rich brown crust.
- The Quarter Turn: For perfect cross-hatch grill marks, place your food at a 10 o’clock position, sear, then rotate to a 2 o’clock position (on the same spot) for another minute or two. Then flip and repeat.
Finishing with Indirect Heat
Prevent burning and ensure even cooking.
- Move to the Cool Zone: Once a good sear is achieved, move items like thick steaks, chicken breasts, or pork chops to the indirect heat zone.
- Use a Thermometer: This is the most crucial tool for achieving perfect doneness. Relying on “poke tests” or visual cues is unreliable. An instant-read thermometer will tell you exactly when your food is ready, preventing overcooking and ensuring food safety.
- Resting Meat: After cooking, always rest meat off the grill for 5-10 minutes (covered loosely with foil). This allows the juices to redistribute, resulting in a more tender and flavorful product.
Managing Flare-Ups
The enemy of delicious, evenly cooked food.
- Direct Flames are Bad: While smoke from vaporized drippings adds flavor, direct flames licking your food will cause charring and off-flavors.
- Fat Trimming: Trim excess fat from cuts of meat before grilling.
- Clean Grill: A clean grill (especially the flavorizer bars) with no accumulated grease is less prone to flare-ups.
- Move Food: If a flare-up occurs, immediately move the food away from the flame to the indirect zone.
- Close Lid (Briefly): Closing the lid briefly can sometimes starve the flame of oxygen, but be cautious, as this can also spread the fire depending on what’s burning. Moving the food is usually safer.
- No Water: Never spray water directly onto a grease fire on your grill. This can spread the grease and make the fire worse.
Advanced Gas Grill Tips
Pushing past the basics.
- Smoke Boxes/Pellet Tubes: Want that smoky flavor without a charcoal grill? Fill a smoke box or perforated foil packet with wood chips (soaked for 30 minutes, or dry for a more intense, quicker burn) and place it directly over a lit burner. Once it starts smoking, move it to the indirect side or reduce the heat below it.
- Rotisserie Grilling: Many gas grills have a rotisserie option. This is fantastic for whole chickens, roasts, or even large turkeys, providing incredibly even cooking and self-basting.
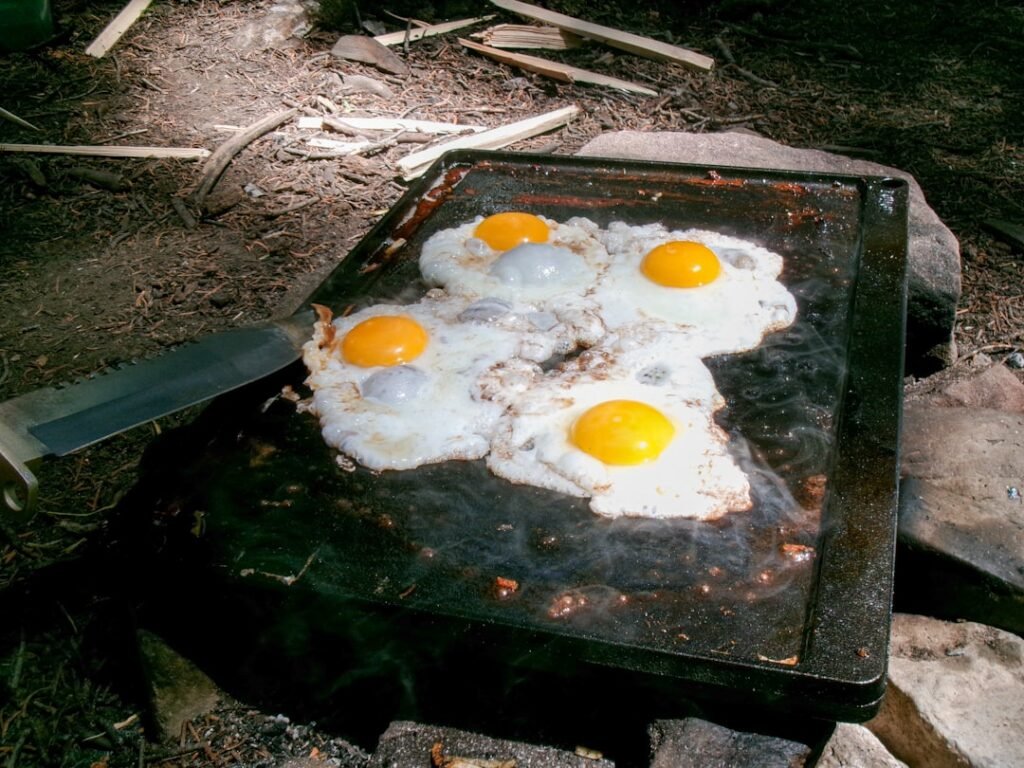
- Griddle Inserts: Some grills offer cast iron griddle inserts, perfect for breakfast items, smash burgers, or delicate vegetables.
- Pizza Stones: With a little practice and good heat management, you can make decent pizzas on a gas grill using a pizza stone. Preheat the stone for a good 30 minutes.
If you’re considering upgrading your outdoor cooking experience, you might find the Ninja Woodfire Grill review particularly insightful. This article explores the features and benefits of a versatile grill that combines the convenience of gas grilling with the rich flavors of wood-fired cooking. Whether you’re a seasoned griller or just starting out, understanding the various options available can help you make the best choice for your backyard barbecues.
Maintenance for Longevity
| Gas Griller Metrics | Value |
|---|---|
| Grilling Area | 500 square inches |
| BTU Output | 30,000 BTUs |
| Number of Burners | 3 |
| Material | Stainless Steel |
| Ignition Type | Electronic Ignition |
A well-maintained grill is a happy grill, and it keeps you grilling for years.
Regular Cleaning
Beyond just the grates.
- Flavorizer Bars/Heat Diffusers: Remove these periodically and scrape or brush off accumulated grease and carbon. If they’re heavily corroded, replace them.
- Burner Tubes: Use a grill brush or a stiff wire to clean out the tiny holes in the burners. Blocked holes lead to uneven heat and inefficient burning.
- Firebox/Drip Tray: Scrape out any fallen food bits and empty the grease tray regularly to prevent critters and potential fire hazards.
Leak Detection
Safety first!
- Soapy Water Test: Periodically check your gas lines and connections for leaks. Mix a solution of dish soap and water. With the gas tank open and burners off, spray the solution on all connections. If you see bubbles forming, you have a leak. Tighten the connection or replace the faulty part.
- Smell Test: If you ever smell gas, immediately turn off the tank and investigate.
Grill Cover
Protect your investment.
- Weather Protection: A good quality grill cover shields your grill from rain, sun, dust, and debris, extending its lifespan and keeping it looking good. Ensure it fits snugly.
By understanding these principles and putting them into practice, you’ll find that your gas grill is a powerful tool capable of producing consistently delicious, restaurant-quality results. It’s less about magic and more about methodical application of knowledge. Happy grilling!