Reverse Sear Guide: Achieve Perfect Steak Every Time
The world of cooking steak is full of debates, but one method consistently rises above the rest for delivering a juicy interior and a crisp, flavorful crust: the reverse sear. Over the past decade, professional chefs and home cooks have embraced this technique to elevate everything from ribeyes to thick pork chops. Whether you’re aiming for a perfectly pink medium-rare or want to impress guests with your grilling skills, mastering reverse sear will change the way you cook meat forever.
But what makes this method so special? Why do so many swear by it when traditional searing has been the standard for so long? In this comprehensive guide, you’ll learn exactly what reverse sear is, why it works, and how to do it step-by-step.
Along the way, you’ll get practical tips, solutions to common mistakes, and insights that go beyond what most beginner guides cover. By the end, you’ll not only understand the science behind the method but also feel confident applying it to your next steak night.
What Is Reverse Sear?
The reverse sear is a two-step process for cooking thick cuts of meat. Instead of searing the meat first and finishing in the oven (the classic way), you start by gently roasting the meat at a low temperature, then finish with a quick, high-heat sear. This method gives you more control over the final doneness and produces a better crust without overcooking the inside.
Imagine slow-cooking a ribeye in the oven until it’s nearly at your target temperature, then briefly searing it in a hot pan or on the grill. The result: a steak that’s evenly cooked from edge to center, with a savory, caramelized exterior.
Why Reverse Sear Became Popular
Reverse sear gained momentum thanks to food scientists and chefs who noticed the limitations of traditional searing. The main problem with searing first is that the hot pan quickly forms a crust, but the center can stay undercooked or, if you leave it too long, you risk overcooking the edges.
By flipping the process, you allow the internal temperature to rise slowly and evenly. Only at the end do you add the high heat, which crisps the outside without further cooking the inside too much.
The Science Behind The Method
Heat transfer is the key. When you cook meat slowly at a low temperature, the heat moves gently from the outside to the center. This prevents the “bullseye” effect—where the outer layers are gray and dry, and only a small area in the center is pink.
The final sear uses the Maillard reaction, a chemical process that creates rich, complex flavors and the classic brown crust. Because the meat’s surface is already dry from the slow roast, the crust forms quickly and beautifully.
Benefits Of Reverse Sear
People don’t switch to reverse sear just for fun. There are several clear advantages that explain its growing popularity.
- Even doneness: You get a uniform pink color from edge to center, not just a thin strip of perfect meat.
- Better crust: The dry surface after roasting allows for fast browning and a satisfying crunch.
- More control: Lower temperatures let you hit the target doneness more precisely, reducing the risk of overcooking.
- Juicier results: The gentle heat means less moisture loss, so the meat stays succulent.
- Flexibility: You have a larger window between “done” and “overdone,” which is forgiving for beginners.
A non-obvious benefit: Reverse searing is ideal for entertaining. You can slow-cook multiple steaks ahead of time, then sear them all quickly when guests arrive.
What Cuts Are Best For Reverse Sear?
Not every cut of meat is a good fit for this method. Reverse sear works best for thick, boneless pieces—especially those at least 1. 5 inches thick. Thin cuts can overcook during the sear, making the method less effective.
Here are some of the best choices:
- Ribeye: Marbled and flavorful, perfect for even cooking.
- New York strip: Firm, with a great balance of fat and meat.
- Filet mignon: Lean but tender; benefits from precise temperature control.
- Porterhouse/T-bone: Large and thick, ideal for this technique.
- Pork chops: Especially double-cut, which are thick and juicy.
- Tomahawk steak: The dramatic bone-in ribeye, often 2 inches thick.
Cuts like flank steak, skirt steak, or thin sirloins are too slim for reverse sear to shine.
Bone-in Vs Boneless
Both bone-in and boneless cuts work. However, bone-in steaks often cook a bit slower near the bone, which can help with evenness. The bone also adds flavor, although the difference is subtle.
Tools And Equipment Needed
You don’t need fancy gadgets, but a few key pieces of equipment make reverse sear easier and more reliable.
- Oven or grill: For gentle, indirect heat during the first stage.
- Heavy skillet or grill: Cast iron pans are ideal for the final sear.
- Instant-read thermometer: Essential for checking doneness.
- Wire rack and baking sheet: Allows air to circulate, promoting even cooking.
- Tongs: For flipping steaks without piercing the meat.
- Paper towels: For drying the surface, which helps with crust development.
Optional: A leave-in probe thermometer lets you monitor the meat’s temperature without opening the oven or grill.
Comparing Popular Tools
Here’s how some common cooking setups compare for reverse sear:
| Method | Pros | Cons |
|---|---|---|
| Oven + Cast Iron Pan | Easy, precise control, works year-round | Needs preheating, can smoke indoors |
| Grill (2-zone) + Grill Grate | Great flavor, smoky crust, outdoor cooking | Harder to control temperature, weather dependent |
| Oven + Torch | Fun, fast crust, dramatic | Can be uneven, requires practice |
Step-by-step Reverse Sear Guide
Ready to try reverse sear yourself? Follow these steps for a flawless steak every time.
1. Choose And Prepare Your Steak
Select a steak at least 1.5 inches thick—ribeye, strip, or filet are all excellent. Pat the surface dry with paper towels to help the crust form later.
Season the steak generously with kosher salt and black pepper. For extra flavor, you can add garlic powder, herbs, or a touch of smoked paprika.
Let the steak rest at room temperature for 30-60 minutes before cooking. This step helps the meat cook more evenly.
2. Preheat Your Oven Or Grill
Set your oven to 225–275°F (107–135°C). Lower temperatures give you more control, but take a bit longer.
If using a grill, set up for indirect heat—one side hot, one side cool. Place the steak on the cool side for the roasting phase.
3. Slow Roast Until Nearly Done
Place the steak on a wire rack set over a baking sheet. This allows air to circulate and prevents soggy bottoms.
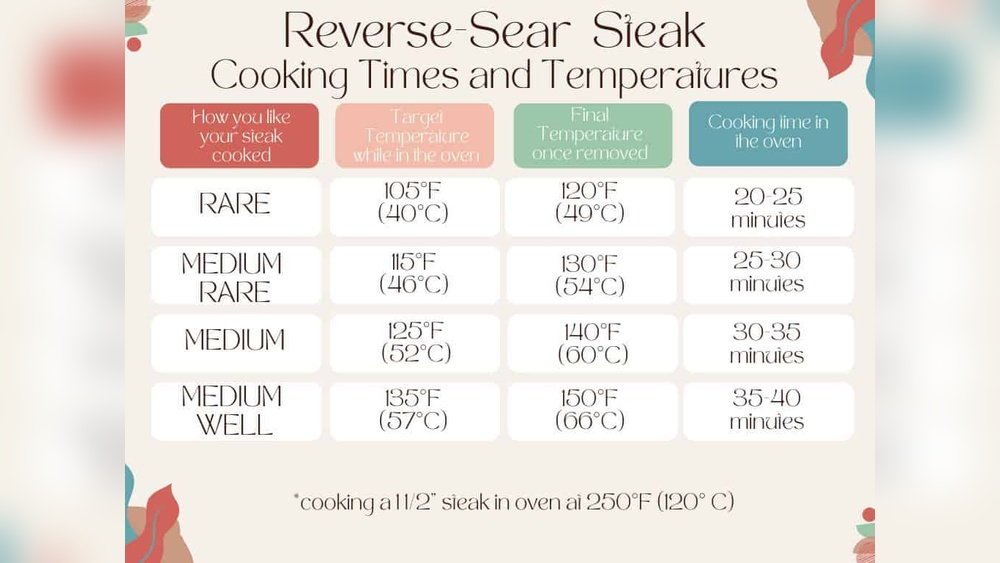
Insert a thermometer into the thickest part. Roast until the steak is about 10–15°F below your target final temperature. For medium-rare, pull at 115–120°F (46–49°C).
Use this guide for internal temperatures:
- Rare: 120–125°F (49–52°C)
- Medium-rare: 130–135°F (54–57°C)
- Medium: 140–145°F (60–63°C)
- Medium-well: 150–155°F (65–68°C)
Don’t rely on time alone; thickness and oven accuracy can vary.
4. Rest Briefly
Take the steak out and let it rest for 10–15 minutes. This pause lets juices redistribute and makes the next step safer and more effective.
5. Sear In A Very Hot Pan Or Grill
Heat a cast iron pan or grill until it’s smoking hot. Add a thin layer of neutral oil (like canola or grapeseed) if using a pan.
Sear the steak for 45–90 seconds per side, pressing gently for full contact. Flip once or twice for an even crust. Sear the edges, too, if your steak is extra thick.
For added flavor, you can add a knob of butter and aromatics (like crushed garlic or rosemary) during the last 30 seconds, basting the steak.
6. Rest And Serve
After searing, let the steak rest for 5 minutes. Slice against the grain and serve immediately.
Reverse Sear Timing Example
Here’s a typical timeline for a 2-inch ribeye, medium-rare:
- Oven at 250°F: 40–50 minutes to reach 120°F
- Rest: 10 minutes
- Sear: 2–3 minutes total
Total Time: About 1 Hour
Practical Tips And Common Mistakes
Even with a good guide, first-timers often make a few missteps. Here’s how to avoid them:
Dry The Surface Well
Moisture is the enemy of a great crust. Always pat your steak dry before roasting and again before searing if needed. A wet steak will steam, not brown.
Don’t Skip The Thermometer
Guesswork leads to overcooked or undercooked meat. An instant-read thermometer is your best friend. Insert it into the thickest part, away from bone or fat.
Sear At The Right Time
If you wait too long after roasting, the steak may cool too much. If you sear immediately, you risk losing juices. A short rest (10–15 minutes) is ideal.
Don’t Oversear
A common beginner mistake is searing too long, which overcooks the edge. Remember, the goal is color and flavor, not extra cooking.
Use The Right Oil
Choose high-smoke-point oils like canola, grapeseed, or avocado oil. Butter alone burns quickly; add it at the very end for flavor.
Avoid Overcrowding
If searing multiple steaks, don’t crowd the pan. Work in batches to keep the temperature high.
Reverse Sear Vs. Traditional Sear
Curious how reverse sear stacks up against the classic method? Here’s a direct comparison:
| Feature | Reverse Sear | Traditional Sear |
|---|---|---|
| Doneness Control | Excellent | Harder, risk of overcooking |
| Crust Quality | Superior, even | Good, but can burn or be uneven |
| Juiciness | High, less moisture loss | More loss near crust |
| Time Needed | Longer overall | Faster, but less precise |
| Beginner Friendly | More forgiving | Easy to make mistakes |
One non-obvious insight: Traditional searing works well for thin cuts (under 1 inch), where speed is more important than evenness. Reverse sear shines for thick, premium steaks.
Advanced Reverse Sear Variations
Once you master the basics, there are fun ways to take the method further.
Smoking Instead Of Roasting
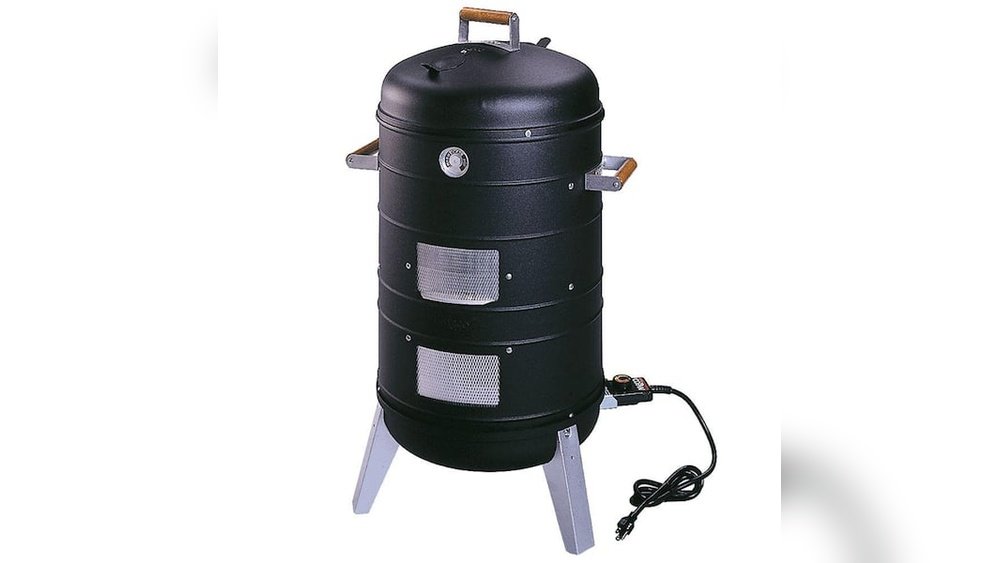
Try using a smoker or adding wood chips to your grill during the low-and-slow phase. This infuses the meat with smoky flavor before searing.
Dry Brining
Salt your steak 24–48 hours ahead and leave it uncovered in the fridge. This not only seasons deeply but also dries the surface for an even better crust.
Sous Vide Reverse Sear
Some cooks use a sous vide bath to bring the steak to the perfect temperature, then sear in a pan. This gives incredible consistency, though it requires special equipment.
Butter Basting
During the sear, add butter, garlic, and herbs. As the butter foams, spoon it over the steak for extra flavor and aroma. This step is easy to add once you’re comfortable with the basics.
Double Sear
For very thick steaks (over 2. 5 inches), some chefs sear briefly before AND after roasting. The first sear adds flavor, while the second perfects the crust. This is an advanced move and not essential for most home cooks.
Using Reverse Sear For Other Meats
Steak isn’t the only meat that benefits from reverse sear.
Pork Chops
Thick, double-cut pork chops stay juicy inside, with a savory crust outside. Follow the same steps as for steak, but cook pork to 140°F (60°C) before searing.
Lamb Chops
For thick lamb loin or rib chops, the method gives a rosy interior and crisp fat cap.
Prime Rib And Roasts
Large roasts (like prime rib) are often reverse seared. Roast at 225°F until 10°F below target, rest, then sear at 500°F in the oven or with a torch.
Chicken (bone-in)
Reverse sear can work for large, bone-in chicken pieces. However, poultry skin needs special attention—dry it thoroughly and finish under a broiler for crispness.
Reverse Sear And Food Safety
Cooking at low temperatures often raises questions about safety. The good news: Reverse sear is perfectly safe when done correctly.
- Always finish with a hot sear, which kills surface bacteria.
- Use a thermometer to ensure the inside reaches a safe temperature (at least 130°F for beef, 145°F for pork, 165°F for chicken).
- Don’t leave meat at room temperature for long periods.
One insider tip: The brief rest between roasting and searing is safe because the outside will get very hot during the final sear.
For more on food safety, check resources like the USDA Food Safety site.
Reverse Sear For Grilling Enthusiasts
If you love grilling, reverse sear is a game-changer.
Set up your grill for two-zone cooking: one side with hot coals (direct heat), one side without (indirect heat). Place steaks on the cool side to roast slowly, then move them over the coals to sear.
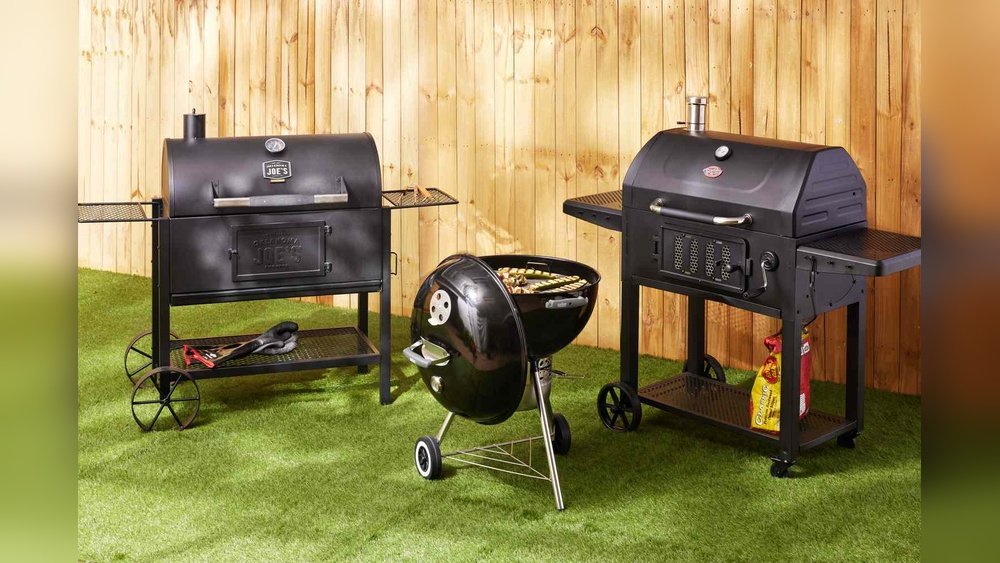
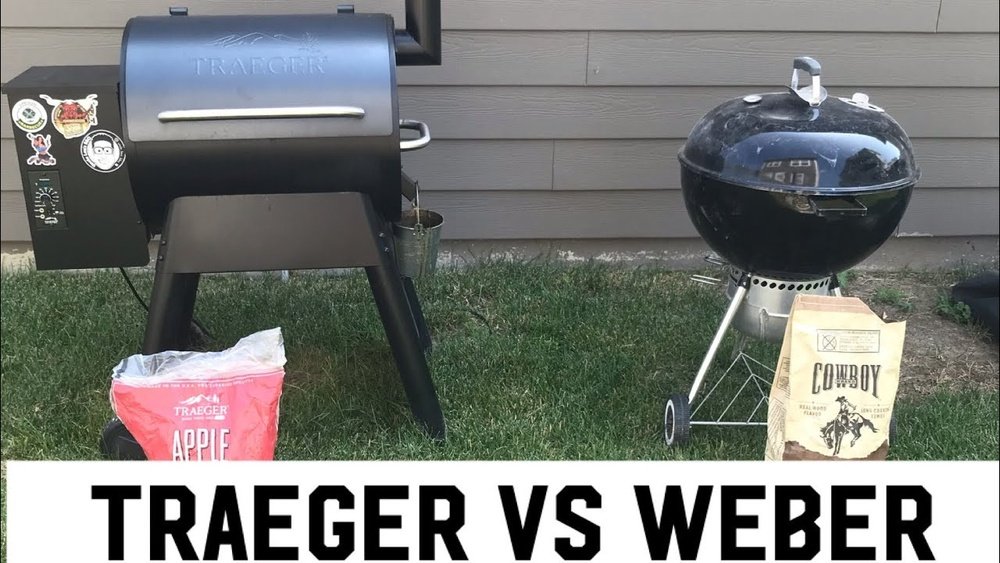
Charcoal grills add smoky flavor and a beautiful crust, while gas grills make temperature control easy. For wood-fired grills, the reverse sear helps tame flare-ups and burnt exteriors.
Outdoor Searing Options
- Grill grates: Give classic grill marks.
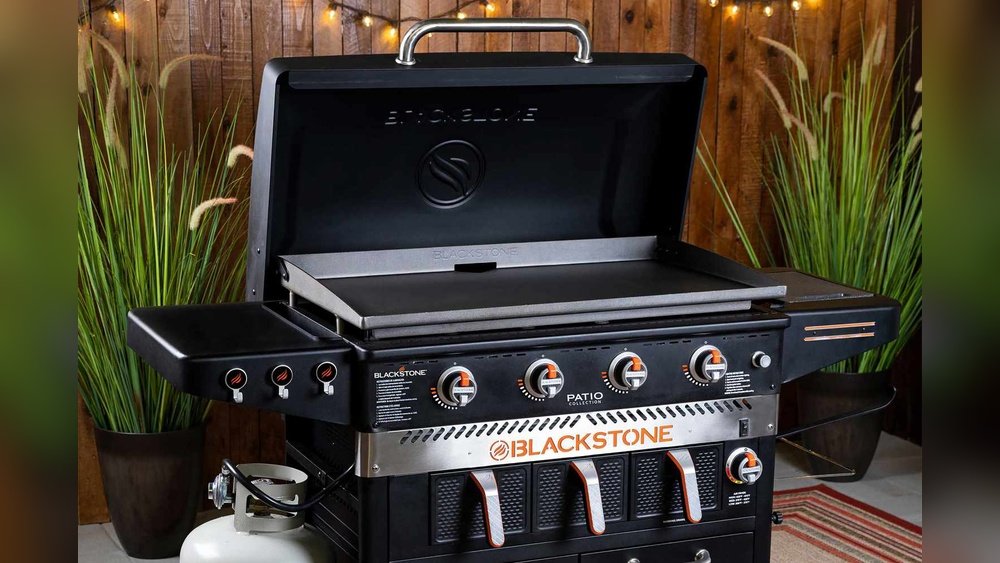
- Plancha or griddle: Offers full surface contact for a uniform crust.
- Searing torch: Useful for a dramatic finish or when cooking for a crowd.
If you’re grilling multiple steaks, rotate them to ensure even cooking.
Reverse Sear For Indoor Cooking
Don’t have a grill? The oven and stove combo is just as effective.
- Use a rimmed baking sheet and wire rack in the oven.
- Preheat your cast iron pan until it just starts to smoke.
- Turn on your stove’s vent fan and open a window; searing can create smoke.
- For less mess, cover nearby surfaces with foil.
A good indoor sear can rival any steakhouse result.

Credit: zimmysnook.ca
Searing Alternatives: Torches And Broilers
Some cooks use kitchen torches or broilers instead of a pan or grill for the final sear.
- Kitchen torch: Quick, dramatic, but can be uneven if not practiced.
- Broiler: Good for large cuts, but watch closely to avoid burning.
Both are fun to experiment with, but for beginners, a hot pan or grill is more consistent.
Choosing The Right Steak For Reverse Sear
Not all steaks are created equal. Here’s what to look for:
- Thickness: At least 1.5 inches thick for best results.
- Marbling: Look for white streaks of fat, which melt during cooking and add flavor.
- Even shape: Uniform thickness helps with even cooking.
- Freshness: Bright red color and firm texture are signs of quality.
If you’re unsure, ask your butcher for a “reverse sear-friendly” cut.
Marinating And Seasoning: What Works Best?
Reverse sear is all about the meat’s natural flavor, but seasoning still matters.
- Salt: Essential for flavor and moisture retention.
- Pepper: Adds a classic bite.
- Dry rubs: Use before roasting for a spiced crust.
- Marinades: Go light; acidic marinades can break down the surface and affect crust formation.
For most steaks, simple salt and pepper are enough. If you love bold flavors, try a spice rub with garlic powder, smoked paprika, or herbs.
When To Season
For the best results, salt your steak at least 40 minutes before cooking. This allows the salt to penetrate and season the meat deeply.
Resting: Why It Matters
Resting isn’t just tradition—it’s science. After cooking, juices are pushed toward the center of the meat. If you cut immediately, these juices spill out and the steak seems dry.
A 10–15 minute rest after roasting, plus a 5-minute rest after searing, lets juices redistribute. The result: a steak that’s moist and flavorful from edge to edge.
A common mistake is skipping the rest, especially when hungry guests are waiting. Patience pays off here.

Credit: zimmysnook.ca
Carving And Serving
When your steak is ready, how you cut it affects the final experience.
- Slice against the grain: This shortens muscle fibers, making each bite tender.
- Use a sharp knife: Prevents tearing and keeps slices neat.
- Cut just before serving: Keeps the steak juicy.
For large steaks (like tomahawk or porterhouse), slice into thick strips and serve family-style on a warm platter.
Pairing Sides And Sauces
The reverse sear steak is the star, but good sides and sauces can complete the meal.
Classic Sides
- Roasted potatoes or fries
- Grilled asparagus or broccoli
- Creamed spinach
- Simple green salad
Sauces
- Red wine reduction: Adds depth and a touch of acidity.
- Herb butter: A dollop melts beautifully over the hot crust.
- Chimichurri: Bright, garlicky, and perfect for grilled meats.
- Peppercorn sauce: Creamy with a spicy kick.
Don’t drown the steak; a little sauce goes a long way.
Troubleshooting: Fixing Common Problems
Mistakes happen, even for experienced cooks. Here’s how to recover:
- Steak is undercooked after searing: Pop it back in the oven for 5–10 minutes at 250°F, then sear again briefly.
- Steak is overcooked: Slice thinly, serve with a flavorful sauce, and take notes for next time.
- Crust didn’t form: Make sure the surface is dry, the pan is hot, and you’re not overcrowding.
- Too smoky indoors: Use less oil, open windows, and keep your vent on high.
One advanced tip: If your steak is done but the crust isn’t dark enough, use a torch for a few seconds to finish.
Reverse Sear Myths And Misunderstandings
Some cooks misunderstand reverse sear or pass along myths. Let’s clear up the most common ones.
- “It’s only for steak.” False. Pork, lamb, and even chicken benefit from this method.
- “It takes too long.” While it’s not as fast as a pan sear, the results are worth the wait, and the process is mostly hands-off.
- “You need expensive equipment.” An oven, pan, and thermometer are all you need.
- “The crust isn’t as good.” If done right, reverse sear produces a better, more even crust than traditional methods.
Reverse Sear For Large Gatherings
Cooking for a crowd? Reverse sear is your secret weapon.
You can roast multiple steaks in the oven at the same time. When guests arrive, sear each steak quickly in a hot pan or on the grill. This ensures everyone gets a hot, perfectly cooked steak at once.
Pro tip: Use a large baking sheet and wire rack to hold several steaks without crowding.
Comparing Reverse Sear To Other Steakhouse Techniques
Professional kitchens use several methods to achieve top results. Here’s how reverse sear compares:
| Technique | Even Doneness | Crust Quality | Time Required |
|---|---|---|---|
| Reverse Sear | Excellent | Outstanding | Medium |
| Traditional Sear + Oven | Good | Good | Fast |
| Sous Vide + Sear | Perfect | Excellent | Longest |
| Grill Only | Variable | Very Good | Fast |
Reverse sear offers a great balance of quality and practicality for home cooks.

Credit: www.infinibandta.org
Sourcing Quality Meat For Reverse Sear
The method brings out the best in premium cuts, but even supermarket steaks can shine with proper technique.
Look for:
- Prime or Choice grade: More marbling means more flavor.
- Dry-aged beef: Offers concentrated beefy taste and tenderness.
- Local butchers: Often have better quality and can cut steaks to your preferred thickness.
A non-obvious tip: Ask your butcher for “center cut” steaks, which are most uniform and easier to cook evenly.
Cleaning Up After Searing
Searing can get messy, especially indoors.
- Let pans cool before washing.
- Use coarse salt and a paper towel to scrub cast iron; avoid soap.
- Soak wire racks and baking sheets for easy cleaning.
- Wipe down surfaces near your stove or grill to prevent grease buildup.
A little prep (like covering counters with foil) can make cleanup faster.
Reverse Sear For Beginners: Key Takeaways
For those just starting, remember:
- Choose thick, well-marbled steaks.
- Use a thermometer—don’t guess.
- Dry the surface before searing.
- Sear quickly and rest before slicing.
- Be patient; the results are worth it.
Reverse sear isn’t complicated, but attention to detail makes all the difference.
Frequently Asked Questions
What Is The Main Advantage Of Reverse Sear Over Traditional Methods?
The biggest advantage is even doneness. Reverse sear lets you cook thick steaks so they’re perfectly pink from edge to center, with a crisp, flavorful crust outside. It also gives you more control and a larger margin for error compared to classic searing.
Can I Use Reverse Sear For Thinner Steaks?
Reverse sear works best for steaks at least 1.5 inches thick. Thinner steaks can overcook during the sear, so traditional high-heat methods are usually better for them.
Do I Need A Special Pan Or Equipment?
No, you don’t need anything fancy. A regular oven, a sturdy skillet (preferably cast iron), and a thermometer are enough for great results. For extra flavor, a grill or smoker can be used, but they’re not required.
Is Reverse Sear Safe For All Types Of Meat?
Yes, as long as you follow proper food safety guidelines. Always finish with a hot sear to kill bacteria, and use a thermometer to ensure the inside reaches a safe temperature—especially for pork and chicken.
Can I Cook Ahead With Reverse Sear?
Absolutely! You can roast steaks ahead of time, let them rest, and sear just before serving. This makes reverse sear ideal for dinner parties or when cooking for a crowd.
A perfectly cooked, juicy steak with a crisp crust is within your reach. With the reverse sear method, you can deliver steakhouse-quality results at home, every time. Try it once, and you may never go back.