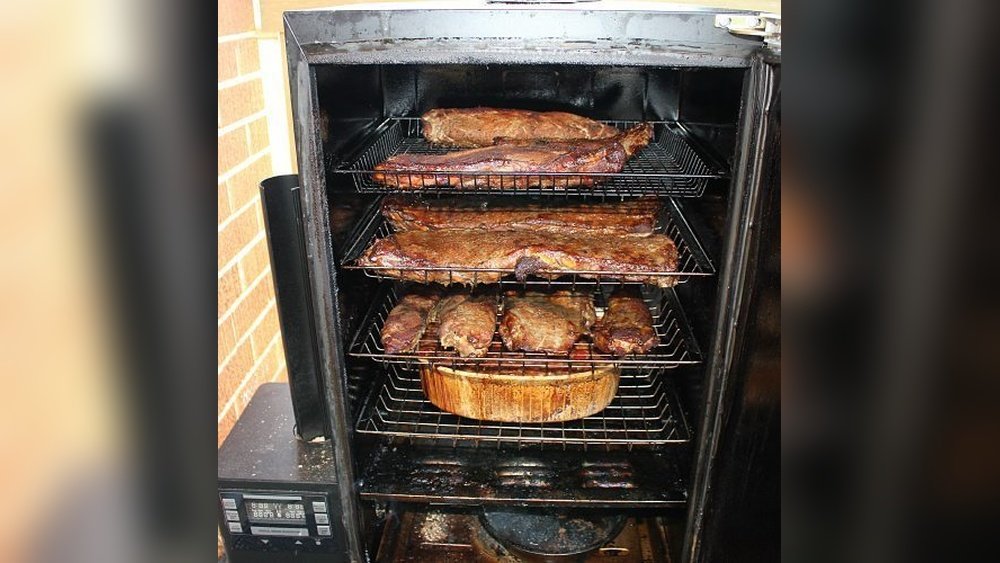
Seasoning a Grill (How To): Expert Tips for Perfect Results
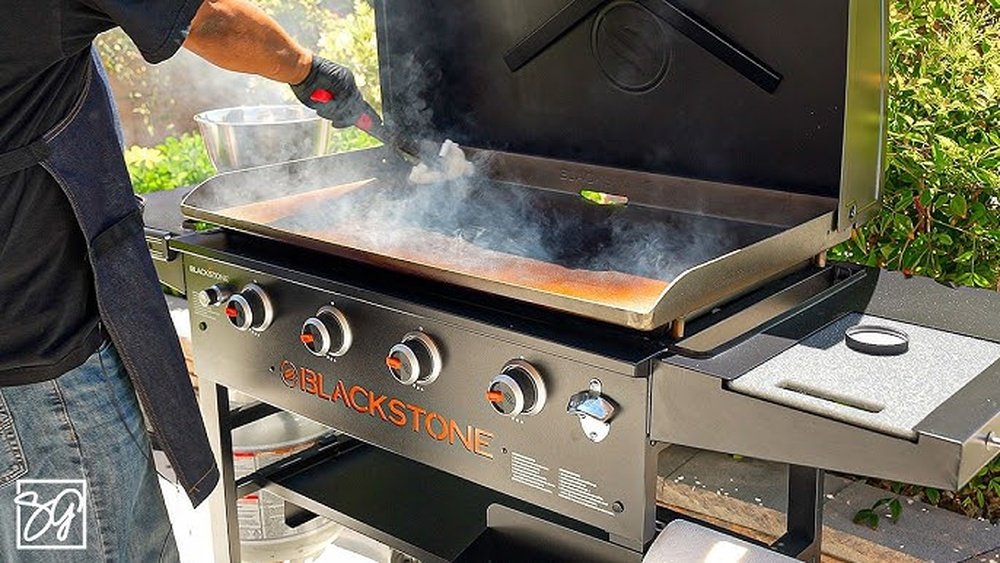

Seasoning a grill is more than just a simple task—it’s a key step in making sure your food tastes great and your grill lasts longer. Many beginners think seasoning is only about flavor, but it actually protects your grill from rust, makes cooking easier, and helps you create those perfect sear marks.
Whether you own a shiny new grill or want to revive an old one, learning how to season it properly will change your grilling experience.
Most grill owners skip seasoning, not knowing how much it matters. A well-seasoned grill creates a natural nonstick surface. This means less time scraping burnt food and more time enjoying meals with family and friends. In this guide, you’ll learn everything about seasoning a grill: why it matters, step-by-step instructions, how to fix common mistakes, and tips for different grill types. We’ll also cover how to keep your grill seasoned and ready for every cookout. Plus, you’ll pick up expert tips, solutions for common problems, and even guidance on how seasoning can benefit the environment.
Why Seasoning A Grill Matters
Seasoning is not just a fancy chef tradition. It’s a practical step that makes your grill safer and better for cooking. Here’s why it matters:
- Protects against rust: Oil creates a barrier that keeps moisture away from metal.
- Makes cleaning easier: Food sticks less, so you spend less time scraping.
- Improves flavor: Old grease and burnt bits can ruin your food. Seasoning gives a clean base for every meal.
- Extends grill life: Rust and corrosion are the main reasons grills break down. Seasoning fights both.
Many people think seasoning is only for cast iron, but even stainless steel and porcelain-coated grills benefit from regular seasoning. If you cook with marinades, sauces, or sugary glazes, seasoning is even more important—these ingredients can burn and stick badly on unseasoned grates.
Another benefit that beginners often overlook is the way seasoning helps prevent small bits of food from sticking and falling through the grates. This means less food wasted and more consistent results. Also, the thin layer of oil fills tiny cracks and rough spots, helping the surface stay smooth and easier to clean each time.
Understanding Grill Materials
Before you start, it’s important to know what your grill is made of. Different materials need different care. Here’s a quick comparison:
| Material | Pros | Cons | Seasoning Need |
|---|---|---|---|
| Cast Iron | Great heat retention, perfect for searing | Rusts easily, heavy | High |
| Stainless Steel | Resists rust, easy to clean | Less nonstick, can discolor | Medium |
| Porcelain-Coated | Easy cleaning, rust-resistant | Coating can chip, needs gentle care | Low to Medium |
Cast iron grates need regular seasoning to prevent rust and create a nonstick surface. They are excellent for high-heat grilling and produce the best sear marks, but if you don’t season them, they’ll rust quickly—sometimes after just one rainy night outdoors. Stainless steel grates don’t rust as easily but still benefit from oiling, especially if you grill often or clean with soap. Over time, even stainless steel can develop tiny rust spots if it is not protected by oil. Porcelain-coated grates are easier to clean but can chip if scraped too hard—seasoning helps protect any exposed metal. If the coating is chipped, rust can start underneath, so regular oiling is still useful.
Some newer grills use hybrid or composite materials, which may combine stainless steel with porcelain or use special coatings. Even with these, seasoning is wise, especially after deep cleaning or if you notice food starting to stick.
What You Need To Season A Grill
Seasoning a grill is simple, but you need the right tools and products. Here’s a list of must-haves:
- Cooking oil: Choose oils with high smoke points. Best options are canola, vegetable, or grapeseed oil.
- Paper towels or clean cloths: For applying oil.
- Tongs: To hold the cloth and avoid burns.
- Grill brush: For cleaning grates before seasoning.
- Heat-resistant gloves: Safety first.
Optional:
- Spray bottle: Makes oiling easier, especially for large or oddly shaped grates.
- Aluminum foil: Useful for tough cleaning jobs or to protect burners below if oil drips.
Avoid oils with low smoke points (like extra virgin olive oil). They burn quickly and leave sticky residue.
If you want to try something different, peanut oil is also a great option for cast iron because of its high smoke point and durability. However, be aware of allergies if you cook for others.
A small, dedicated container for your grill oil can help you avoid cross-contaminating cooking oils used in the kitchen. This keeps your grill seasoning oil clean and always ready.
Preparing Your Grill For Seasoning
Before seasoning, your grill must be clean and dry. This step is often missed but affects the results. If you skip cleaning, burnt food or grease can get trapped under the new seasoning layer, causing bad smells and uneven cooking.
Cleaning The Grates
- Remove grates: Take them out for easier access.
- Scrub off old residue: Use a grill brush to remove stuck-on food and grease. For tough spots, ball up some aluminum foil and use it as a scrubber.
- Wash with soap and water: For new grills, remove factory coatings. For old grills, get rid of leftover grime. Some people skip soap, but a small amount ensures all oils and dirt are gone.
- Dry thoroughly: Water causes rust, so make sure the grates are completely dry. Set them in the sun for a few minutes or heat them briefly on the grill to drive off moisture.
Inspecting For Damage
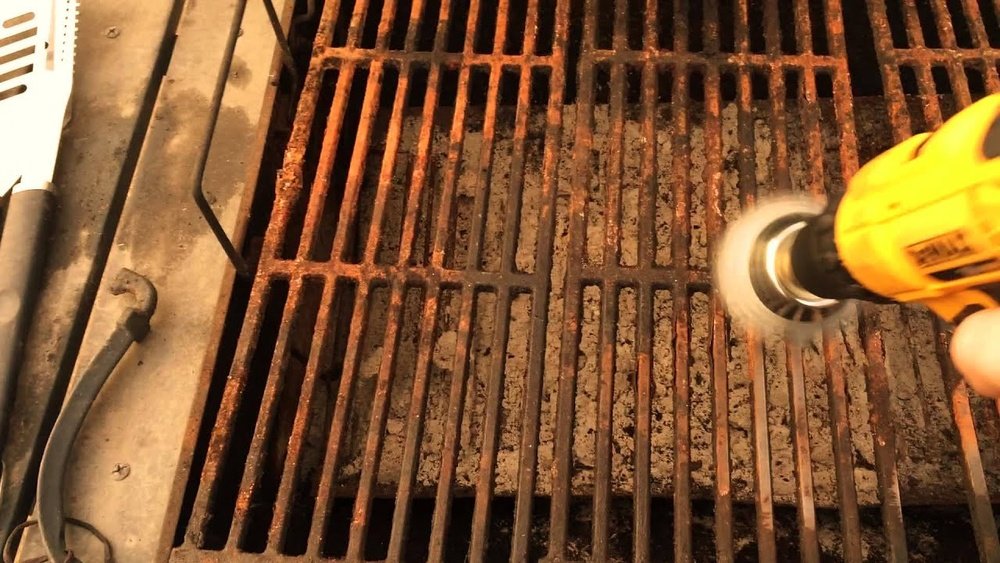
Look for any rust, chips, or cracks. If you find rust, scrub with a wire brush or use aluminum foil to rub it off. For porcelain-coated grates, avoid using harsh tools to prevent more damage.
If you see chipped porcelain, apply oil carefully to exposed areas to help protect them. Small cracks in cast iron can often be ignored if you season regularly, but large cracks may mean it’s time to replace the grate.
A beginner’s mistake is not checking underneath or in the corners—these areas rust fastest, especially if grease drips collect there. Always inspect the entire surface.
Step-by-step Guide To Seasoning A Grill
Now it’s time to season your grill. Follow these steps for perfect results:
Step 1: Preheat The Grill
Turn your grill on high for 15–20 minutes. This burns off any leftover residue and opens up the pores in the metal, making it ready for oil.
- Gas grills: Set all burners to high.
- Charcoal grills: Use a full load of hot coals.
Preheating is especially important on new grills to burn off any leftover manufacturing oils or chemicals. You may notice some smoke or strange smells the first time—this is normal.
Step 2: Apply Oil
Once the grates are hot, use tongs and a folded paper towel or cloth to rub a thin layer of oil onto the surface. Alternatively, use a spray bottle for even coverage. Don’t pour oil directly—too much can cause flare-ups.
- Cover every inch, including corners and sides.
- Use a thin layer—too much oil can get sticky.
Don’t forget the underside of the grates, especially for cast iron. Even a quick swipe with an oiled towel can help prevent rust where you can’t see. For larger grills, work in sections to ensure even coverage.
Step 3: Heat Again
Close the grill lid and let the oil bake in for 15–30 minutes. The grates should darken and become glossy. This means the oil is bonding to the metal, creating a protective layer.
- Watch for smoke; it’s normal.
- If oil pools, wipe off excess.
It’s best to stay nearby during this step in case flare-ups happen. On your first seasoning, you may notice a strong smell as residues burn off; this fades after a few uses.
Step 4: Repeat
For new grills or cast iron grates, repeat steps 2 and 3 two or three times. Each layer builds a stronger nonstick surface and better protection.
If you want a truly slick surface, consider seasoning three or four times at first. This is a trick used by pro chefs with cast iron pans and works just as well on grills.
Step 5: Cool Down
Let the grill cool naturally. Don’t pour water or use ice—it can crack grates, especially cast iron.
Rushing this step can warp metal. Allow air to circulate by leaving the lid slightly open.
Step 6: Ready For Cooking
Your grill is now seasoned and ready. You’ll notice food sticks less and flavors are cleaner.
Test the surface by grilling a piece of bread or a slice of zucchini. If it lifts easily, you’ve done it right!

Seasoning Different Types Of Grills
Not all grills are the same. Each type needs a special touch. Here’s how to handle each one:
Gas Grills
- Preheat with all burners on high.
- Oil grates as described above.
- Seasoning is easier because you control heat.
Gas grills are convenient for seasoning since temperature is stable. If your model has flavorizer bars or heat tents above burners, you can wipe a little oil on them too—this helps prevent rust and reduces flare-ups.
Charcoal Grills
- Use hot coals for preheating.
- Oil grates after placing them over the coals.
- Watch for flare-ups—charcoal can get very hot.
With charcoal, heat can be uneven. Move grates around if needed so all areas are seasoned. If you use wood chunks or chips, make sure to clean off any soot before oiling.
Pellet Grills
- Set to highest temperature.
- Oil grates, then let the grill run for 30 minutes.
- Pellet grills usually have porcelain grates—be gentle.
Pellet grills are less likely to reach extremely high temperatures, so you may need longer to bake in the oil. Use a soft brush or cloth to avoid scratching porcelain coatings.
Electric Grills
- Preheat for 10–15 minutes.
- Oil grates lightly.
- Don’t overheat—electric grills can have sensitive coatings.
Many indoor electric grills have nonstick coatings. Use very little oil and gentle pressure. If your electric grill has removable plates, take them out to clean and season away from the unit.
Portable Grills
- Seasoning still matters, especially for camping and picnics.
- Use small amounts of oil to avoid mess.
- Let the grill cool before storing.
Portable grills often get stored while still dirty or damp, which can lead to rust. Even a quick wipe with oil after each use will extend their life.
How Often Should You Season Your Grill?
Many people wonder how often to season. The answer depends on your grill type and how often you use it.
- Cast iron: Before every use, or at least every few weeks.
- Stainless steel: Every few months, or after deep cleaning.
- Porcelain-coated: Once at the start of the season, or after heavy use.
If you notice food sticking, rust forming, or grates looking dull, it’s time to season again.
If you grill in humid or rainy weather, you may need to season more often. After heavy rain or if your grill sits unused for a month or more, check for signs of rust or dryness. A quick seasoning refresh can prevent bigger problems later.
Another tip: after grilling acidic foods (like tomatoes or citrus marinades), consider seasoning again. Acid wears down the protective layer faster than basic grilling.
Common Mistakes To Avoid
Even experienced grillers make mistakes. Here are some to watch out for:
- Using too much oil: This causes sticky build-up and attracts dirt.
- Skipping cleaning: Dirty grates ruin seasoning and flavor.
- Not preheating: Oil won’t bond properly to cold metal.
- Using the wrong oil: Low smoke point oils burn and leave bad tastes.
- Letting grates get wet: Water causes rust—always dry before seasoning.
A non-obvious mistake: many people season only the top of the grates. It’s important to season all sides and corners, especially for cast iron. Rust often starts in hidden areas.
Another less obvious error is using flavored oils (like garlic or chili oil) for seasoning. These can burn and leave unwanted flavors or sticky spots. Always use plain, high-smoke point oils.
Some users also forget to re-season after using soap for cleaning. Soap strips off the protective layer, so always apply oil after a deep clean.
Credit: www.reddit.com
Maintaining Your Seasoned Grill
Seasoning is not a one-time job. It’s a routine that keeps your grill in great shape.
After Each Use
- Scrape off food bits with a brush while the grill is still warm.
- Wipe with a paper towel and a small amount of oil.
- Don’t use soap unless you plan to reseason.
This quick post-cook oiling keeps the surface slick and rust-free. If you grill often, this small habit saves hours of cleaning later.
Monthly Care
- Deep clean grates, then reseason.
- Check for rust or chips.
Set a monthly reminder if you grill a lot, or do this at the start of each new bag of charcoal or propane tank.
End-of-season Maintenance
- Wash grates thoroughly.
- Reseason before storing for winter.
- Cover your grill to protect from moisture.
If you live in a snowy or rainy climate, consider removing grates and storing them indoors. Always let everything dry fully before covering.
Some grillers use a grill cover year-round. This prevents rain and humidity from undoing your hard work. Look for covers with vents—these allow moisture to escape, reducing the risk of mold.
Seasoning A Grill After Rust
Rust is common, especially in humid areas or after rain. Here’s how to fix it:
- Scrub off rust: Use a wire brush or steel wool. For small spots, even aluminum foil works.
- Wash grates: Soap and water remove particles.
- Dry completely: Water left behind will cause new rust.
- Season as usual: Apply oil, bake in, repeat.
If rust returns quickly, check your storage. A dry, covered grill stays rust-free longer.
For deep rust, you may need to soak grates in vinegar overnight. Rinse and dry fully before applying oil. Sometimes, repeated seasoning is needed to restore a smooth surface.
A trick: sprinkle a little coarse salt on the grate before scrubbing to help remove stubborn rust.
Choosing The Best Oil For Seasoning
Not all oils are equal. Here’s a comparison to help you decide:
| Oil Type | Smoke Point (°F) | Flavor Impact | Best For |
|---|---|---|---|
| Canola | 400–450 | Neutral | All grills |
| Vegetable | 400–450 | Neutral | All grills |
| Grapeseed | 420 | Light, clean | High-heat grilling |
| Peanut | 450 | Rich, slightly nutty | Cast iron |
| Olive (extra virgin) | 375 | Strong, fruity | Low-heat, avoid for seasoning |
Canola oil is cheap, easy to find, and works for most grills. Grapeseed oil is great for high-heat, but costs more. Avoid olive oil for seasoning—it burns too quickly.
If you want to experiment, sunflower oil is another good option, especially in hot climates. Safflower oil also has a high smoke point and leaves little flavor. But for most people, canola or vegetable oil is simple, safe, and reliable.
How Seasoning Affects Cooking Results
A seasoned grill isn’t just easier to clean—it changes how your food cooks.
- Better searing: Seasoned grates create crisp, flavorful crusts.
- Nonstick surface: Food lifts off easily, so you don’t lose pieces.
- Cleaner flavors: No old grease or burnt bits to ruin taste.
A non-obvious insight: seasoning can help control flare-ups. Oil fills small gaps and cracks, so fat drippings don’t hit hot metal as quickly. This makes grilling safer and more predictable.
Another benefit is temperature stability. Well-seasoned cast iron grates hold heat more evenly, so you get fewer hot and cold spots on the grill. This helps you cook steaks, chicken, or veggies more evenly.
Seasoning New Vs. Old Grills
New Grills
New grills often have factory oils or coatings. These must be cleaned off before seasoning.
- Wash with warm soapy water.
- Rinse and dry fully.
- Season as usual.
Don’t skip this step—factory coatings can taste bad and may be unhealthy if burned.
Old Grills
Old grills may have rust, burnt food, or sticky grease. These need deep cleaning.
- Scrub with wire brush.
- Wash and dry.
- Season multiple times for best results.
Some grillers use vinegar or baking soda for tough stains. This works, but always rinse and dry before seasoning.
If you inherit a grill or buy used, expect to spend extra time cleaning and seasoning. The reward is worth it—a well-restored grill can cook like new.

Expert Tips For Perfect Seasoning
Here are some tips even experienced grillers might miss:
- Oil inside the grill lid: This prevents smoke stains and sticky build-up. Just a quick wipe is enough.
- Season after rain or humidity: Moisture causes rust—quick seasoning stops it.
- Use a small amount of salt: After seasoning, sprinkle a bit of salt. It helps oil bond and adds extra protection.
- Let oil cool before storing: Hot oil attracts dust and dirt.
- Don’t use flavored oils: Garlic or herb oils can leave unwanted tastes and burn quickly.
Another tip: if you grill fish or delicate foods often, season more frequently. The protective oil layer helps prevent strong flavors from sticking and transferring to your next meal.
Safety Tips For Seasoning
Seasoning involves hot surfaces and oil. Stay safe with these tips:
- Wear heat-resistant gloves.
- Use tongs to hold oil-soaked cloths.
- Keep children and pets away.
- Never leave a hot grill unattended.
- Don’t use too much oil—flare-ups can happen.
If you do have a flare-up, close the grill lid to cut off oxygen. Never throw water on a grease fire—this can spread the flames.
Troubleshooting: When Seasoning Goes Wrong
Sometimes, seasoning doesn’t work as expected. Here’s how to fix common problems:
Sticky Residue
- Cause: Too much oil or low smoke point oil.
- Fix: Scrub off sticky parts, reseason with a thinner layer.
If the residue is very stubborn, heat the grill and scrub while warm. Then wipe with a lightly oiled towel.
Rust Returns Quickly
- Cause: Moisture, poor storage, skipped seasoning steps.
- Fix: Dry grates fully, season more often, use a grill cover.
Check for leaks in your grill cover or store grates inside if possible.
Food Still Sticks
- Cause: Incomplete seasoning, cold grates, wrong oil.
- Fix: Heat grill longer, use oil with a higher smoke point, season again.
Remember, even the best seasoning wears down with use. Reseason if you notice sticking.
Flare-ups
- Cause: Excess oil or fat drippings.
- Fix: Use less oil, keep grill clean, trim fat from meats.
Move food to a cooler part of the grill if flare-ups happen often.
Seasoning For Special Grilling Styles
Different cooking styles benefit from seasoning in unique ways.
Smoking
Seasoned grates help prevent sticky smoked meats. Oil grates before long cooks to keep surfaces easy to clean.
If you smoke at low temperatures, use a little less oil to avoid sticky buildup.
Searing
Cast iron grates need heavy seasoning for high-heat searing. Repeat oiling for best crusts.
A well-seasoned grate can make the difference between a perfect steak and one that tears or sticks.
Rotisserie
Oil both the spit and grates. This prevents sticking and makes cleanup simple.
If you use a rotisserie basket, season it too—this stops delicate foods like fish or veggies from sticking.
Seasonal Grill Care
Seasoning routines change with the weather.
Spring
- Deep clean after winter storage.
- Reseason grates, inside lid, and burners.
This is a good time to check for rust, replace worn parts, and make sure your grill is safe.
Summer
- Season more often (humidity and rain).
- Check for rust after storms.
If you grill several times a week, quick wipes with oil after each cook keep things running smoothly.
Fall
- Reseason before storing.
- Oil grates and burners, cover grill.
Take time to clean out ash or grease traps—these can attract pests during winter.
Winter
- Store grill dry and covered.
- Reseason before first spring cookout.
If you use your grill during winter, preheat longer and use a little extra oil to protect against snow and ice.
Myths About Seasoning A Grill
Many myths confuse grill owners. Let’s clear up some common ones:
- Myth: Stainless steel doesn’t need seasoning.
- Fact: It benefits from oiling for nonstick and rust protection.
- Myth: Only cast iron grates need seasoning.
- Fact: All grill materials improve with seasoning.
- Myth: Flavored oils make food taste better.
- Fact: They burn and leave sticky residue.
- Myth: Once seasoned, you never need to do it again.
- Fact: Seasoning wears off and needs regular maintenance.
Another myth: “Seasoning is only for pros.” In truth, anyone can do it. It’s quick, simple, and makes grilling easier for everyone.
Data: Grill Longevity With Vs. Without Seasoning
Research shows seasoned grills last longer and work better. Here’s a comparison:
| Grill Type | Average Lifespan (Unseasoned) | Average Lifespan (Seasoned) | Replacement Cost |
|---|---|---|---|
| Cast Iron | 3–5 years | 7–10 years | $80–$150 |
| Stainless Steel | 4–6 years | 8–12 years | $120–$250 |
| Porcelain-Coated | 5–7 years | 10–14 years | $100–$200 |
Seasoning can nearly double the life of your grill, saving money and hassle. Investing a few minutes after each cookout can prevent expensive repairs or early replacement.
Seasoning A Grill For Indoor Cooking
Indoor grills also need seasoning, though the process is slightly different.
- Use less oil to avoid smoke indoors.
- Preheat for 10 minutes, oil lightly, cook, and wipe after each use.
- Season more often since indoor grills are cleaned with soap more frequently.
Some electric griddles and sandwich presses also benefit from oiling after cleaning, especially if they have cast iron or steel plates.
A non-obvious tip: If your indoor grill has removable plates, season both sides—even the one you don’t cook on—so rust doesn’t form underneath.
Environmental Impact Of Proper Seasoning
Seasoning helps prevent rust and damage, so you replace your grill less often. This means less waste and fewer grills in landfills. Using less soap and fewer harsh chemicals for cleaning is also good for the environment.
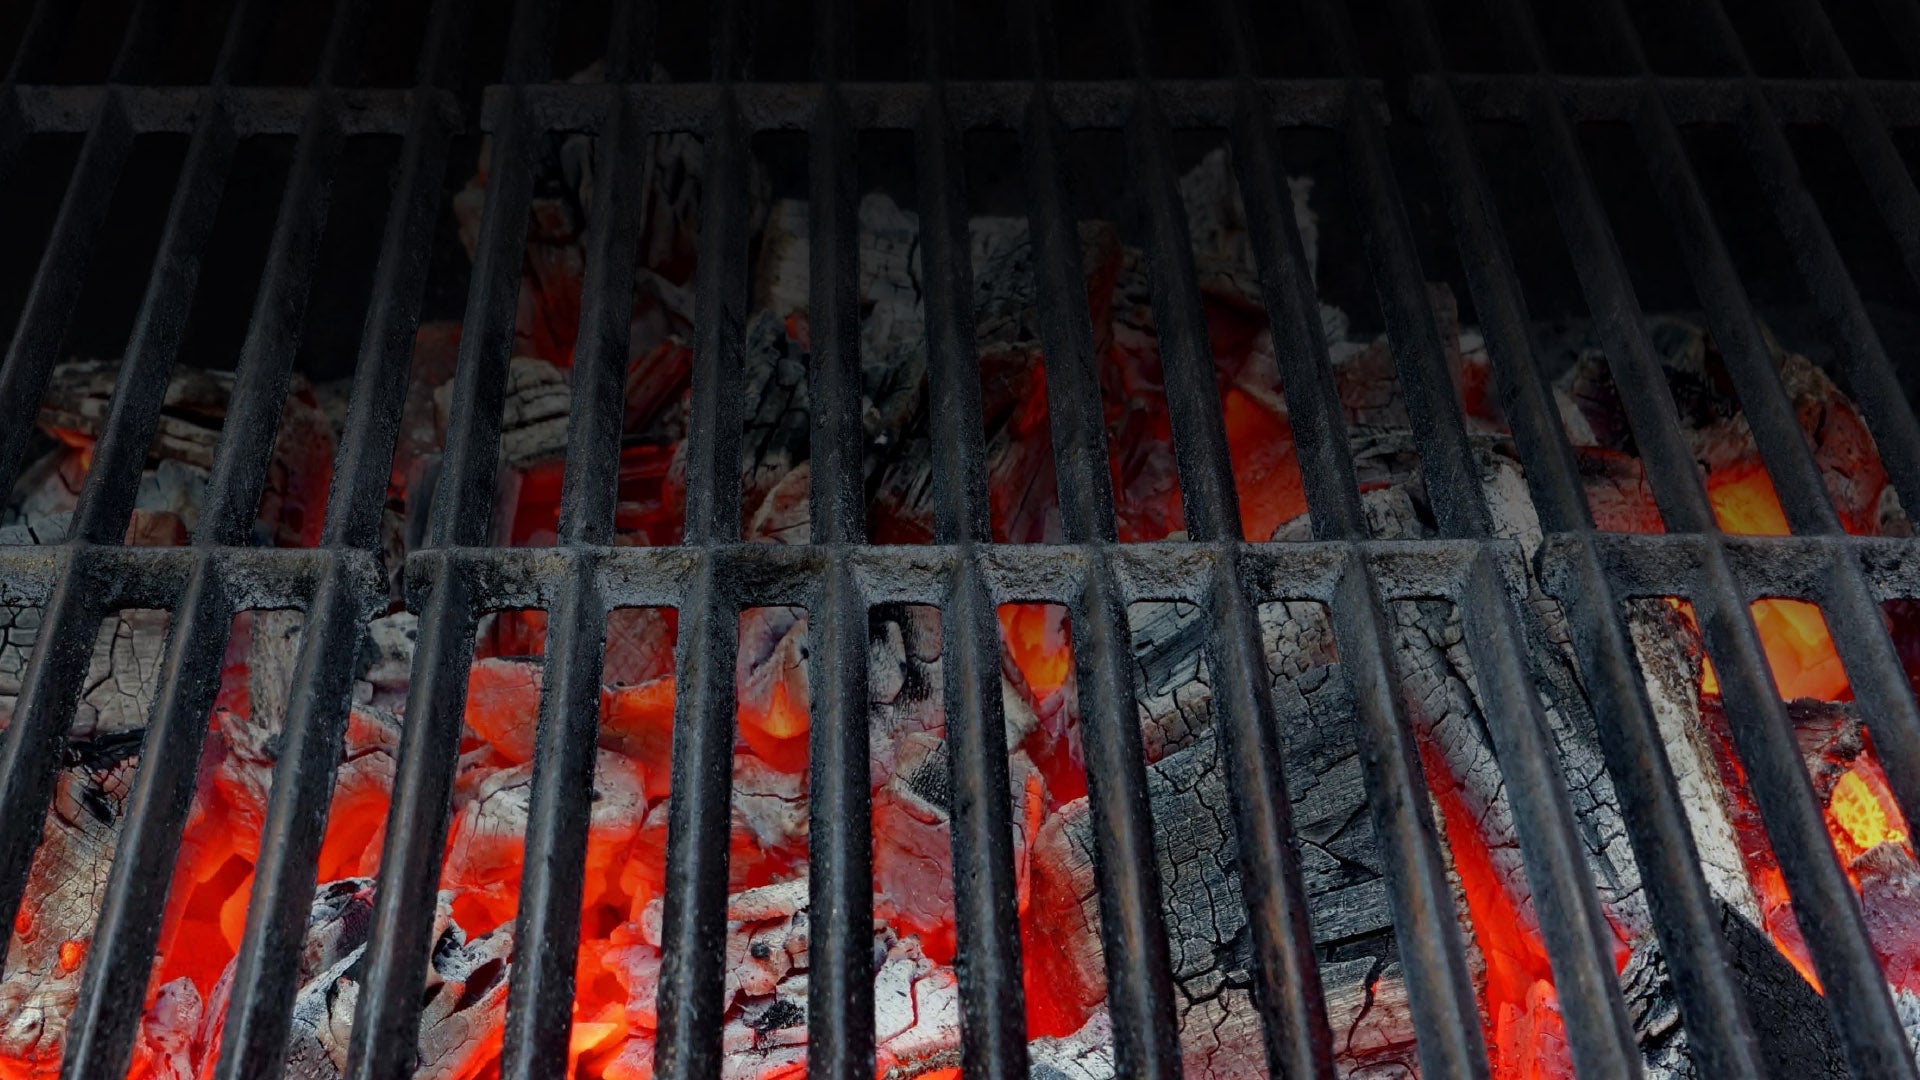
Another benefit is saving energy—well-seasoned grates heat up faster and more evenly, so you use less fuel or electricity. If you care about sustainability, regular seasoning is a simple but effective step.
Credit: www.chargriller.com
Extra Tips For Long-term Grill Care
- Store your grill inside if possible. Garages and sheds protect from weather.
- Use a cover with vents. This prevents moisture build-up under the cover.
- Check for animals or insects. They sometimes nest in unused grills.
- Don’t stack grates. This can scratch surfaces and remove seasoning.
If you have multiple grills or grates, label them so you know which ones need seasoning or repairs. This small habit prevents surprises when it’s time to cook.
Frequently Asked Questions
How Do I Know If My Grill Needs Seasoning?
If you see rust, food sticks, or the grates look dull, it’s time to season. New grills also need seasoning before first use.
Can I Use Olive Oil To Season My Grill?
No, olive oil has a low smoke point and burns quickly. Use canola, vegetable, or grapeseed oil instead.
Should I Season My Grill Every Time I Cook?
For cast iron grates, yes. For stainless steel and porcelain, season every few uses or after deep cleaning.
What If My Grill Has Sticky Residue After Seasoning?
Sticky residue means too much oil or the wrong oil. Scrub grates, wipe clean, and reseason with a thinner layer.
Can I Season A Grill In Cold Weather?
Yes, but preheat longer to reach the right temperature. Make sure grates are dry and oil bonds properly.
If you’re unsure about the right process or want to explore more advanced techniques, check out this guide from Serious Eats for extra tips and expert advice.
Seasoning a grill is a simple habit that pays off every time you cook. It keeps your grill in great shape, makes food taste better, and saves you time cleaning. Whether you’re a weekend griller or a barbecue pro, regular seasoning is the secret to grilling success.
With the right knowledge and a little effort, your grill will stay rust-free, nonstick, and ready for every meal. Enjoy your cookouts—your grill is now truly yours.

Credit: www.youtube.com