Perfect Ribs: How to Grill Like a Pro

When it comes to grilling, the choice of ribs can make or break the entire experience. I’ve learned that there are several types of ribs available, each with its unique flavor and texture. The two most popular options are baby back ribs and spare ribs.
Baby back ribs are shorter, leaner, and tend to be more tender, making them a favorite for many grill enthusiasts. On the other hand, spare ribs are larger, meatier, and have a higher fat content, which can lead to a richer flavor when cooked properly. I often find myself torn between the two, but I usually lean towards spare ribs for their robust taste and satisfying bite.
In addition to the type of ribs, I pay close attention to the quality of the meat. I prefer to buy ribs from a reputable butcher or a trusted source where I can inspect the meat firsthand. I look for ribs that have a good amount of marbling, as this fat will render down during cooking, keeping the meat moist and flavorful.
The color of the meat is also important; I aim for a deep pink hue, which indicates freshness. I’ve learned that avoiding ribs with excessive liquid in the packaging is crucial, as this can be a sign of poor quality or improper handling. By selecting the best ribs, I set the stage for a truly memorable grilling experience.
Preparing the Ribs for Grilling
Once I’ve selected my ribs, the next step is preparation. This process is essential for ensuring that the flavors penetrate the meat and that it cooks evenly. First, I remove the membrane from the back of the ribs.
This thin layer can be tough and chewy if left on, so I use a sharp knife to carefully lift one edge and then pull it off using a paper towel for grip. This simple step can significantly enhance the tenderness of the final product. After removing the membrane, I rinse the ribs under cold water and pat them dry with paper towels.
This helps to remove any residual blood or bone fragments. Next, I like to trim any excess fat from the ribs. While some fat is necessary for flavor, too much can lead to flare-ups on the grill and an overly greasy final product.
I take my time during this step, ensuring that I leave enough fat to keep the meat juicy while removing any large chunks that could detract from the overall experience. With my ribs prepped and ready, I feel a sense of anticipation for the delicious meal that lies ahead.
Creating the Perfect Rub

A great rub can elevate my ribs from ordinary to extraordinary. I’ve experimented with various combinations of spices over the years, and I’ve found that a balance of sweet, savory, and spicy elements works best for my palate. My go-to rub typically includes brown sugar for sweetness, paprika for color and depth, garlic powder for savoriness, and cayenne pepper for a touch of heat.
I mix these ingredients in a bowl until they are well combined, ensuring that each rib will be coated evenly. Once my rub is ready, I generously apply it to both sides of the ribs. I like to massage it into the meat, allowing it to adhere better and penetrate deeper.
This step not only enhances flavor but also creates a beautiful crust when grilled. After applying the rub, I wrap the ribs in plastic wrap and let them sit in the refrigerator for at least an hour—though overnight is even better. This resting period allows the flavors to meld and intensify, resulting in a more flavorful final product.
The anticipation builds as I imagine how delicious my ribs will taste once they hit the grill.
Mastering the Art of Low and Slow Cooking
| Low and Slow Cooking Metrics | Value |
|---|---|
| Temperature Range | 200°F – 275°F |
| Recommended Cuts of Meat | Brisket, Pork Shoulder, Ribs |
| Typical Cooking Time | 4 – 12 hours |
| Popular Low and Slow Dishes | Texas-style Brisket, Pulled Pork, Smoked Ribs |
One of the most critical aspects of grilling ribs is mastering the low and slow cooking technique. This method involves cooking at a lower temperature for an extended period, allowing the collagen in the meat to break down and become tender. I typically aim for a cooking temperature between 225°F and 250°F (107°C to 121°C).
To achieve this, I use a combination of indirect heat and wood chips for smoking. I set up my grill for indirect cooking by placing coals on one side and leaving the other side empty. If I’m using a gas grill, I turn on only one side while leaving the other side off.
Once my grill reaches the desired temperature, I place my seasoned ribs on the cooler side of the grill, bone side down. This setup allows them to cook slowly without direct exposure to flames, preventing charring while still developing that coveted smoky flavor. As they cook, I resist the urge to open the lid frequently; maintaining a consistent temperature is key to achieving perfectly tender ribs.
Choosing the Right Wood for Smoking
The choice of wood for smoking can significantly impact the flavor profile of my ribs. Over time, I’ve discovered that different types of wood impart distinct tastes to the meat. For instance, hickory is known for its strong flavor and is often used in traditional barbecue recipes.
However, I’ve found that it can be overpowering if used excessively. Instead, I prefer to mix hickory with milder woods like apple or cherry, which add a subtle sweetness without overwhelming the natural flavors of the meat. When smoking ribs, I soak my wood chips in water for about 30 minutes before adding them to the grill.
This soaking process helps them smolder rather than burn quickly, producing a steady stream of smoke over an extended period. As I add the soaked chips to my coals or smoker box, I can already envision how their aromatic essence will infuse into my ribs during cooking. The combination of low heat and flavorful smoke creates an irresistible aroma that fills my backyard and draws everyone’s attention.
Monitoring Temperature and Time
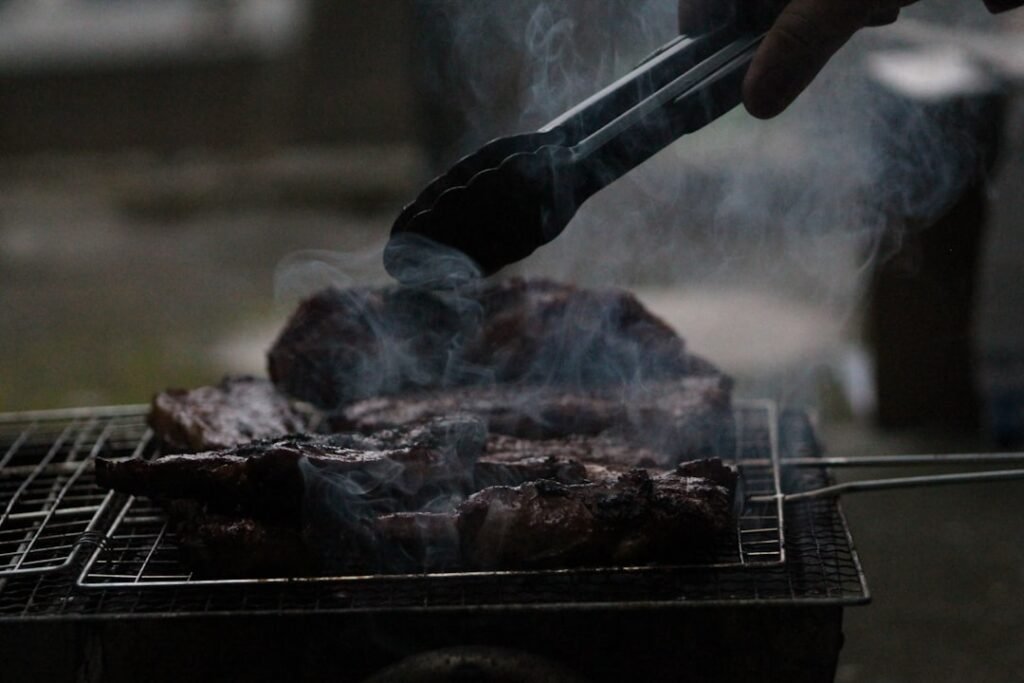
As my ribs cook low and slow on the grill, monitoring both temperature and time becomes crucial. I invest in a reliable meat thermometer to ensure that my ribs reach the perfect internal temperature without overcooking them. For pork ribs, an internal temperature of around 190°F (88°C) is ideal for achieving that tender fall-off-the-bone texture that everyone craves.
I also keep an eye on my grill’s temperature throughout the cooking process. Fluctuations can occur due to changes in weather or airflow, so I make adjustments as needed by adding more coals or adjusting vents if I’m using a charcoal grill. Patience is key during this stage; good things come to those who wait!
Typically, my ribs take anywhere from four to six hours to cook fully, depending on their size and thickness. As they approach doneness, I start checking their tenderness by gently twisting a bone; if it moves easily, they’re ready to be taken off the grill.
Perfecting the Glaze and Sauce
While my ribs are cooking away on the grill, I like to prepare a glaze or sauce that will complement their smoky flavor perfectly. A good barbecue sauce should enhance rather than overpower; therefore, I often opt for a balance of sweetness and tanginess with just enough spice to keep things interesting. My favorite recipe includes ketchup as a base combined with apple cider vinegar for acidity, brown sugar for sweetness, Worcestershire sauce for depth, and a dash of hot sauce for heat.
As my ribs near completion, I begin basting them with this sauce during the last 30 minutes of cooking. This technique not only adds flavor but also creates a beautiful caramelized glaze on the surface of the meat. I apply several layers of sauce while allowing each layer to set before adding more; this builds up a rich coating that enhances both appearance and taste.
The aroma wafting through my backyard becomes almost intoxicating as those final moments approach.
Serving and Enjoying the Perfect Ribs
Finally, after hours of anticipation and careful preparation, it’s time to serve up my perfectly grilled ribs! Once they come off the grill, I let them rest for about 10-15 minutes before slicing into them; this resting period allows juices to redistribute throughout the meat, ensuring each bite is succulent and flavorful. Using a sharp knife, I slice between each bone to create individual portions that showcase those beautiful layers of smoky meat.
As I plate up my ribs alongside classic sides like coleslaw or cornbread, I can’t help but feel proud of what I’ve created. The moment everyone takes their first bite is always rewarding; seeing their expressions light up with delight makes all those hours spent preparing worth it. Whether enjoyed at a summer barbecue or during a cozy family dinner indoors, there’s something undeniably special about sharing delicious food with loved ones.
In conclusion, grilling perfect ribs is an art form that requires careful selection of ingredients, meticulous preparation techniques, and patience throughout cooking. From choosing high-quality meat to mastering low-and-slow cooking methods while selecting complementary flavors through rubs and sauces—each step contributes significantly toward achieving mouthwatering results! As someone who has honed these skills over time through trial-and-error experiences (and plenty of taste-testing), I can confidently say that there’s nothing quite like enjoying perfectly grilled ribs fresh off the barbecue!
