Mastering the Art of BBQ: Tips for Perfect Ribs

When it comes to barbecuing, the choice of ribs can make or break the entire experience. I often find myself standing in front of the meat counter, contemplating the various options available. The two most common types of ribs are baby back ribs and spare ribs.
Baby back ribs are shorter, leaner, and tend to be more tender, making them a popular choice for many. On the other hand, spare ribs are larger, meatier, and have a richer flavor due to their higher fat content. Each type has its own unique characteristics, and my preference often depends on the occasion and the crowd I’m serving.
In addition to the type of ribs, I also pay close attention to the quality of the meat. I look for ribs that have a good amount of marbling, as this fat will render down during cooking, keeping the meat moist and flavorful. The color of the meat is also important; I prefer ribs that have a deep pink hue, indicating freshness.
I’ve learned to avoid any ribs that appear dull or have excessive liquid in the packaging, as these can be signs of poor quality. Ultimately, choosing the right ribs is about balancing personal preference with quality, ensuring that I set myself up for a successful barbecue.
Preparing the Meat
Once I’ve selected the perfect ribs, the next step is preparation. I start by removing the membrane from the back of the ribs. This thin layer can prevent seasonings from penetrating the meat and can also become tough during cooking.
Using a sharp knife, I carefully slide it under one edge of the membrane and pull it off, often using a paper towel for grip. This simple step can significantly enhance the flavor and texture of the finished product. After removing the membrane, I rinse the ribs under cold water and pat them dry with paper towels.
This helps to remove any residual blood or bone fragments that may be present. I then trim any excess fat, as too much can lead to greasy ribs. However, I’m careful not to remove all the fat; a little bit is essential for flavor and moisture.
With the ribs cleaned and trimmed, I’m ready to move on to seasoning, which is where I can really start to infuse my personal touch into the dish.
Seasoning and Rubs
Seasoning is one of my favorite parts of preparing ribs because it allows me to get creative with flavors. I often opt for a dry rub, which consists of a blend of spices that I can customize to my liking. A typical rub might include ingredients like brown sugar, paprika, garlic powder, onion powder, salt, and pepper.
The sweetness from the brown sugar caramelizes during cooking, creating a beautiful crust on the outside of the ribs. I take my time applying the rub, ensuring that every inch of the meat is coated evenly. I usually let the seasoned ribs sit for at least an hour before cooking; this allows the flavors to penetrate deeper into the meat.
Sometimes, if I have more time, I’ll even let them marinate overnight in the refrigerator. This not only enhances the flavor but also helps to tenderize the meat further. The anticipation builds as I imagine how delicious they will taste once they’re cooked.
The Perfect BBQ Sauce
| Flavor | Spiciness | Sweetness | Consistency |
|---|---|---|---|
| Bold and smoky | Medium | High | Thick and rich |
No barbecue experience is complete without a delicious sauce to accompany those tender ribs. Over the years, I’ve experimented with various recipes and flavors to find my ideal BBQ sauce. A classic sauce typically includes ingredients like ketchup, vinegar, brown sugar, Worcestershire sauce, and a mix of spices.
However, I love to add my own twist by incorporating ingredients like honey for sweetness or chipotle peppers for a smoky kick. I usually prepare my sauce in advance so that it has time to simmer and develop its flavors. As it cooks on low heat, I can smell the aromas wafting through my kitchen, which only heightens my excitement for the meal ahead.
Once it’s ready, I set aside some sauce for serving at the table while reserving another portion for basting during cooking. This way, I can ensure that my ribs are coated in that rich flavor without compromising food safety.
The Right BBQ Equipment
Having the right equipment is crucial for achieving perfectly cooked ribs. Over time, I’ve invested in a good-quality smoker and grill that allow me to control temperature and smoke levels effectively. While some people prefer gas grills for their convenience, I find that charcoal or wood smokers impart a depth of flavor that simply cannot be replicated.
The smoky aroma that fills my backyard as the ribs cook is one of my favorite aspects of barbecuing. In addition to my smoker or grill, I also make sure to have essential tools on hand. A reliable meat thermometer is indispensable for checking doneness without cutting into the meat.
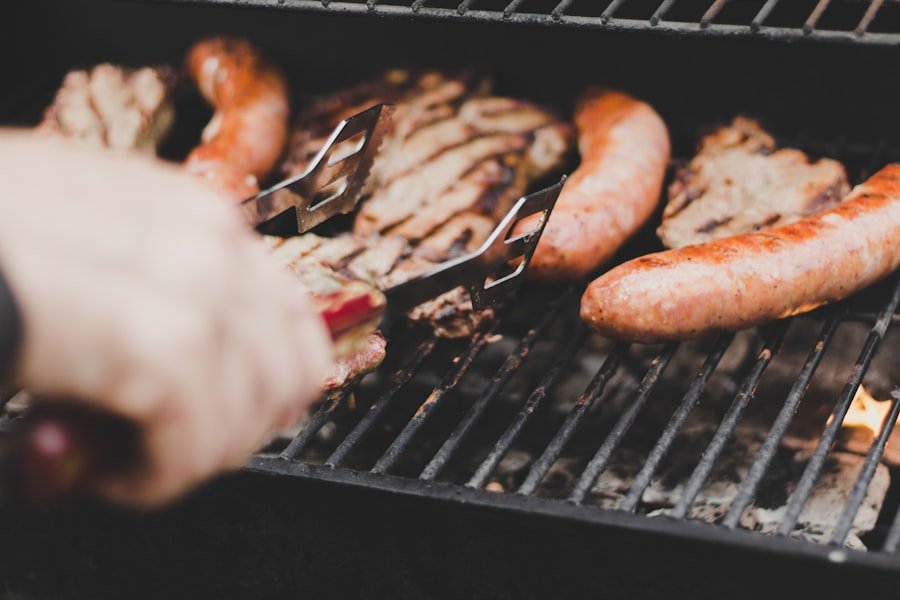
Tongs are essential for flipping and moving the ribs around without losing precious juices. Lastly, I always keep a spray bottle filled with apple juice or vinegar nearby; this helps maintain moisture during cooking and adds an extra layer of flavor.
The Low and Slow Method

One of the most important techniques in barbecuing ribs is mastering the low and slow method. This approach involves cooking at a low temperature over an extended period, allowing the collagen in the meat to break down and become tender. I typically aim for a cooking temperature between 225°F and 250°F (107°C to 121°C).
This slow cooking process not only enhances tenderness but also allows flavors from the rub and smoke to meld beautifully. I often find myself checking on my ribs periodically throughout the cooking process. It’s important not to rush this stage; patience truly pays off when it comes to achieving that fall-off-the-bone texture that everyone craves.
Depending on the size of the ribs and my cooking temperature, this process can take anywhere from three to six hours. During this time, I enjoy spending time with family or friends while occasionally checking on my masterpiece.
Checking for Doneness
Knowing when my ribs are done can be tricky but is essential for serving up a perfect meal. One method I use is checking for tenderness by gently twisting a bone; if it moves easily or starts to pull away from the meat, it’s usually a good sign that they’re ready. Additionally, I rely on my trusty meat thermometer; I aim for an internal temperature of around 190°F (88°C) for optimal tenderness.
Another indicator of doneness is how much fat has rendered out during cooking. When I see that there’s a nice glaze on the surface and some juices pooling around them, it’s often time to take them off the heat. Once they’re done cooking, I let them rest for about 10-15 minutes before slicing into them.
This resting period allows juices to redistribute throughout the meat, ensuring each bite is as juicy as possible.
Serving and Enjoying the Ribs
Finally, after all that hard work and anticipation, it’s time to serve and enjoy my delicious ribs! I usually slice them between each bone for easy serving and presentation. As I place them on a platter, I can’t help but feel proud of what I’ve created.
To elevate the experience further, I drizzle some of my homemade BBQ sauce over them or serve it on the side for dipping. As friends and family gather around the table, there’s an undeniable sense of camaraderie that comes with sharing a meal like this. The laughter and conversation flow freely as we dig into those tender ribs together.
Each bite is a celebration of flavors—smoky, sweet, and savory—all coming together in perfect harmony. In those moments, surrounded by loved ones and delicious food, I realize that barbecuing isn’t just about cooking; it’s about creating memories that will last long after the last rib has been devoured.
